Action
Yes
No
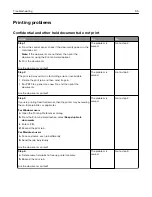
Step 6
Check if the web proxy servers are disabled.
Are the web proxy servers disabled?
Go to step 7.
Contact your
administrator.
Step 7
Access the Embedded Web Server.
Did the Embedded Web Server open?
The problem is
solved.
Contact
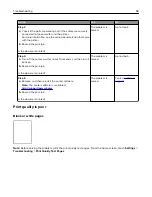
Unable to read flash drive
Action
Yes
No
Step 1
Check if the flash drive is inserted into the front USB port.
Note:
The flash drive does not work when it is inserted into the
rear USB port.
Is the flash drive inserted into the correct port?
Go to step 2.
Insert the flash drive
into the correct port.
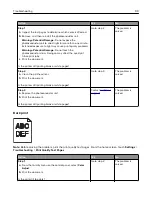
Step 2
Check if the flash drive is supported. For more information, see
“Supported flash drives and file types” on page 27
.
Is the flash drive supported?
Go to step 3.
Insert a supported
flash drive.
Step 3
a
Check if the USB port is enabled. For more information, see
“Enabling the USB port” on page 88
b
Remove, and then insert the flash drive.
Does the printer recognize the flash drive?
The problem is
solved.
Contact
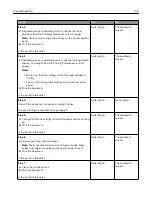
Enabling the USB port
From the home screen, touch
Settings
>
Network/Ports
>
USB
>
Enable USB Port
.
Checking the printer connectivity
1
From the home screen, touch
Settings
>
Reports
>
Network
>
Network Setup Page
.
2
Check the first section of the network setup page, and confirm that the status is connected.
If the status is not connected, then the LAN drop may be inactive, or the network cable may be unplugged
or malfunctioning. Contact your administrator for assistance.
Troubleshooting
88
Summary of Contents for CS921
Page 1: ...CS921 CS923 CS927 User s Guide August 2017 www lexmark com Machine type s 5059 Model s 130 530...
Page 43: ...5 Insert the new toner cartridge 6 Remove the waste toner bottle Maintaining the printer 43...
Page 48: ...8 Insert the waste toner bottle and then close the door Maintaining the printer 48...
Page 71: ...Below the fuser area Duplex area Clearing jams 71...
Page 76: ...2 Open door J 3 Open door H Clearing jams 76...
Page 126: ...5 Remove the controller board shield Upgrading and migrating 126...
Page 134: ...7 Connect the tray connector to the printer 8 Open trays 2 and 3 Upgrading and migrating 134...
Page 139: ...9 Remove the stabilizing feet from the tray Upgrading and migrating 139...
Page 143: ...17 Secure the tray cable with the clamp Upgrading and migrating 143...
Page 155: ...8 Attach the nisher to the printer Upgrading and migrating 155...
Page 164: ...Laser advisory label The following laser notice label is affixed to the printer Notices 164...


