Learning about the printer
Finding information about the printer
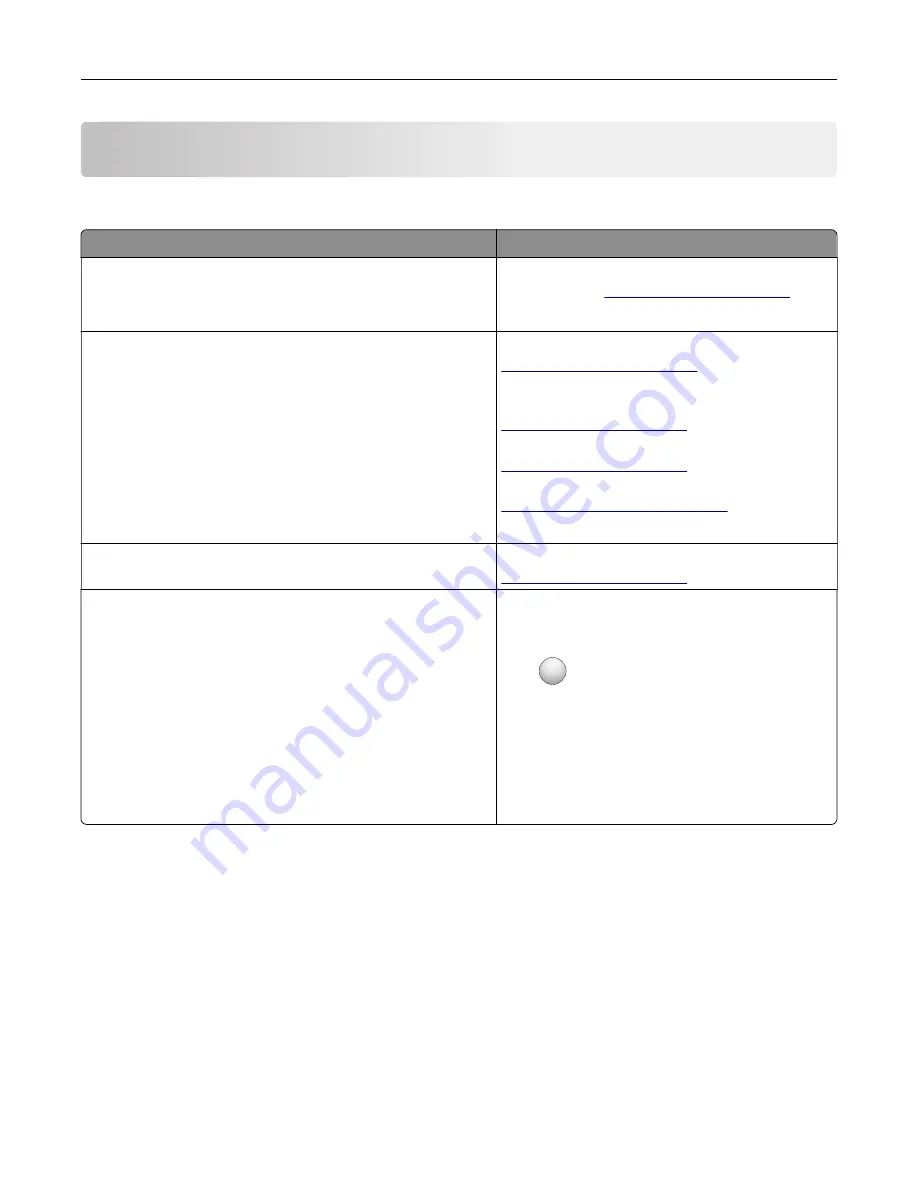
What are you looking for?
Find it here
Initial setup instructions:
•
Connecting the printer
•
Installing the printer software
See the setup documentation that came with the
printer or go to
More setup and instructions for using the printer:
•
Selecting and storing paper and specialty media
•
Loading paper
•
Configuring printer settings
•
Viewing and printing documents and photos
•
Setting up and using the printer software
•
Configuring the printer on a network
•
Caring for and maintaining the printer
•
Troubleshooting and solving problems
Information Center
—Go to
Help Menu Pages
—Access the guides on the
printer firmware or go to
Touch Screen Guide
—Go to
Product videos—Go to
http://infoserve.lexmark.com/idv/
Information on setting up and configuring the accessibility
features of your printer
Lexmark Accessibility Guide
—Go to
Help using the printer software
Help for Microsoft Windows or Macintosh operating
systems—Open a printer software program or
application, and then click
Help
.
Click
?
to view context
‑
sensitive information.
Notes:
•
Help is automatically installed with the printer
software.
•
Depending on the operating system, the
printer software is located in the printer
program folder or on the desktop.
Learning about the printer
10
Summary of Contents for CX920
Page 164: ... Scanner glass Scanner glass pad 3 Close the scanner cover Maintaining the printer 164 ...
Page 172: ...5 Insert the new toner cartridge 6 Remove the waste toner bottle Maintaining the printer 172 ...
Page 177: ...8 Insert the waste toner bottle and then close the door Maintaining the printer 177 ...
Page 207: ... Below the fuser area Duplex area Clearing jams 207 ...
Page 212: ...2 Open door J Clearing jams 212 ...
Page 214: ... Areas H1 and H2 Area H6 Clearing jams 214 ...
Page 218: ...2 Remove the staple cartridge holder 3 Remove the loose staples Clearing jams 218 ...
Page 220: ...2 Remove the staple cartridge holder 3 Remove the loose staples Clearing jams 220 ...
Page 222: ...2 Remove the staple cartridge holder 3 Remove the loose staples Clearing jams 222 ...
Page 276: ...6 Remove the controller board shield Upgrading and migrating 276 ...
Page 279: ...4 Remove the controller board shield Upgrading and migrating 279 ...
Page 285: ...7 Connect the tray connector to the printer 8 Open trays 2 and 3 Upgrading and migrating 285 ...
Page 290: ...9 Remove the stabilizing feet from the tray Upgrading and migrating 290 ...
Page 294: ...17 Secure the tray cable with the clamp Upgrading and migrating 294 ...
Page 301: ...7 Remove the paper guides 8 Attach the sensor cover Upgrading and migrating 301 ...
Page 307: ...8 Attach the finisher to the printer Upgrading and migrating 307 ...

