3
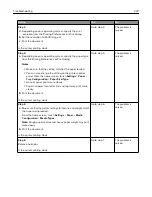
Read the warning message, and then select
Continue
.
4
Press and hold
X
and
#
simultaneously for 15 seconds to clear the message.
Note:
If you are unable to reset the supply usage counters, then return the item to the place of
purchase.
Scanner maintenance required, use ADF Kit
The printer is scheduled for maintenance. For more information, go to
contact your service representative, and then report the message.
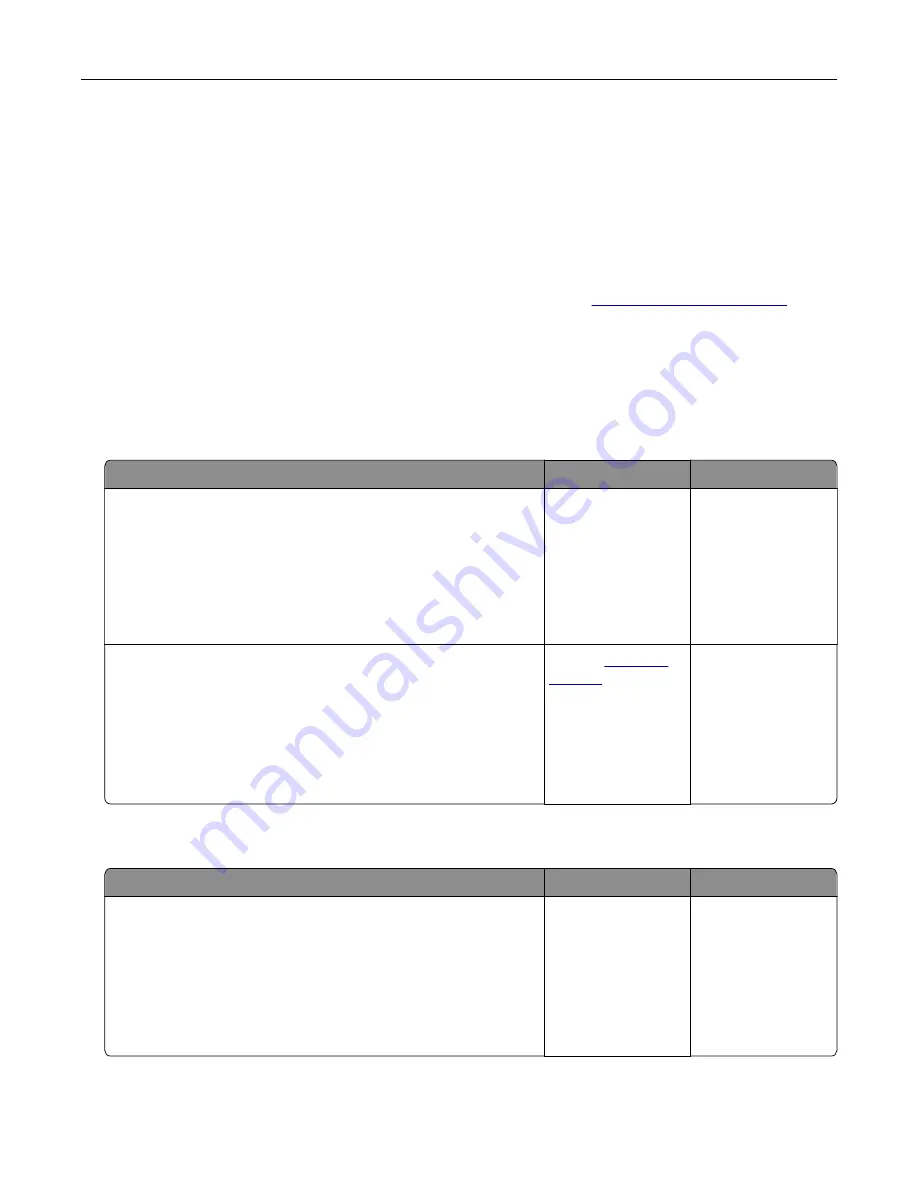
Paper feed problems
Envelope seals when printing
Action
Yes
No
Step 1
a
Use an envelope that has been stored in a dry environment.
Note:
Printing on envelopes with high moisture content can
seal the flaps.
b
Send the print job.
Does the envelope seal when printing?
Go to step 2.
The problem is
solved.
Step 2
a
Make sure that paper type is set to Envelope.
From the control panel, navigate to:
Settings
>
Paper
>
Tray Configuration
>
Paper Size/Type
b
Send the print job.
Does the envelope seal when printing?
Contact
The problem is
solved.
Collated printing does not work
Action
Yes
No
Step 1
a
From the control panel, navigate to:
Settings
>
>
Layout
>
Collate
b
Touch
On [1,2,1,2,1,2]
.
c
Print the document.
Is the document collated correctly?
The problem is
solved.
Go to step 2.
Troubleshooting
228
Summary of Contents for CX920
Page 164: ... Scanner glass Scanner glass pad 3 Close the scanner cover Maintaining the printer 164 ...
Page 172: ...5 Insert the new toner cartridge 6 Remove the waste toner bottle Maintaining the printer 172 ...
Page 177: ...8 Insert the waste toner bottle and then close the door Maintaining the printer 177 ...
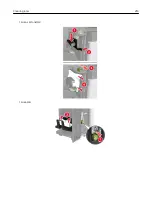
Page 207: ... Below the fuser area Duplex area Clearing jams 207 ...
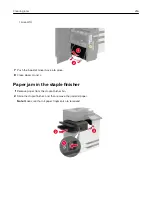
Page 212: ...2 Open door J Clearing jams 212 ...
Page 214: ... Areas H1 and H2 Area H6 Clearing jams 214 ...
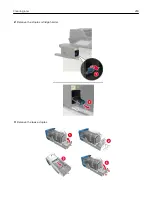
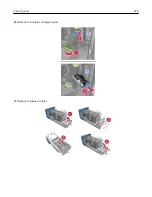
Page 218: ...2 Remove the staple cartridge holder 3 Remove the loose staples Clearing jams 218 ...
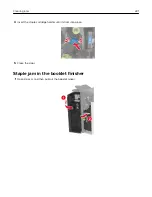
Page 220: ...2 Remove the staple cartridge holder 3 Remove the loose staples Clearing jams 220 ...
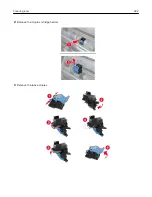
Page 222: ...2 Remove the staple cartridge holder 3 Remove the loose staples Clearing jams 222 ...
Page 276: ...6 Remove the controller board shield Upgrading and migrating 276 ...
Page 279: ...4 Remove the controller board shield Upgrading and migrating 279 ...
Page 285: ...7 Connect the tray connector to the printer 8 Open trays 2 and 3 Upgrading and migrating 285 ...
Page 290: ...9 Remove the stabilizing feet from the tray Upgrading and migrating 290 ...
Page 294: ...17 Secure the tray cable with the clamp Upgrading and migrating 294 ...
Page 301: ...7 Remove the paper guides 8 Attach the sensor cover Upgrading and migrating 301 ...
Page 307: ...8 Attach the finisher to the printer Upgrading and migrating 307 ...

