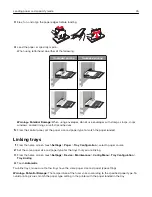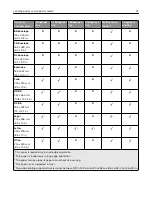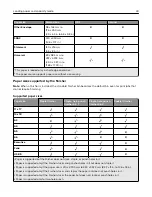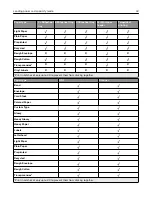
Loading paper and specialty media
Setting the size and type of the specialty media
The trays automatically detect the size of plain paper. For specialty media like labels, card stock, or envelopes,
do the following:
1
From the home screen, navigate to:
Settings
>
Paper
>
Tray Configuration
>
Paper Size/Type
> select a paper source
2
Set the size and type of the specialty media.
Configuring Universal paper settings
1
From the home screen, touch
Settings
>
Paper
>
Media Configuration
>
Universal Setup
.
2
Configure the settings.
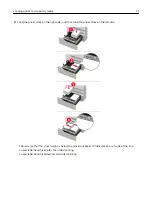
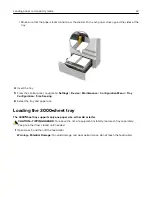
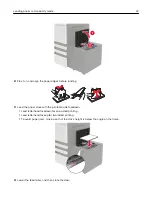
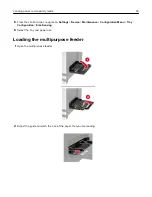
Loading trays
CAUTION—TIPPING HAZARD:
To reduce the risk of equipment instability, load each tray separately.
Keep all other trays closed until needed.
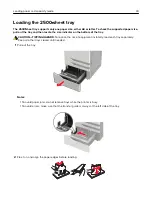
1
Pull out the tray.
Note:
Do not remove trays while the printer is busy.
Loading paper and specialty media
27
Summary of Contents for CX920
Page 164: ... Scanner glass Scanner glass pad 3 Close the scanner cover Maintaining the printer 164 ...
Page 172: ...5 Insert the new toner cartridge 6 Remove the waste toner bottle Maintaining the printer 172 ...
Page 177: ...8 Insert the waste toner bottle and then close the door Maintaining the printer 177 ...
Page 207: ... Below the fuser area Duplex area Clearing jams 207 ...
Page 212: ...2 Open door J Clearing jams 212 ...
Page 214: ... Areas H1 and H2 Area H6 Clearing jams 214 ...
Page 218: ...2 Remove the staple cartridge holder 3 Remove the loose staples Clearing jams 218 ...
Page 220: ...2 Remove the staple cartridge holder 3 Remove the loose staples Clearing jams 220 ...
Page 222: ...2 Remove the staple cartridge holder 3 Remove the loose staples Clearing jams 222 ...
Page 276: ...6 Remove the controller board shield Upgrading and migrating 276 ...
Page 279: ...4 Remove the controller board shield Upgrading and migrating 279 ...
Page 285: ...7 Connect the tray connector to the printer 8 Open trays 2 and 3 Upgrading and migrating 285 ...
Page 290: ...9 Remove the stabilizing feet from the tray Upgrading and migrating 290 ...
Page 294: ...17 Secure the tray cable with the clamp Upgrading and migrating 294 ...
Page 301: ...7 Remove the paper guides 8 Attach the sensor cover Upgrading and migrating 301 ...
Page 307: ...8 Attach the finisher to the printer Upgrading and migrating 307 ...

