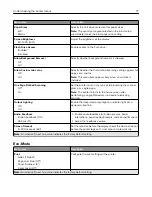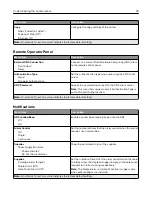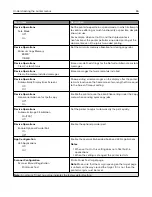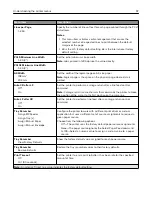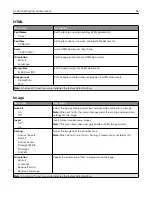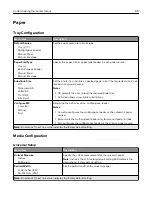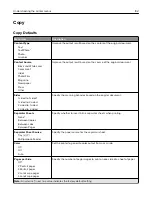
Layout
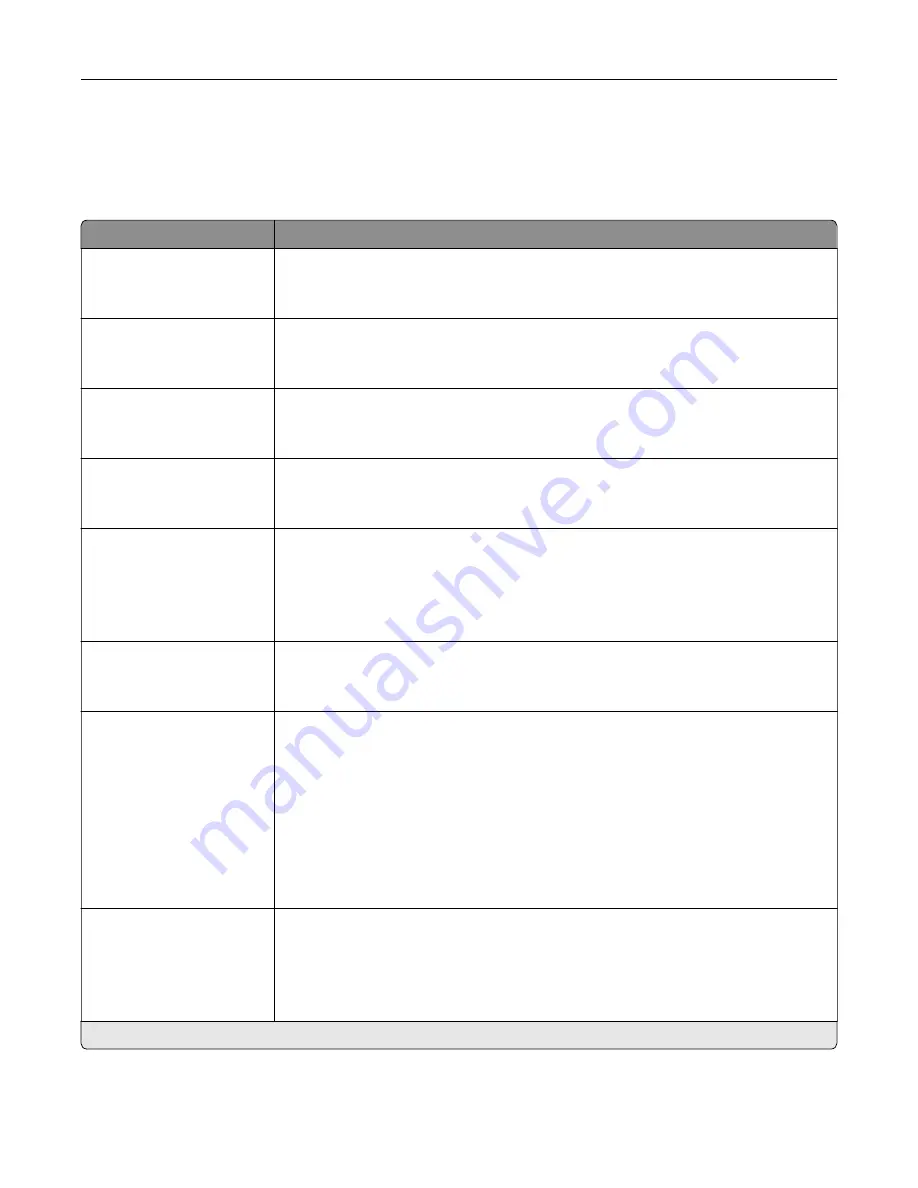
Menu item
Description
Sides
1
‑
Sided*
2
‑
Sided
Specify whether to print on one side or both sides of the paper.
Flip Style
Long Edge*
Short Edge
Determine which side of the paper is bound when performing two
‑
sided printing.
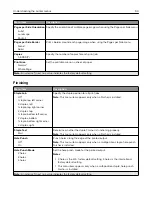
Blank Pages
Do Not Print*
Print blank pages that are included in a print job.
Collate
Off (1,1,1,2,2,2)
On (1,2,1,2,1,2)*
Keep the pages of a print job stacked in sequence, particularly when printing multiple
copies of the job.
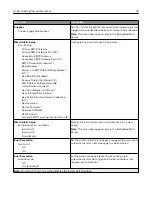
Separator Sheets
None*
Between Copies
Between Jobs
Between Pages
Insert blank separator sheets when printing.
Separator Sheet Source
Tray [x] (1*)
Multipurpose Feeder
Specify the paper source for the separator sheet.
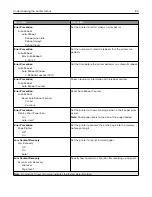
Pages per Side
Off*
2 pages per side
3 pages per side
4 pages per side
6 pages per side
9 pages per side
12 pages per side
16 pages per side
Print multiple page images on one side of a sheet of paper.
Pages per Side Ordering
Horizontal*
Reverse Horizontal
Vertical
Reverse Vertical
Specify the positioning of multiple page images when using the Pages per Side menu.
Note:
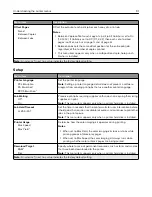
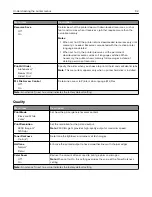
An asterisk (*) next to a value indicates the factory default setting.
Understanding the printer menus
89
Summary of Contents for CX920
Page 164: ... Scanner glass Scanner glass pad 3 Close the scanner cover Maintaining the printer 164 ...
Page 172: ...5 Insert the new toner cartridge 6 Remove the waste toner bottle Maintaining the printer 172 ...
Page 177: ...8 Insert the waste toner bottle and then close the door Maintaining the printer 177 ...
Page 207: ... Below the fuser area Duplex area Clearing jams 207 ...
Page 212: ...2 Open door J Clearing jams 212 ...
Page 214: ... Areas H1 and H2 Area H6 Clearing jams 214 ...
Page 218: ...2 Remove the staple cartridge holder 3 Remove the loose staples Clearing jams 218 ...
Page 220: ...2 Remove the staple cartridge holder 3 Remove the loose staples Clearing jams 220 ...
Page 222: ...2 Remove the staple cartridge holder 3 Remove the loose staples Clearing jams 222 ...
Page 276: ...6 Remove the controller board shield Upgrading and migrating 276 ...
Page 279: ...4 Remove the controller board shield Upgrading and migrating 279 ...
Page 285: ...7 Connect the tray connector to the printer 8 Open trays 2 and 3 Upgrading and migrating 285 ...
Page 290: ...9 Remove the stabilizing feet from the tray Upgrading and migrating 290 ...
Page 294: ...17 Secure the tray cable with the clamp Upgrading and migrating 294 ...
Page 301: ...7 Remove the paper guides 8 Attach the sensor cover Upgrading and migrating 301 ...
Page 307: ...8 Attach the finisher to the printer Upgrading and migrating 307 ...


