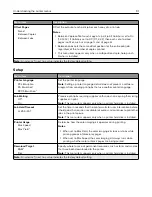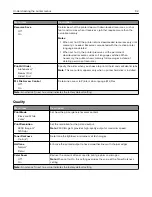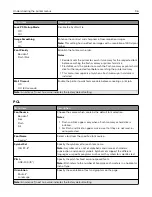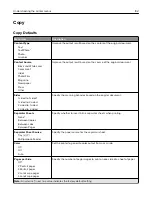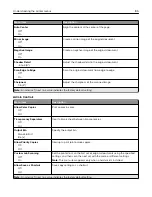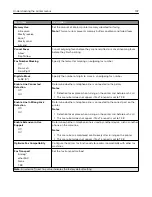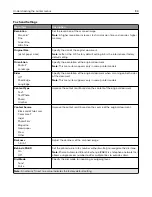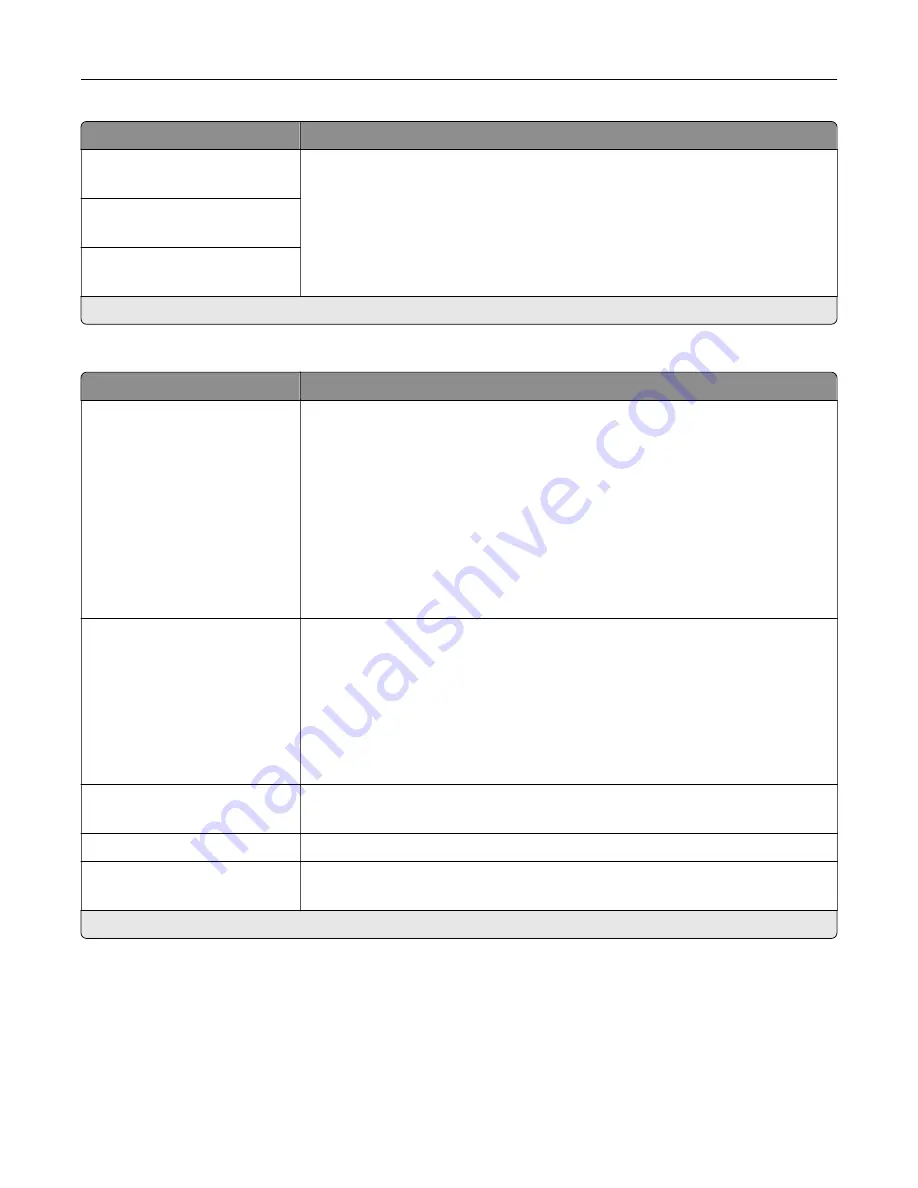
Menu item
Description
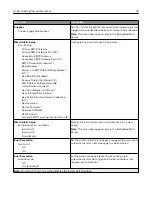
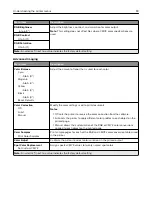
RGB Brightness
‑
6 to 6 (0*)
Adjust the brightness, contrast, and saturation for color output.
Note:
This setting does not affect files where CMYK color specifications are
used.
RGB Contrast
0 to 5 (0*)
RGB Saturation
0 to 5 (0*)
Note:
An asterisk (*) next to a value indicates the factory default setting.
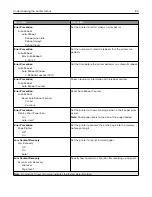
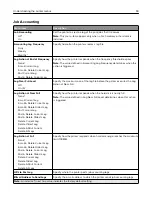
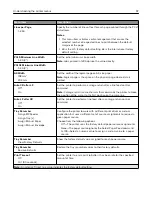
Advanced Imaging
Menu item
Description
Color Balance
Cyan
‑
5 to 5 (0*)
Magenta
‑
5 to 5 (0*)
Yellow
‑
5 to 5 (0*)
Black
‑
5 to 5 (0*)
Reset Defaults
Adjust the amount of toner that is used for each color.
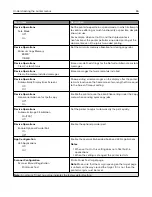
Color Correction
Off
Auto*
Manual
Modify the color settings used to print documents.
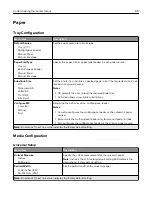
Notes:
•
Off sets the printer to receive the color correction from the software.
•
Auto sets the printer to apply different color profiles to each object on the
printed page.
•
Manual allows the customization of the RGB or CMYK color conversions
applied to each object on the printed page.
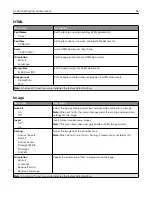
Color Samples
Print Color Samples
Print sample pages for each of the RGB and CMYK color conversion tables used
in the printer.
Color Adjust
Calibrate the printer to adjust color variations in the printed output.
Spot Color Replacement
Set Custom CMYK
Assign specific CMYK values to twenty named spot colors.
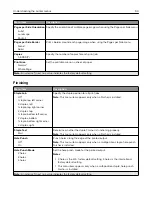
Note:
An asterisk (*) next to a value indicates the factory default setting.
Understanding the printer menus
93
Summary of Contents for CX920
Page 164: ... Scanner glass Scanner glass pad 3 Close the scanner cover Maintaining the printer 164 ...
Page 172: ...5 Insert the new toner cartridge 6 Remove the waste toner bottle Maintaining the printer 172 ...
Page 177: ...8 Insert the waste toner bottle and then close the door Maintaining the printer 177 ...
Page 207: ... Below the fuser area Duplex area Clearing jams 207 ...
Page 212: ...2 Open door J Clearing jams 212 ...
Page 214: ... Areas H1 and H2 Area H6 Clearing jams 214 ...
Page 218: ...2 Remove the staple cartridge holder 3 Remove the loose staples Clearing jams 218 ...
Page 220: ...2 Remove the staple cartridge holder 3 Remove the loose staples Clearing jams 220 ...
Page 222: ...2 Remove the staple cartridge holder 3 Remove the loose staples Clearing jams 222 ...
Page 276: ...6 Remove the controller board shield Upgrading and migrating 276 ...
Page 279: ...4 Remove the controller board shield Upgrading and migrating 279 ...
Page 285: ...7 Connect the tray connector to the printer 8 Open trays 2 and 3 Upgrading and migrating 285 ...
Page 290: ...9 Remove the stabilizing feet from the tray Upgrading and migrating 290 ...
Page 294: ...17 Secure the tray cable with the clamp Upgrading and migrating 294 ...
Page 301: ...7 Remove the paper guides 8 Attach the sensor cover Upgrading and migrating 301 ...
Page 307: ...8 Attach the finisher to the printer Upgrading and migrating 307 ...

