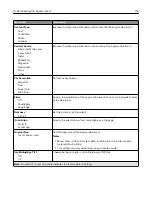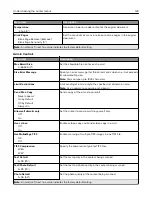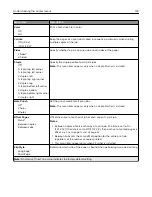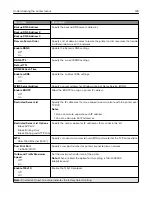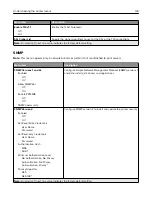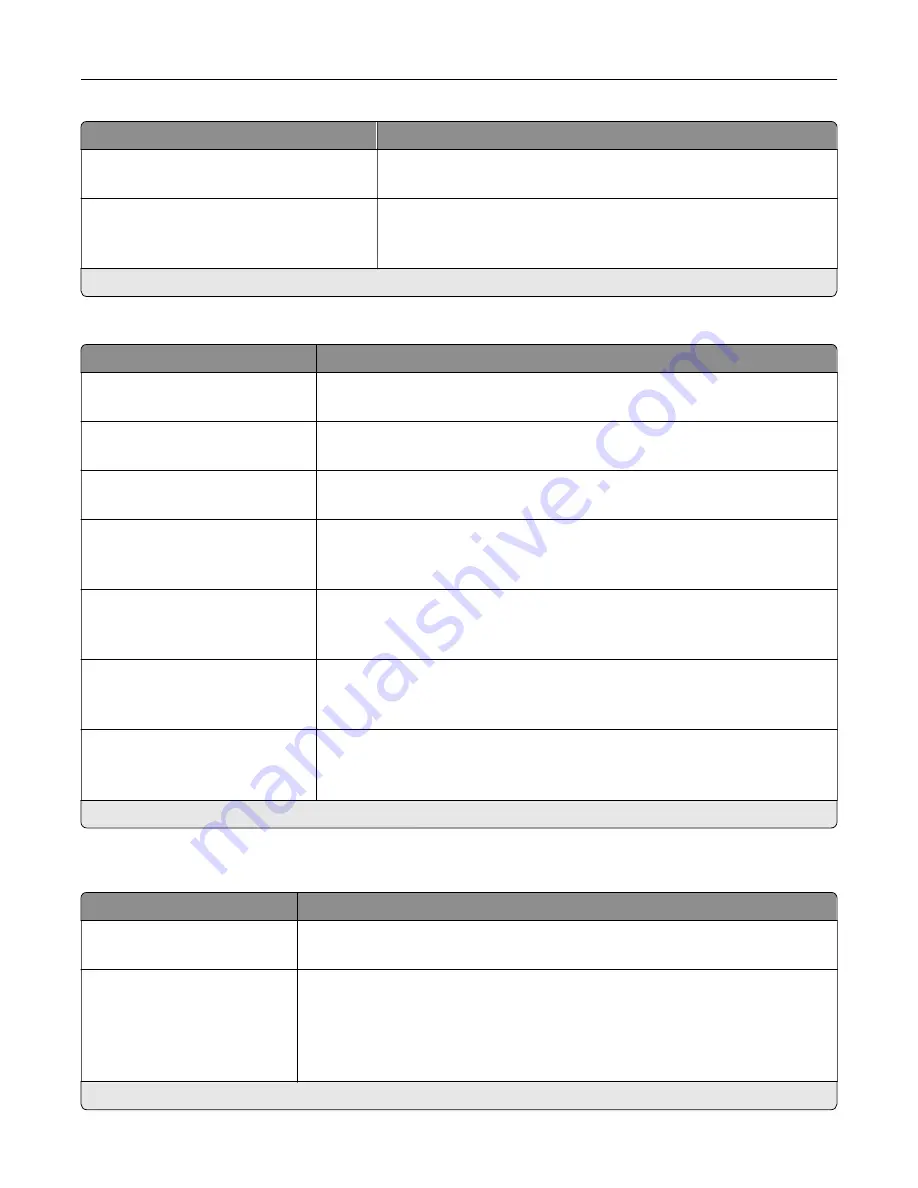
Menu item
Description
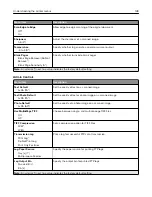
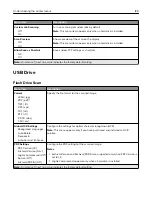
Temperature
‑
4 to 4 (0*)
Generate a bluer or redder output of the original document.
Blank Pages
Blank Page Removal (Do Not Remove*)
Blank Page Sensitivity (5*)
Set the sensitivity of scans in relation to blank pages in the original
document.
Note:
An asterisk (*) next to a value indicates the factory default setting.
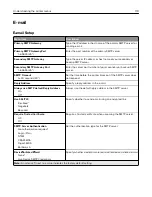
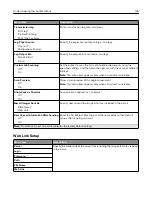
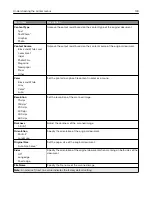
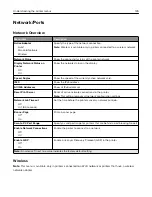
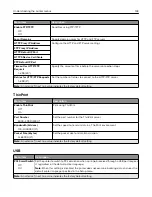
Admin Controls
Menu item
Description
Text Default
5–95 (75*)
Set the quality of text on the scanned image.
Text/Photo Default
5–95 (75*)
Set the quality of text and photo on the scanned image.
Photo Default
5–95 (50*)
Set the quality of a photo on the scanned image.
Use Multi
‑
Page TIFF
Off
On*
Enable scanning of multiple TIFF images in one TIFF file.
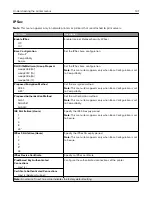
TIFF Compression
LZW*
JPEG
Specify the compression type for TIFF files.
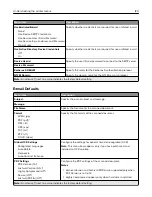
Custom Job Scanning
Off*
On
Set the printer to scan the first set of original documents using the specified
settings, and then scan the next set with the same or different settings.
Note:
This menu item appears only when a hard disk is installed.
Scan Preview
Off
On*
Show a scan preview of the original document.
Note:
This menu item appears only when a hard disk is installed.
Note:
An asterisk (*) next to a value indicates the factory default setting.
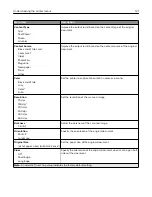
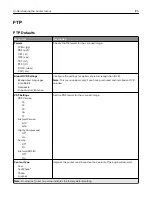
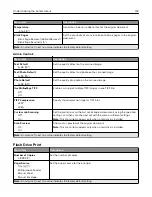
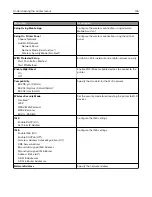
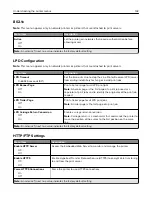
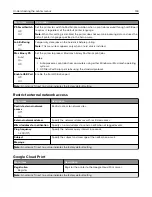
Flash Drive Print
Menu item
Description
Number of Copies
1–9999 (1*)
Set the number of copies.
Paper Source
Tray [x] (1*)
Multipurpose Feeder
Manual Paper
Manual Envelope
Set the paper source for the print job.
Note:
An asterisk (*) next to a value indicates the factory default setting.
Understanding the printer menus
132
Summary of Contents for CX920
Page 164: ... Scanner glass Scanner glass pad 3 Close the scanner cover Maintaining the printer 164 ...
Page 172: ...5 Insert the new toner cartridge 6 Remove the waste toner bottle Maintaining the printer 172 ...
Page 177: ...8 Insert the waste toner bottle and then close the door Maintaining the printer 177 ...
Page 207: ... Below the fuser area Duplex area Clearing jams 207 ...
Page 212: ...2 Open door J Clearing jams 212 ...
Page 214: ... Areas H1 and H2 Area H6 Clearing jams 214 ...
Page 218: ...2 Remove the staple cartridge holder 3 Remove the loose staples Clearing jams 218 ...
Page 220: ...2 Remove the staple cartridge holder 3 Remove the loose staples Clearing jams 220 ...
Page 222: ...2 Remove the staple cartridge holder 3 Remove the loose staples Clearing jams 222 ...
Page 276: ...6 Remove the controller board shield Upgrading and migrating 276 ...
Page 279: ...4 Remove the controller board shield Upgrading and migrating 279 ...
Page 285: ...7 Connect the tray connector to the printer 8 Open trays 2 and 3 Upgrading and migrating 285 ...
Page 290: ...9 Remove the stabilizing feet from the tray Upgrading and migrating 290 ...
Page 294: ...17 Secure the tray cable with the clamp Upgrading and migrating 294 ...
Page 301: ...7 Remove the paper guides 8 Attach the sensor cover Upgrading and migrating 301 ...
Page 307: ...8 Attach the finisher to the printer Upgrading and migrating 307 ...

