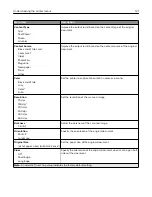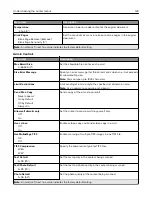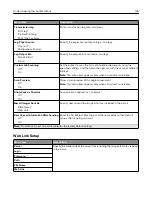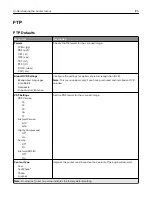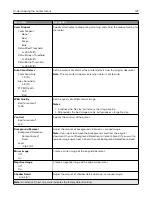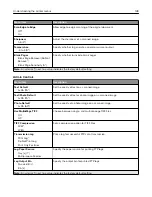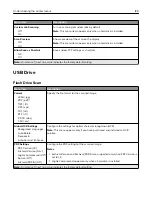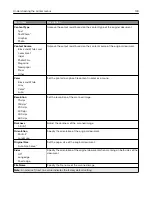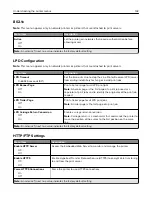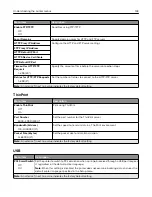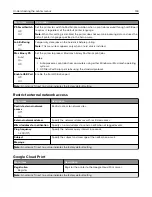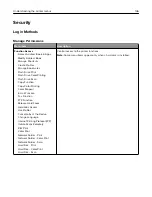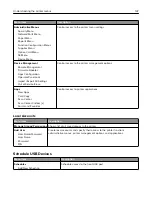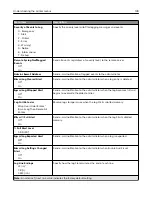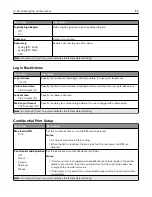
Network/Ports
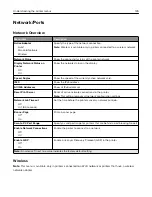
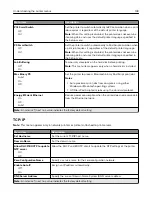
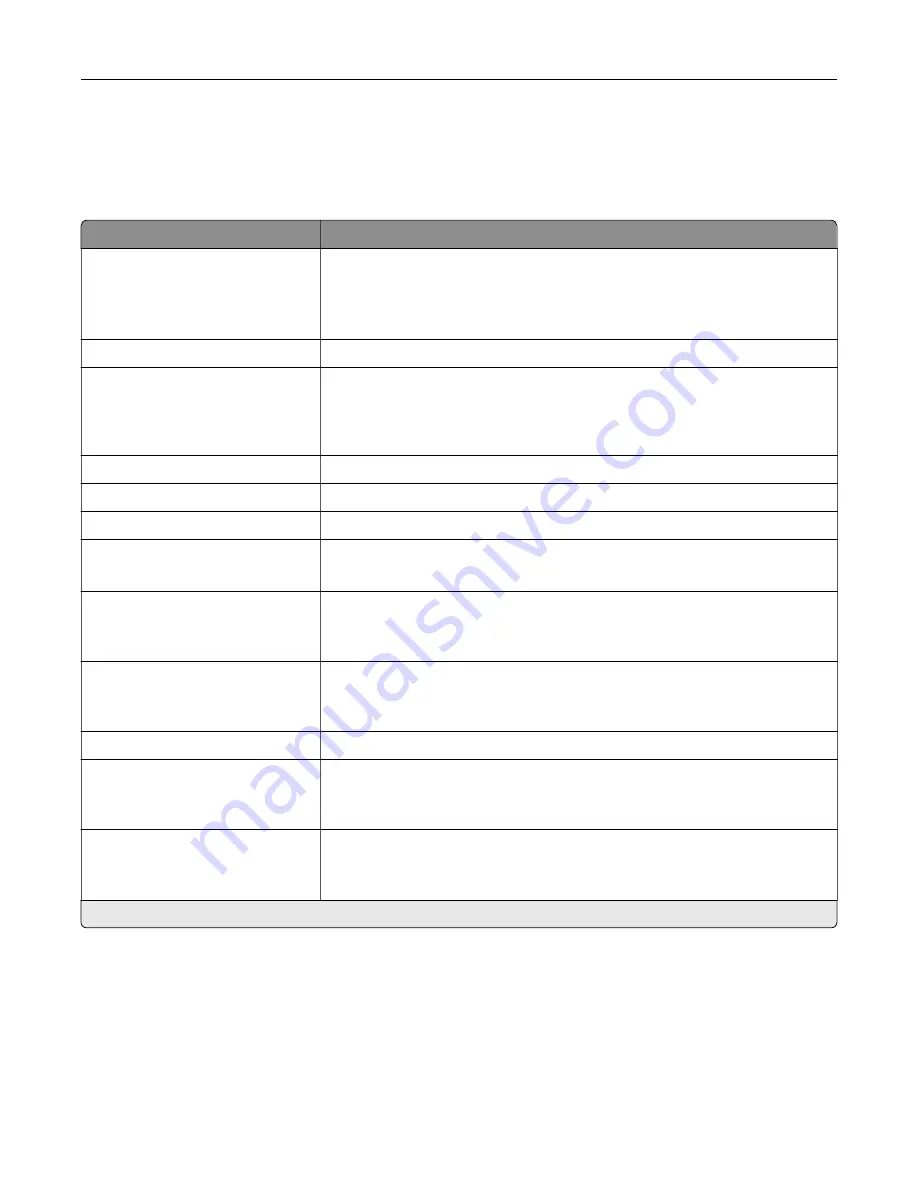
Network Overview
Menu item
Description
Active Adapter
Auto*
Standard Network
Wireless
Specify the type of the network connection.
Note:
Wireless is available only in printers connected to a wireless network.
Network Status
Show the connectivity status of the printer network.
Display Network Status on
Printer
Off
On*
Show the network status on the display.
Speed, Duplex
Show the speed of the currently active network card.
IPv4
Show the IPv4 address.
All IPv6 Addresses
Show all IPv6 addresses.
Reset Print Server
Reset all active network connections to the printer.
Note:
This setting removes all network configuration settings.
Network Job Timeout
Off
On* (90 seconds)
Set the time before the printer cancels a network print job.
Banner Page
Off*
On
Print a banner page.
Scan to PC Port Range
Specify a valid port range for printers that are behind a port blocking firewall.
Enable Network Connections
Off
On*
Enable the printer to connect to a network.
Enable LLDP
Off*
On
Enable Link Layer Discovery Protocol (LLDP) in the printer.
Note:
An asterisk (*) next to a value indicates the factory default setting.
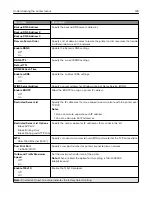
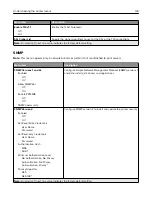
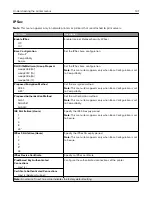
Wireless
Note:
This menu is available only in printers connected to a Wi
‑
Fi network or printers that have a wireless
network adapter.
Understanding the printer menus
135
Summary of Contents for CX920
Page 164: ... Scanner glass Scanner glass pad 3 Close the scanner cover Maintaining the printer 164 ...
Page 172: ...5 Insert the new toner cartridge 6 Remove the waste toner bottle Maintaining the printer 172 ...
Page 177: ...8 Insert the waste toner bottle and then close the door Maintaining the printer 177 ...
Page 207: ... Below the fuser area Duplex area Clearing jams 207 ...
Page 212: ...2 Open door J Clearing jams 212 ...
Page 214: ... Areas H1 and H2 Area H6 Clearing jams 214 ...
Page 218: ...2 Remove the staple cartridge holder 3 Remove the loose staples Clearing jams 218 ...
Page 220: ...2 Remove the staple cartridge holder 3 Remove the loose staples Clearing jams 220 ...
Page 222: ...2 Remove the staple cartridge holder 3 Remove the loose staples Clearing jams 222 ...
Page 276: ...6 Remove the controller board shield Upgrading and migrating 276 ...
Page 279: ...4 Remove the controller board shield Upgrading and migrating 279 ...
Page 285: ...7 Connect the tray connector to the printer 8 Open trays 2 and 3 Upgrading and migrating 285 ...
Page 290: ...9 Remove the stabilizing feet from the tray Upgrading and migrating 290 ...
Page 294: ...17 Secure the tray cable with the clamp Upgrading and migrating 294 ...
Page 301: ...7 Remove the paper guides 8 Attach the sensor cover Upgrading and migrating 301 ...
Page 307: ...8 Attach the finisher to the printer Upgrading and migrating 307 ...

