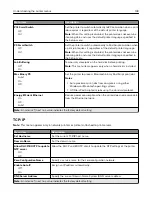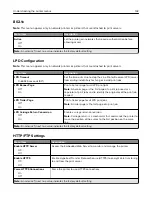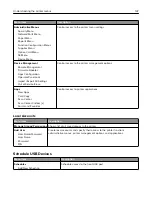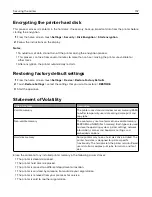
Erase Temporary Data Files
Menu item
Description
Stored in onboard memory
Off*
On
Delete all files stored on the printer memory.
Stored on hard disk
1 Pass Erase*
3 Pass Erase
7 Pass Erase
Delete all files stored on the printer hard disk.
Note:
This menu item appears only when a printer hard disk is installed.
Note:
An asterisk (*) next to a value indicates the factory default setting.
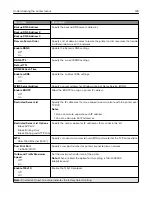
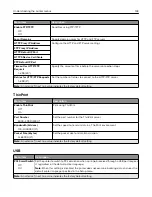
Solutions LDAP Settings
Menu item
Description
Follow LDAP Referrals
Off*
On
Search the different servers in the domain for the logged-in user account.
LDAP Certificate Verification
Yes
No*
Enable verification of LDAP certificates.
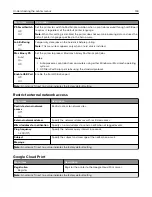
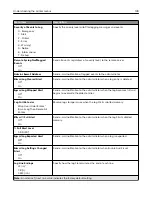
Miscellaneous
Menu item
Description
Protected Features
Show*
Hide
Show all the features that Function Access Control (FAC) protects regardless
of the security permission that the user has.
Note:
Hide displays only FAC
‑
protected features that the user has access.
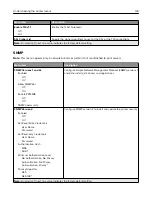
Print Permission
Off*
On
Let the user log in before printing.
Default Print Permission Login
User Name/Password*
User Name
Set the default login for Print Permission.
Security Reset Jumper
Enable “Guest” access*
No Effect
Specify user access to the printer.
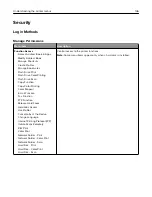
Notes:
•
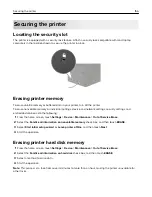
The jumper is located beside a lock icon on the controller board.
•
Enable “Guest” access provides anyone access to all aspects of the
printer.
•
No Effect may make access to the printer impossible when the required
security information is unavailable.
Note:
An asterisk (*) next to a value indicates the factory default setting.
Understanding the printer menus
152
Summary of Contents for CX920
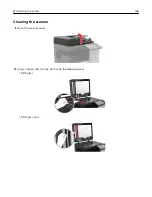
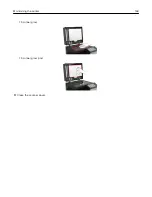
Page 164: ... Scanner glass Scanner glass pad 3 Close the scanner cover Maintaining the printer 164 ...
Page 172: ...5 Insert the new toner cartridge 6 Remove the waste toner bottle Maintaining the printer 172 ...
Page 177: ...8 Insert the waste toner bottle and then close the door Maintaining the printer 177 ...
Page 207: ... Below the fuser area Duplex area Clearing jams 207 ...
Page 212: ...2 Open door J Clearing jams 212 ...
Page 214: ... Areas H1 and H2 Area H6 Clearing jams 214 ...
Page 218: ...2 Remove the staple cartridge holder 3 Remove the loose staples Clearing jams 218 ...
Page 220: ...2 Remove the staple cartridge holder 3 Remove the loose staples Clearing jams 220 ...
Page 222: ...2 Remove the staple cartridge holder 3 Remove the loose staples Clearing jams 222 ...
Page 276: ...6 Remove the controller board shield Upgrading and migrating 276 ...
Page 279: ...4 Remove the controller board shield Upgrading and migrating 279 ...
Page 285: ...7 Connect the tray connector to the printer 8 Open trays 2 and 3 Upgrading and migrating 285 ...
Page 290: ...9 Remove the stabilizing feet from the tray Upgrading and migrating 290 ...
Page 294: ...17 Secure the tray cable with the clamp Upgrading and migrating 294 ...
Page 301: ...7 Remove the paper guides 8 Attach the sensor cover Upgrading and migrating 301 ...
Page 307: ...8 Attach the finisher to the printer Upgrading and migrating 307 ...

