Troubleshooting
Network connection problems
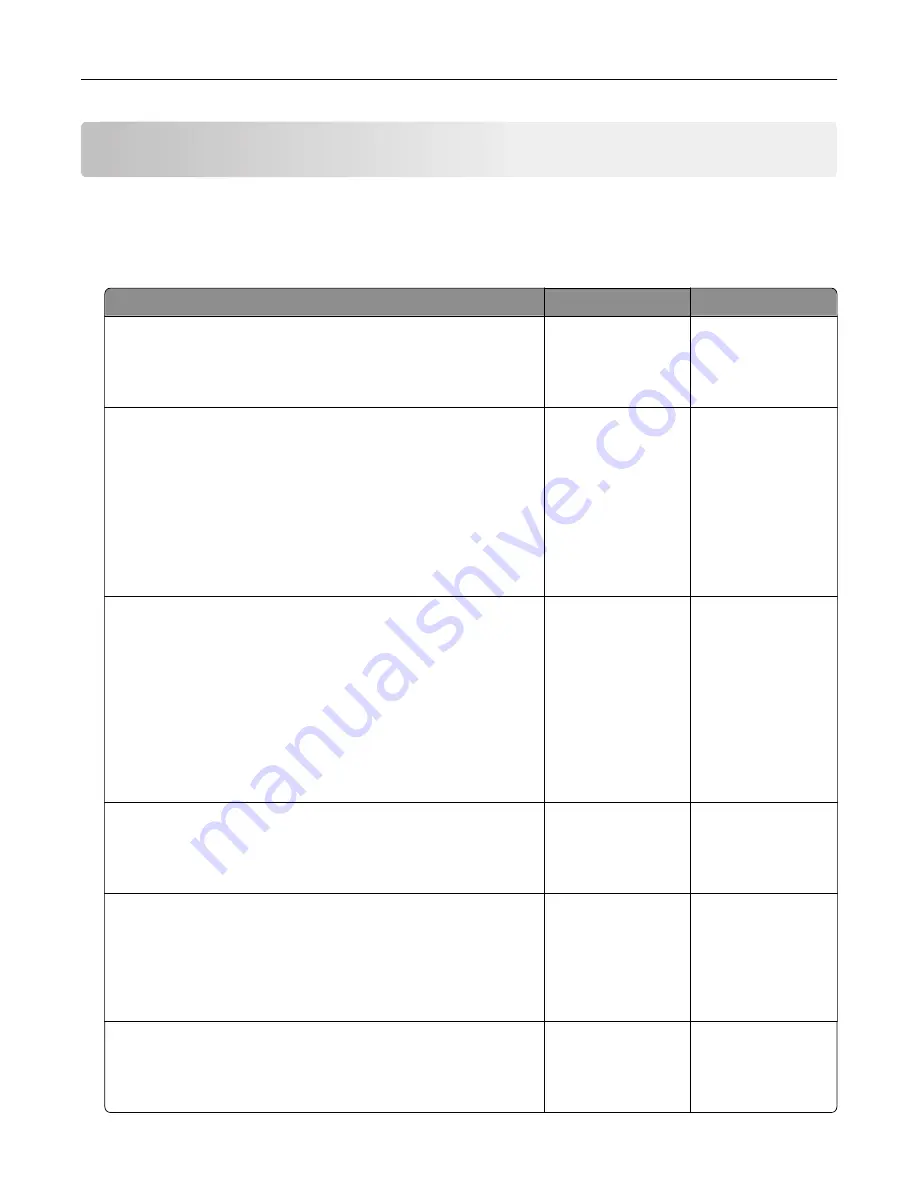
Cannot open Embedded Web Server
Action
Yes
No
Step 1
Check if the printer is on.
Is the printer on?
Go to step 2.
Turn on the printer.
Step 2
Make sure that the printer IP address is correct.
Notes:
•
View the IP address on the home screen.
•
An IP address appears as four sets of numbers separated by
periods, such as 123.123.123.123.
Is the printer IP address correct?
Go to step 3.
Type the correct
printer IP address in
the address field.
Step 3
Check if you are using a supported browser:
•
Internet Explorer version 11 or later
•
Microsoft Edge
•
Safari version 6 or later
•
Google Chrome
TM
version 32 or later
•
Mozilla Firefox version 24 or later
Is your browser supported?
Go to step 4.
Install a supported
browser.
Step 4
Check if the network connection is working.
Is the network connection working?
Go to step 5.
Contact your
administrator.
Step 5
Make sure that the cable connections to the printer and print server
are secure. For more information, see the documentation that
came with the printer.
Are the cable connections secure?
Go to step 6.
Secure the cable
connections.
Step 6
Check if the web proxy servers are disabled.
Are the web proxy servers disabled?
Go to step 7.
Contact your
administrator.
Troubleshooting
224
Summary of Contents for CX920
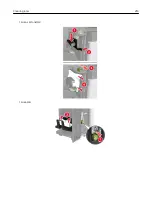
Page 164: ... Scanner glass Scanner glass pad 3 Close the scanner cover Maintaining the printer 164 ...
Page 172: ...5 Insert the new toner cartridge 6 Remove the waste toner bottle Maintaining the printer 172 ...
Page 177: ...8 Insert the waste toner bottle and then close the door Maintaining the printer 177 ...
Page 207: ... Below the fuser area Duplex area Clearing jams 207 ...
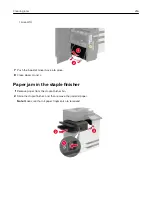
Page 212: ...2 Open door J Clearing jams 212 ...
Page 214: ... Areas H1 and H2 Area H6 Clearing jams 214 ...
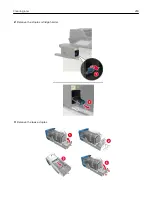
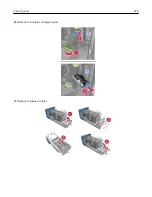
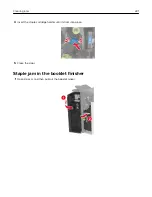
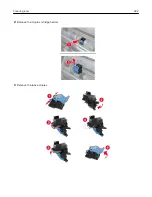
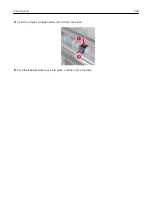
Page 218: ...2 Remove the staple cartridge holder 3 Remove the loose staples Clearing jams 218 ...
Page 220: ...2 Remove the staple cartridge holder 3 Remove the loose staples Clearing jams 220 ...
Page 222: ...2 Remove the staple cartridge holder 3 Remove the loose staples Clearing jams 222 ...
Page 276: ...6 Remove the controller board shield Upgrading and migrating 276 ...
Page 279: ...4 Remove the controller board shield Upgrading and migrating 279 ...
Page 285: ...7 Connect the tray connector to the printer 8 Open trays 2 and 3 Upgrading and migrating 285 ...
Page 290: ...9 Remove the stabilizing feet from the tray Upgrading and migrating 290 ...
Page 294: ...17 Secure the tray cable with the clamp Upgrading and migrating 294 ...
Page 301: ...7 Remove the paper guides 8 Attach the sensor cover Upgrading and migrating 301 ...
Page 307: ...8 Attach the finisher to the printer Upgrading and migrating 307 ...

