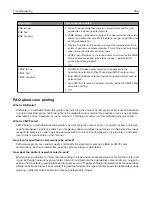
Action
Yes
No
Step 2
a
Depending on your operating system, specify the paper size
and paper type from the Printing Preferences or Print dialog.
Note:
You can also change the settings on the printer control
panel. Navigate to:
Settings
>
Paper
>
Tray Configuration
>
Paper Size/Type
b
Make sure that the settings match the paper loaded.
c
Print the document.
Is the document printed on the correct paper?
The problem is
solved.
Go to step 3.
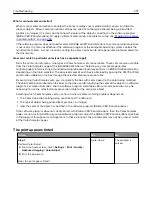
Step 3
a
Check if the trays are linked.
For more information, see
b
Print the document.
Is the document printed from the correct tray?
The problem is
solved.
Contact
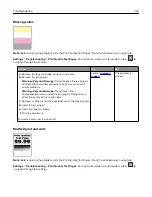
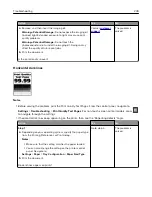
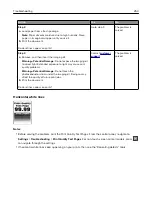
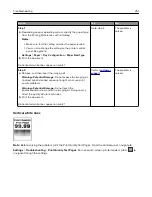
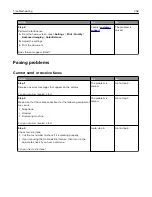
Color quality problems
Adjusting toner darkness
1
From the home screen, touch
Settings
>
>
Quality
.
2
Adjust the toner darkness.
3
Apply the changes.
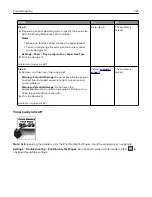
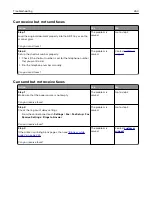
Modifying the colors in printed output
1
From the home screen, touch
Settings
>
>
Quality
>
Advanced Imaging
>
Color Correction
.
2
In the Color Correction menu, touch
Manual
>
Color Correction Content
.
3
Choose the appropriate color conversion setting.
Troubleshooting
255
Summary of Contents for CX920
Page 164: ... Scanner glass Scanner glass pad 3 Close the scanner cover Maintaining the printer 164 ...
Page 172: ...5 Insert the new toner cartridge 6 Remove the waste toner bottle Maintaining the printer 172 ...
Page 177: ...8 Insert the waste toner bottle and then close the door Maintaining the printer 177 ...
Page 207: ... Below the fuser area Duplex area Clearing jams 207 ...
Page 212: ...2 Open door J Clearing jams 212 ...
Page 214: ... Areas H1 and H2 Area H6 Clearing jams 214 ...
Page 218: ...2 Remove the staple cartridge holder 3 Remove the loose staples Clearing jams 218 ...
Page 220: ...2 Remove the staple cartridge holder 3 Remove the loose staples Clearing jams 220 ...
Page 222: ...2 Remove the staple cartridge holder 3 Remove the loose staples Clearing jams 222 ...
Page 276: ...6 Remove the controller board shield Upgrading and migrating 276 ...
Page 279: ...4 Remove the controller board shield Upgrading and migrating 279 ...
Page 285: ...7 Connect the tray connector to the printer 8 Open trays 2 and 3 Upgrading and migrating 285 ...
Page 290: ...9 Remove the stabilizing feet from the tray Upgrading and migrating 290 ...
Page 294: ...17 Secure the tray cable with the clamp Upgrading and migrating 294 ...
Page 301: ...7 Remove the paper guides 8 Attach the sensor cover Upgrading and migrating 301 ...
Page 307: ...8 Attach the finisher to the printer Upgrading and migrating 307 ...


