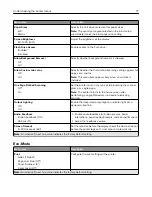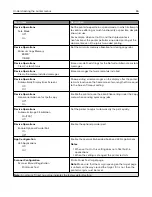
Visible Home Screen Icons
Menu
Description
Visible Home Screen Icons
Copy
E
‑
Fax
Status/Supplies
Job Queue
Change Language
Shortcut Center
Address Book
Bookmarks
Held Jobs
USB
FTP
Scan Profiles
App Profiles
Display Customization
Scan Center
Card Copy
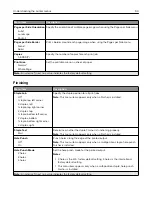
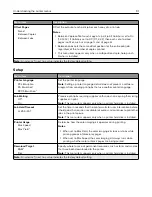
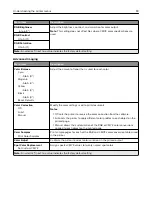
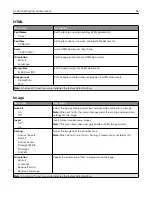
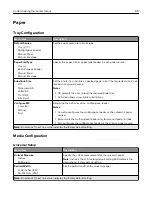
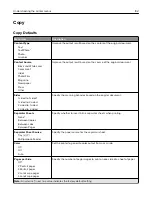
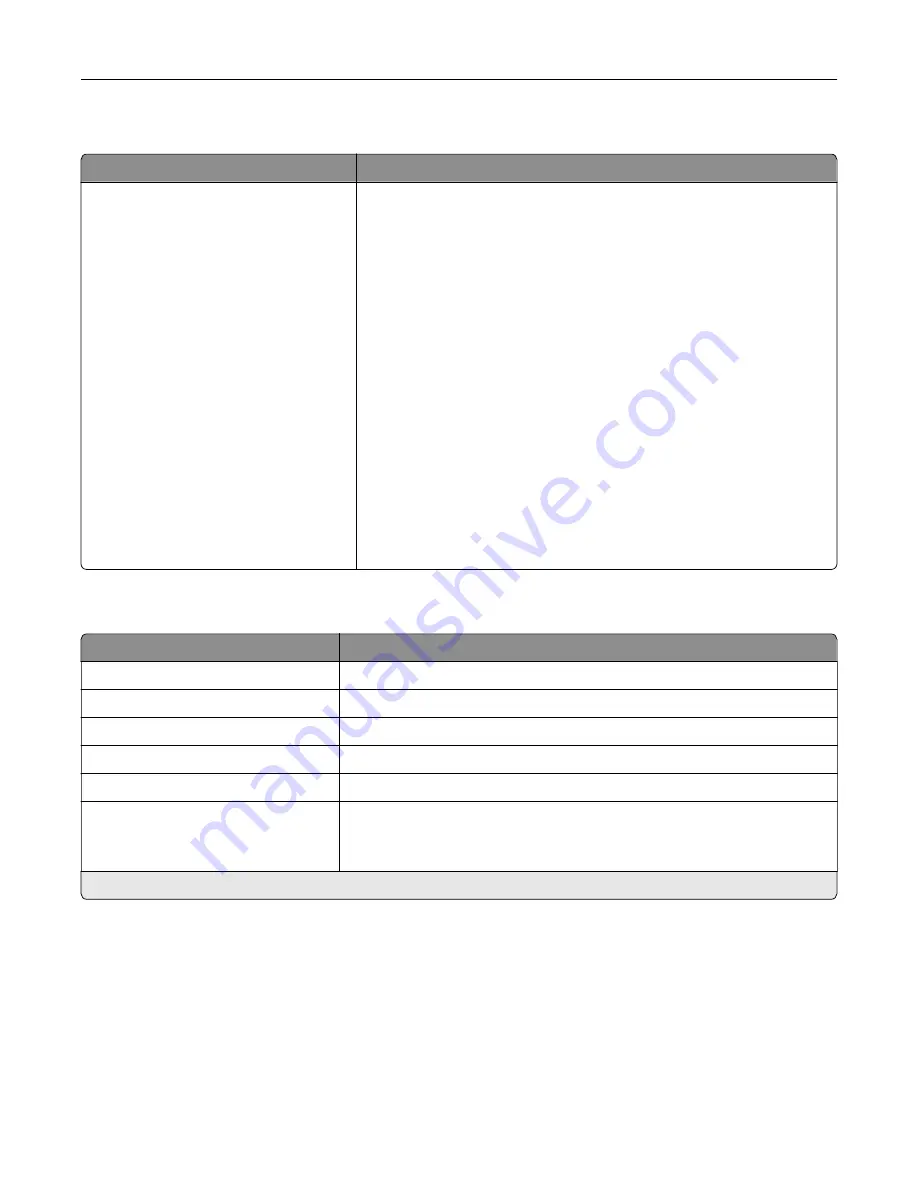
Specify which icons to show on the home screen.
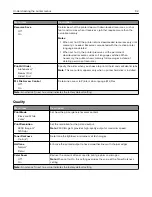
About this Printer
Menu item
Description
Asset Tag
Describe the printer. The maximum length is 32 characters.
Printer’s Location
Identify the printer location. The maximum length is 63 characters.
Contact
Personalize the printer name. The maximum length is 63 characters.
Export Configuration File to USB*
Export configuration files to a flash drive.
Export Compressed Logs to USB*
Export compressed log files to a flash drive.
Send Logs
Cancel
Send
Send diagnostic information to Lexmark.
* This menu item appears only in some printer models.
Understanding the printer menus
88
Summary of Contents for CX920
Page 164: ... Scanner glass Scanner glass pad 3 Close the scanner cover Maintaining the printer 164 ...
Page 172: ...5 Insert the new toner cartridge 6 Remove the waste toner bottle Maintaining the printer 172 ...
Page 177: ...8 Insert the waste toner bottle and then close the door Maintaining the printer 177 ...
Page 207: ... Below the fuser area Duplex area Clearing jams 207 ...
Page 212: ...2 Open door J Clearing jams 212 ...
Page 214: ... Areas H1 and H2 Area H6 Clearing jams 214 ...
Page 218: ...2 Remove the staple cartridge holder 3 Remove the loose staples Clearing jams 218 ...
Page 220: ...2 Remove the staple cartridge holder 3 Remove the loose staples Clearing jams 220 ...
Page 222: ...2 Remove the staple cartridge holder 3 Remove the loose staples Clearing jams 222 ...
Page 276: ...6 Remove the controller board shield Upgrading and migrating 276 ...
Page 279: ...4 Remove the controller board shield Upgrading and migrating 279 ...
Page 285: ...7 Connect the tray connector to the printer 8 Open trays 2 and 3 Upgrading and migrating 285 ...
Page 290: ...9 Remove the stabilizing feet from the tray Upgrading and migrating 290 ...
Page 294: ...17 Secure the tray cable with the clamp Upgrading and migrating 294 ...
Page 301: ...7 Remove the paper guides 8 Attach the sensor cover Upgrading and migrating 301 ...
Page 307: ...8 Attach the finisher to the printer Upgrading and migrating 307 ...


