Repair information
4-27
4048-1xx
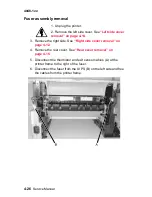
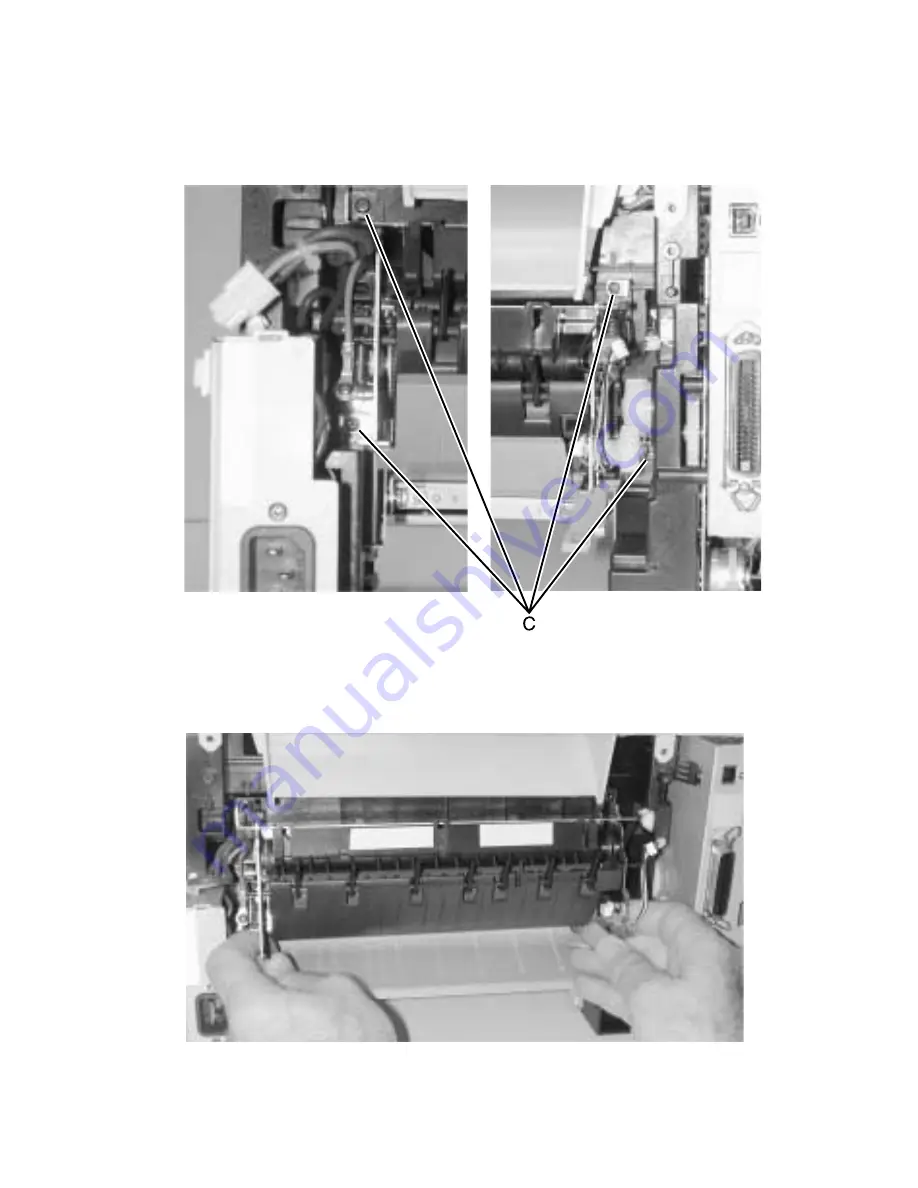
7. Using a long shank Phillips screwdriver, remove the four
screws (C) which fasten the fuser metal frame to the printer
frame.
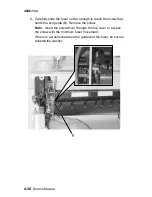
8. Carefully slide the fuser out while pressing the duplex diverter.
Non-duplex models do not have the diverter. The front cover
door must be closed to remove the fuser.
Summary of Contents for T 430
Page 14: ...xiv Service Manual 4048 1xx Japanese Laser Notice Chinese Laser Notice ...
Page 15: ...Laser notices xv 4048 1xx Korean Laser Notice ...
Page 16: ...xvi Service Manual 4048 1xx ...
Page 21: ...Safety information xxi 4048 1xx ...
Page 34: ...1 12 Service Manual 4048 1xx ...
Page 122: ...3 28 Service Manual 4048 1xx ...
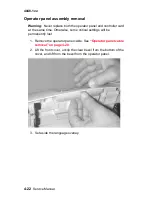
Page 143: ...Repair information 4 21 4048 1xx 8 Disconnect the cable from the operator panel card ...
Page 202: ...4 80 Service Manual 4048 1xx 8 Remove the bellcrank while holding the link guide ...
Page 205: ...Locations and connections 5 1 4048 1xx 5 Locations and connections Exterior locations ...
Page 216: ...6 4 Service Manual 4048 1xx ...
Page 218: ...7 2 Service Manual 4048 1xx Assembly 1 Covers ...
Page 220: ...7 4 Service Manual 4048 1xx Assembly 2 Paper feed ...
Page 222: ...7 6 Service Manual 4048 1xx Assembly 3 Frame ...
Page 226: ...7 10 Service Manual 4048 1xx Assembly 6 Charging ...
Page 228: ...7 12 Service Manual 4048 1xx Assembly 7 Electronics and cables 1 ...
Page 230: ...7 14 Service Manual 4048 1xx Assembly 8 Electronics and cables 2 ...
Page 232: ...7 16 Service Manual 4048 1xx Assembly 8 cont Electronics and cables II ...
Page 234: ...7 18 Service Manual 4048 1xx Assembly 9 Sensors ...
Page 236: ...7 20 Service Manual 4048 1xx Assembly 10 Options 1 2 3 4 ...
Page 249: ......


