28
3
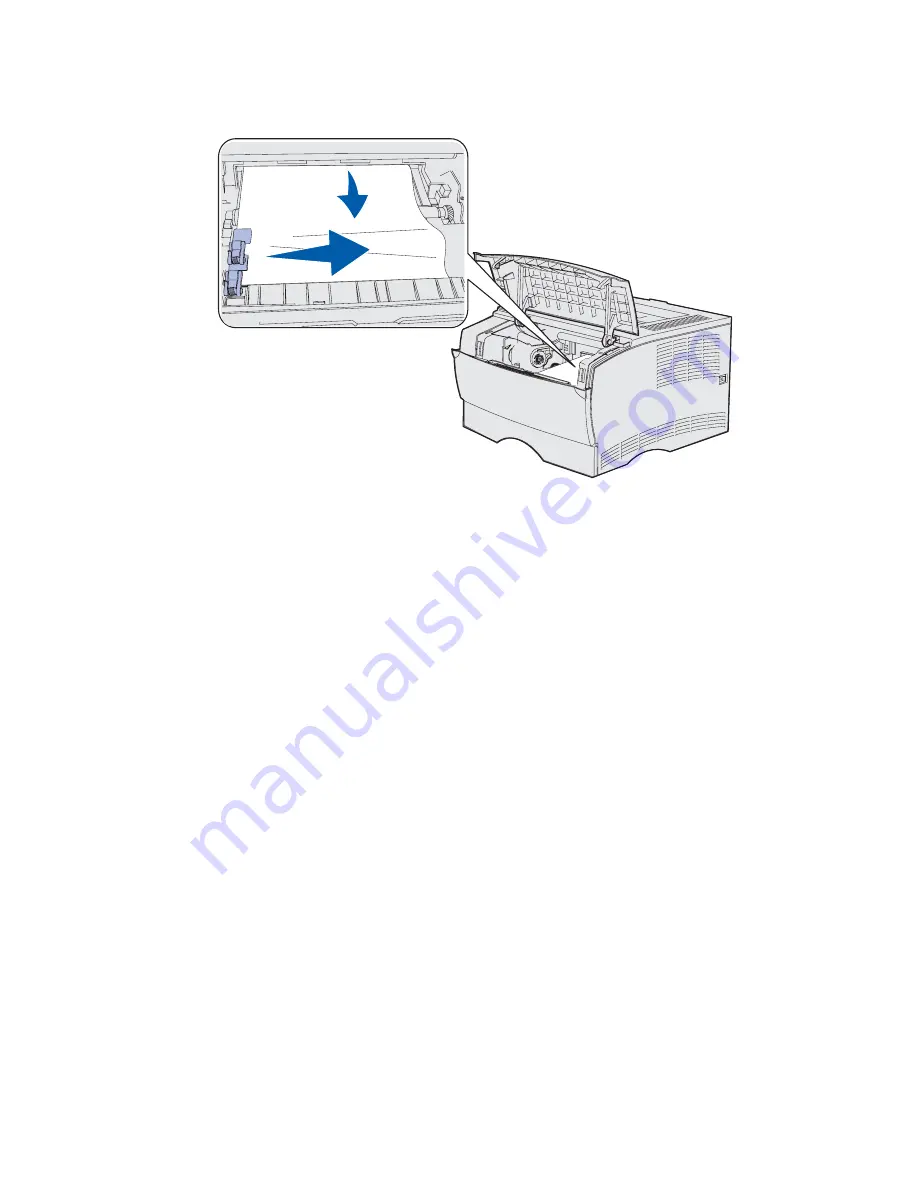
With both hands, pull the print media to the right, and then out.
Note: If the print media resists, stop pulling and access it from the rear output bin door.
See
Jams behind the upper front door and the rear output bin door
to
continue.
4
Reinstall the print cartridge. (See pages
72
through
73
of
Installing the new print cartridge
for instructions.)
5
Close the upper front door.
Jams behind the upper front door and the rear output bin door
Jams in these areas require opening the rear output bin door and the upper front door:
•
The print media jams before reaching the standard output bin. See
Before reaching the
standard output bin
.
•
The print media jams before exiting completely into the standard output bin. See
Exiting to
the standard output bin
.
Summary of Contents for T420
Page 1: ...www lexmark com User s Reference June 2002 Lexmark T420 ...
Page 2: ......
Page 43: ...43 2 Raise the cover 3 Press down on the metal plate until it locks into place ...
Page 47: ...47 11 Close the cover 12 Insert the tray ...
Page 50: ...50 3 Pull the extension out 4 Gently press down on the ridge The extension unfolds Ridge ...
Page 64: ...64 If the multipurpose feeder become empty the following light sequence is displayed ...


