83
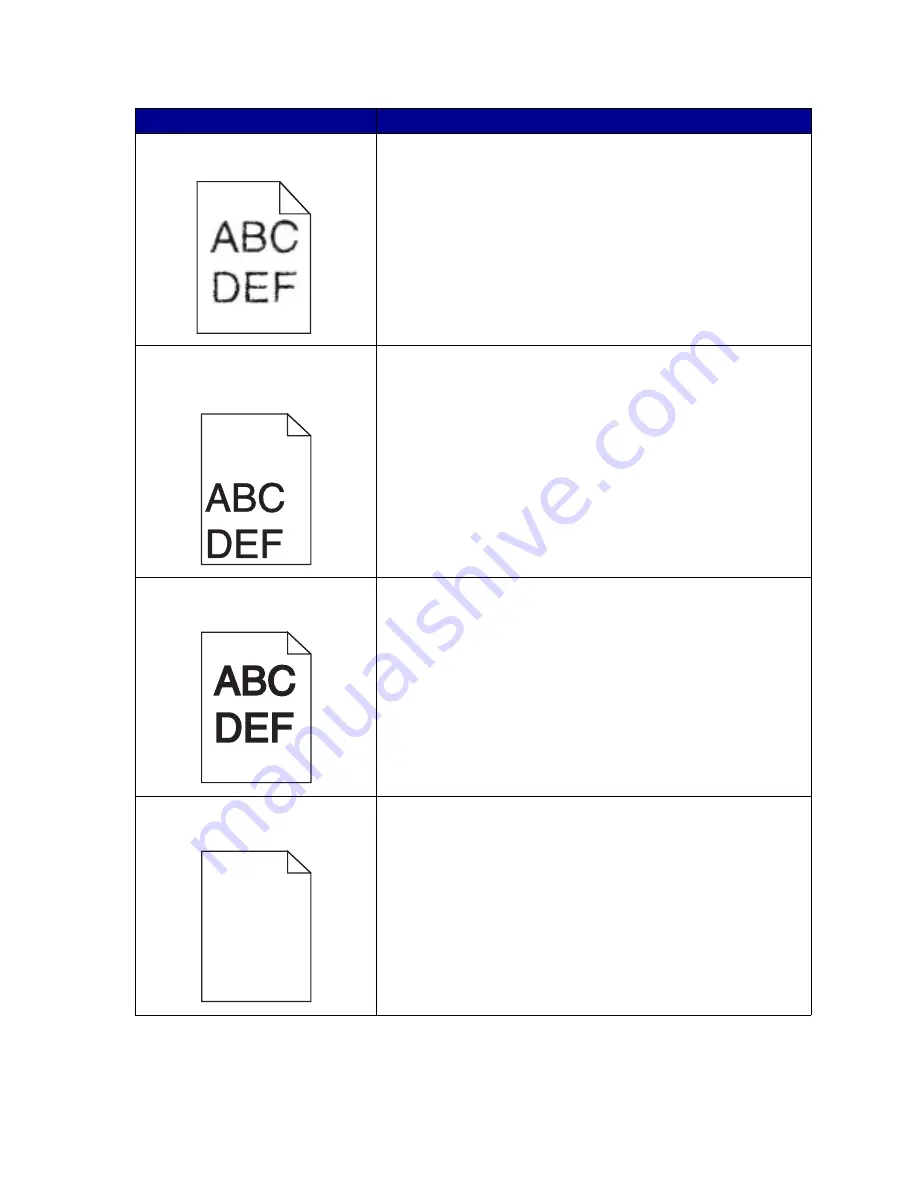
Characters have jagged or uneven
edges, or image quality is poor.
• Change the
Print Resolution setting in the printer driver or in
the Local Printer Setup Utility. Use a print resolution higher
than 300 dots per inch (dpi). For more information, see
Using
the Local Printer Setup Utility
.
• If you are using downloaded fonts, verify that the fonts are
supported by the printer, the host computer, and the software
application.
• Resolution was automatically reduced. Reduce the
complexity of the print job or add printer memory.
The job prints, but the left and top
margins are incorrect.
• Make sure the Paper Size setting is set correctly in the printer
driver or in the Local Printer Setup Utility.
• Verify that the Print Area setting in the printer driver or in the
Local Printer Setup Utility is correct. Print a menu settings
page to verify this. For more information, see
Printing the
menu settings page
and
Using the Local Printer Setup
Utility
.
• Make sure the margins are set correctly in your software
application.
Printing is too dark.
Change the Toner Darkness setting in the printer driver or in the Local
Printer Setup Utility. For more information, see
Using the Local
Printer Setup Utility
.
For Macintosh users: Make sure the lines per inch (lpi) setting is not set
too high in the software application.
Pages are blank.
• The print cartridge may be out of toner or defective. Replace
the used print cartridge with a new one. See
Replacing the
print cartridge
for instructions.
• You may have a software error. Try turning the printer off and
back on.
• Make sure the packaging material is removed from the print
cartridge. See
page 71
of
Replacing the print cartridge
for
information about removing the packaging.
• Check the print cartridge to be sure it is installed correctly.
See
Replacing the print cartridge
for more information.
Problem
Solution
Summary of Contents for T420
Page 1: ...www lexmark com User s Reference June 2002 Lexmark T420 ...
Page 2: ......
Page 43: ...43 2 Raise the cover 3 Press down on the metal plate until it locks into place ...
Page 47: ...47 11 Close the cover 12 Insert the tray ...
Page 50: ...50 3 Pull the extension out 4 Gently press down on the ridge The extension unfolds Ridge ...
Page 64: ...64 If the multipurpose feeder become empty the following light sequence is displayed ...


