Diagnostic information
2-21
4060-
xxx
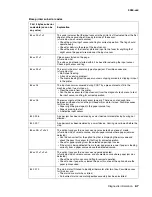
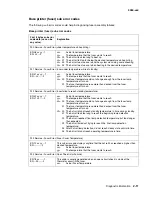
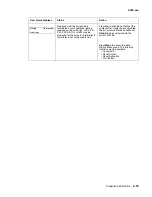
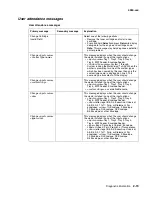
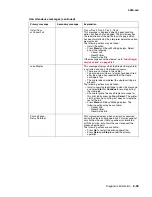
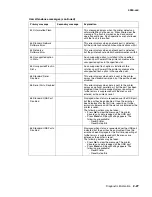
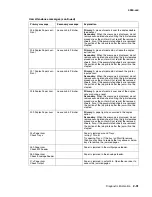
Disk Corrupted
Reformat?
The printer has detected there are errors on the hard
disk that cannot be corrected. The disk cannot be used
until it is reformatted.
Warning:
All data on the disk will be lost if you format
the disk.
The following actions can be taken:
• Power off and remove the disk. The disk will not be
formatted.
• Press
Go
to format the disk. All data is lost when
you format the disk.
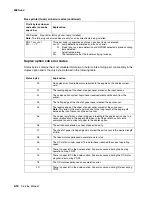
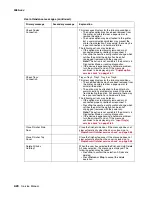
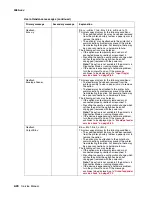
Empty Box M
This message is displayed when the hole punch alarm
is on and the printer informed by the code the hole
punch box M is full. The following actions may be
taken:
• Empty the hole punch box.
• Press
Go
to ignore the message. The Box M Full
appears on line 2 of the display and the job is
printed without hole punching. The message
remains until the box is emptied.
If this message continues to be displayed when the
box has been emptied, go to
“StapleSmart finisher
service check” on page 2-86
.
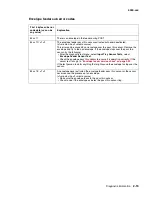
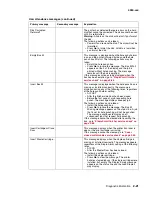
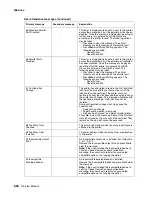
Insert Box M
This message is displayed when the hole punch box is
missing or installed incorrectly. The message is
displayed during any of the following times, regardless
of the hole punch alarm setting:
• At POST
• After the finisher side door has been closed
• Before the first page of a job requesting hole
punch. The message displays once per job.
The following actions can be taken:
• Install the hole punch box.
• Press
Go
to ignore the message. The Box M
Missing message appears on the status line. A job
that is set for hole punching will not be punched.
The message continues to display on all
subsequent jobs that request hole punching.
If this message cannot be cleared after inserting the
box, go to
“StapleSmart finisher service check” on
page 2-86
.
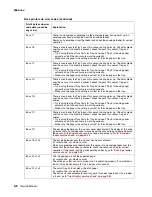
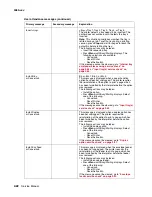
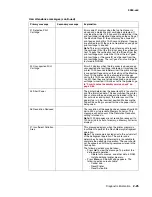
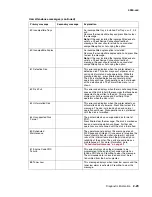
Insert Cartridge or Close
Door
This message displays when the printer front door is
open or the print cartridge is missing.
If this message cannot be cleared, go to
“Cover
closed switch/cable service check” on page 2-44
.
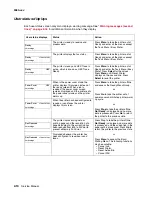
Insert Staple Cartridge
This message displays when the staple cartridge is
missing or installed incorrectly. The message appears,
regardless of the Staple Alarm setting, at the following
times:
• At POR
• After the Stapler Door has been closed.
The following actions can be taken:
• Install the stapler cartridge.
• Press
Go
to clear the message. The printer
handles stapled jobs as if the staple cartridge were
installed, but empty. The Staples Empty message
appears on the status line and the Load Staples
may display.
User attendance messages (continued)
Primary message
Secondary message
Explanation
Summary of Contents for T63 Series
Page 13: ...Laser notices xiii 4060 xxx Japanese Laser Notice ...
Page 14: ...xiv Service Manual 4060 xxx Korean Laser Notice ...
Page 34: ...1 16 Service Manual 4060 xxx ...
Page 218: ...4 64 Service Manual 4060 xxx ...
Page 236: ...6 2 Service Manual 4060 xxx ...
Page 238: ...7 2 Service Manual 4060 xxx Assembly 1 Covers ...
Page 240: ...7 4 Service Manual 4060 xxx Assembly 2 Frame 1 5 2 1 3 4 3 4 8 6 7 ...
Page 252: ...7 16 Service Manual 4060 xxx Assembly 9 Paper feed alignment 3 2 1 4 ...
Page 258: ...7 22 Service Manual 4060 xxx Assembly 12 Drives Main drive and developer drive 3 2 4 1 7 6 5 ...
Page 260: ...7 24 Service Manual 4060 xxx Assembly 13 Hot roll fuser 3 7 5 2 6 4 1 5 8 7 9 ...
Page 262: ...7 26 Service Manual 4060 xxx Assembly 14 Transfer charging 3 2 4 1 5 6 7 9 10 8 ...
Page 264: ...7 28 Service Manual 4060 xxx Assembly 15 Electronics power supplies 3 7 5 2 6 4 1 ...
Page 266: ...7 30 Service Manual 4060 xxx Assembly 16 Electronics card assemblies 3 1 4 5 6 9 2 4 7 8 10 ...
Page 268: ...7 32 Service Manual 4060 xxx Assembly 17 Electronics shields ...
Page 270: ...7 34 Service Manual 4060 xxx Assembly 18 Cabling diagrams 1 3 1 2 4 5 6 7 8 7 4 ...
Page 272: ...7 36 Service Manual 4060 xxx Assembly 19 Cabling diagrams 2 HVPS LVPS 3 5 4 1 2 6 ...
Page 276: ...7 40 Service Manual 4060 xxx Assembly 21 250 sheet paper tray ...
Page 284: ...7 48 Service Manual 4060 xxx Assembly 23 Duplex option 1 ...
Page 286: ...7 50 Service Manual 4060 xxx Assembly 24 Envelope feeder 3 11 7 13 5 9 2 10 6 4 12 8 14 1 ...
Page 288: ...7 52 Service Manual 4060 xxx Assembly 25 Output expander ...
Page 290: ...7 54 Service Manual 4060 xxx Assembly 25 cont Output expander ...
Page 292: ...7 56 Service Manual 4060 xxx Assembly 26 High capacity output expander ...
Page 296: ...7 60 Service Manual 4060 xxx Assembly 27 5 bin mailbox ...
Page 298: ...7 62 Service Manual 4060 xxx Assembly 27 cont 5 bin mailbox ...
Page 300: ...7 64 Service Manual 4060 xxx Assembly 28 High capacity feeder 1 ...
Page 320: ...7 84 Service Manual 4060 xxx Assembly 38 StapleSmart finisher 4 1 ...
Page 344: ...I 20 Service Manual 4060 xxx ...
Page 345: ......

