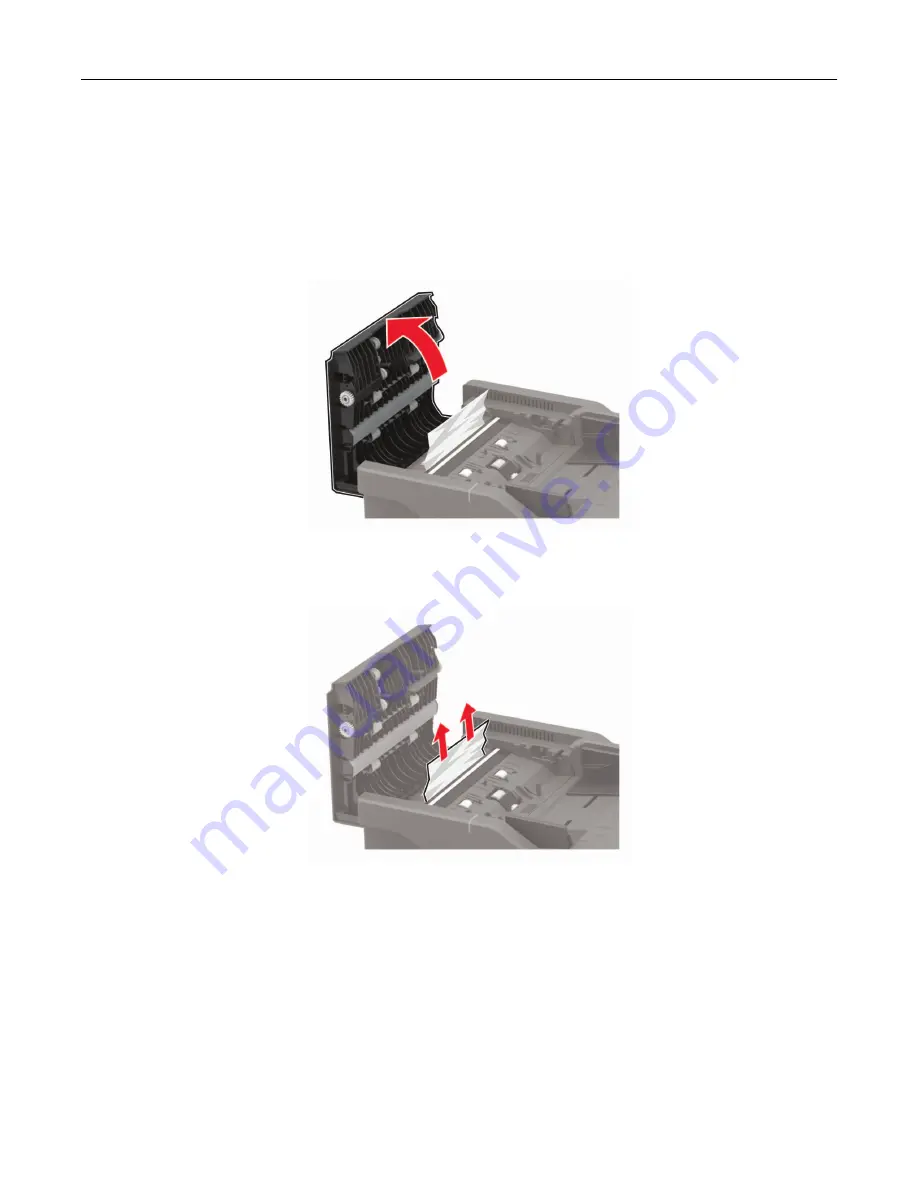
Paper jam in door C
1
Remove all original documents from the ADF tray.
2
Open door C.
Warning—Potential Damage:
To prevent damage from electrostatic discharge, touch any exposed metal
frame of the printer before accessing or touching interior areas of the printer.
3
Remove the jammed paper.
Note:
Make sure that all paper fragments are removed.
4
Close door C.
Paper jam in the standard bin
1
Open door B until it
clicks
into place, and then remove the jammed paper.
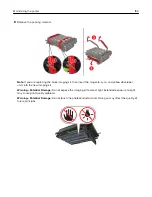
Warning—Potential Damage:
To prevent damage from electrostatic discharge, touch any exposed metal
frame of the printer before accessing or touching interior areas of the printer.
Note:
Make sure that all paper fragments are removed.
Clearing jams
204
Summary of Contents for XC2235
Page 16: ...2 Locate the serial number at the left side of the printer Learning about the printer 16 ...
Page 185: ...6 Insert the new waste toner bottle 7 Insert the right side cover Maintaining the printer 185 ...
Page 188: ...4 Remove the waste toner bottle 5 Remove the toner cartridges Maintaining the printer 188 ...
Page 192: ...11 Insert the waste toner bottle 12 Insert the right side cover Maintaining the printer 192 ...
Page 207: ...4 Close doors A and B Clearing jams 207 ...
Page 263: ...Upgrading and migrating 263 ...

