Action
Yes
No
a
Remove, and then insert the imaging kit.
Warning—Potential Damage:
Do not expose the imaging kit
to direct light. Extended exposure to light may cause print
quality problems.
Warning—Potential Damage:
Do not touch the
photoconductor drum under the imaging kit. Doing so may
affect the quality of future print jobs.
b
Print the document.
Is the printer printing blank or white pages?
Contact
The problem is
solved.
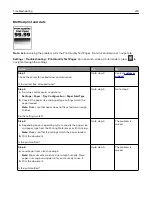
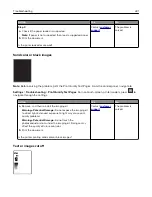
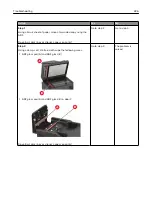
Dark print
Note:
Before solving the problem, print the Print Quality Test Pages. From the control panel, navigate to
Settings
>
Troubleshooting
>
Print Quality Test Pages
. For non-touch-screen printer models, press
to
navigate through the settings.
Action
Yes
No
Step 1
a
Perform Color Adjust.
From the control panel, navigate to:
Settings
>
>
Quality
>
Advanced Imaging
>
Color Adjust
b
Print the document.
Is the print too dark?
Go to step 2.
The problem is
solved.
Step 2
a
Depending on your operating system, reduce toner darkness
from the Printing Preferences or Print dialog.
Note:
You can also change the setting on the printer control
panel. Navigate to:
Settings
>
>
Quality
>
Toner Darkness
b
Print the document.
Is the print too dark?
Go to step 3.
The problem is
solved.
Troubleshooting
212
Summary of Contents for XC2235
Page 16: ...2 Locate the serial number at the left side of the printer Learning about the printer 16 ...
Page 185: ...6 Insert the new waste toner bottle 7 Insert the right side cover Maintaining the printer 185 ...
Page 188: ...4 Remove the waste toner bottle 5 Remove the toner cartridges Maintaining the printer 188 ...
Page 192: ...11 Insert the waste toner bottle 12 Insert the right side cover Maintaining the printer 192 ...
Page 207: ...4 Close doors A and B Clearing jams 207 ...
Page 263: ...Upgrading and migrating 263 ...


