Unformatted flash detected
Try one or more of the following:
•
From the control panel, select
Continue
to stop the defragmentation and continue printing.
•
Format the flash memory.
Note:
If the error message remains, then the flash memory may be defective and needs to be
replaced.
Issues with supplies
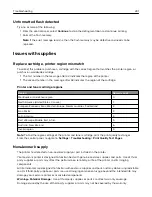
Replace cartridge, printer region mismatch
To correct this problem, purchase a cartridge with the correct region that matches the printer region, or
purchase a worldwide cartridge.
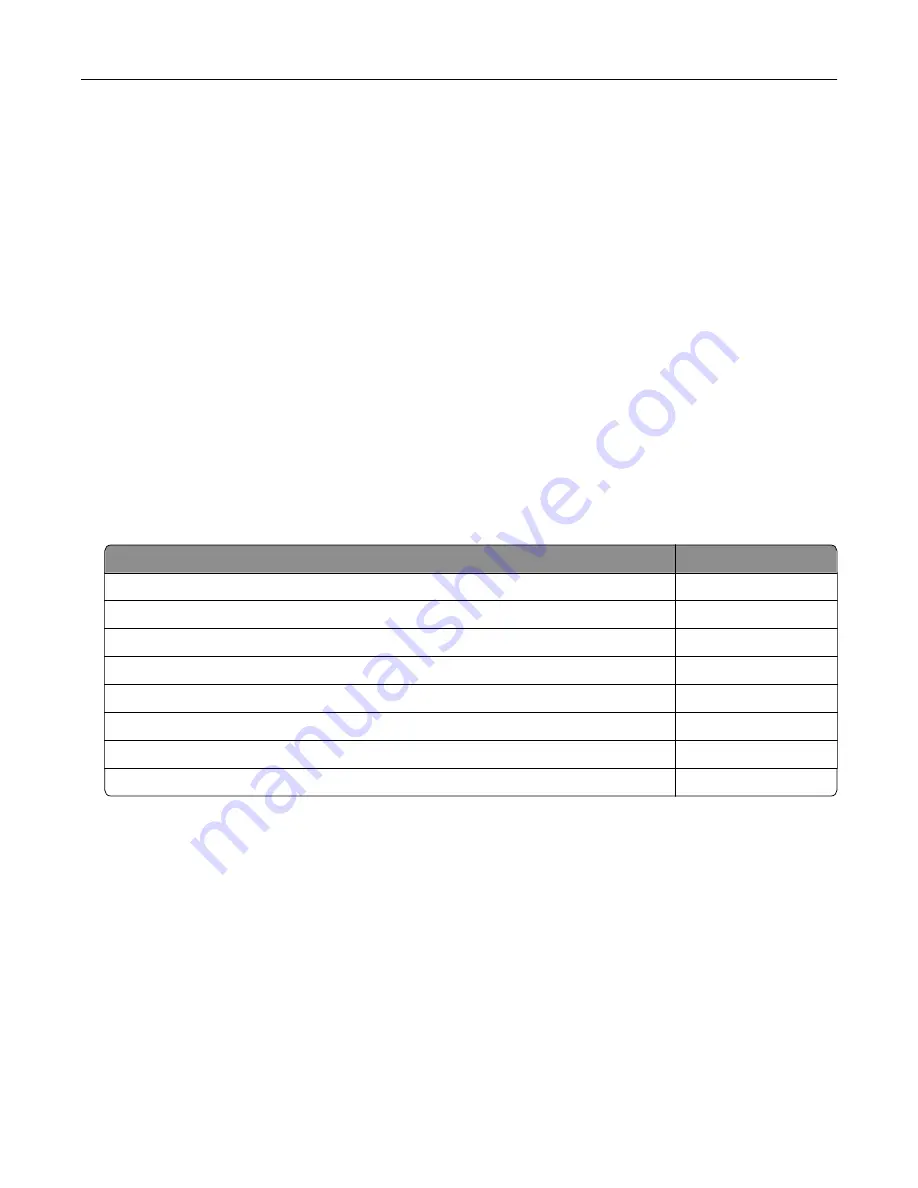
•
The first number in the message after 42 indicates the region of the printer.
•
The second number in the message after 42 indicates the region of the cartridge.
Printer and toner cartridge regions
Region
Numeric code
Worldwide or Undefined region
0
North America (United States, Canada)
1
European Economic Area, Western Europe, Nordic countries, Switzerland
2
Asia Pacific
3
Latin America
4
Rest of Europe, Middle East, Africa
5
Australia, New Zealand
6
Invalid region
9
Note:
To find the region settings of the printer and toner cartridge, print the print quality test pages.
From the control panel, navigate to:
Settings
>
Troubleshooting
>
Print Quality Test Pages
.
Non
‑
Lexmark supply
The printer has detected a non
‑
Lexmark supply or part installed in the printer.
Your Lexmark printer is designed to function best with genuine Lexmark supplies and parts. Use of third-
party supplies or parts may affect the performance, reliability, or life of the printer and its imaging
components.
All life indicators are designed to function with Lexmark supplies and parts and may deliver unpredictable
results if third-party supplies or parts are used. Imaging component usage beyond the intended life may
damage your Lexmark printer or associated components.
Warning—Potential Damage:
Use of third-party supplies or parts can affect warranty coverage.
Damage caused by the use of third-party supplies or parts may not be covered by the warranty.
Troubleshooting
241
Summary of Contents for XC2235
Page 16: ...2 Locate the serial number at the left side of the printer Learning about the printer 16 ...
Page 185: ...6 Insert the new waste toner bottle 7 Insert the right side cover Maintaining the printer 185 ...
Page 188: ...4 Remove the waste toner bottle 5 Remove the toner cartridges Maintaining the printer 188 ...
Page 192: ...11 Insert the waste toner bottle 12 Insert the right side cover Maintaining the printer 192 ...
Page 207: ...4 Close doors A and B Clearing jams 207 ...
Page 263: ...Upgrading and migrating 263 ...


