Faxing problems
Caller ID is not shown
Note:
These instructions apply only to printers that support analog fax. For more information, see
the printer to fax” on page 61
.
Action
Yes
No
Enable caller ID.
From the control panel, navigate to:
Settings
>
Fax
>
Fax Setup
>
Fax Receive Settings
>
Admin
Controls
>
Enable Caller ID
For non-touch-screen printer models, press
to navigate
through the settings.
Does the caller ID appear?
The problem is
solved.
Contact
Cannot send or receive faxes using analog fax
Action
Yes
No
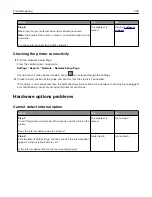
Step 1
Resolve any error messages that appear on the display.
Can you send or receive a fax?
The problem is
solved.
Go to step 2.
Step 2
Make sure that the cable connections for the following equipment
are secure:
•
Telephone
•
Handset
•
Answering machine
Can you send or receive a fax?
The problem is
solved.
Go to step 3.
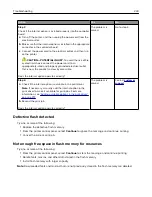
Step 3
Check for a dial tone.
•
Call the fax number to check if it is working properly.
•
If you are using the On Hook Dial feature, then turn up the
volume to check if you hear a dial tone.
Can you hear a dial tone?
Go to step 5.
Go to step 4.
Troubleshooting
250
Summary of Contents for XC2235
Page 16: ...2 Locate the serial number at the left side of the printer Learning about the printer 16 ...
Page 185: ...6 Insert the new waste toner bottle 7 Insert the right side cover Maintaining the printer 185 ...
Page 188: ...4 Remove the waste toner bottle 5 Remove the toner cartridges Maintaining the printer 188 ...
Page 192: ...11 Insert the waste toner bottle 12 Insert the right side cover Maintaining the printer 192 ...
Page 207: ...4 Close doors A and B Clearing jams 207 ...
Page 263: ...Upgrading and migrating 263 ...


