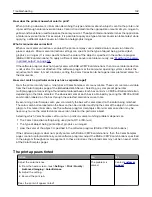

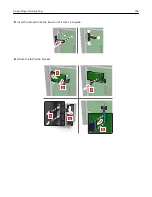
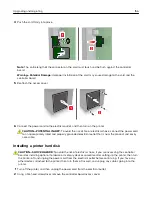


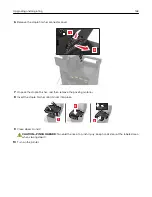

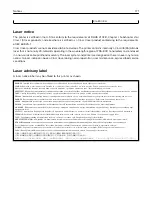
4
Push the card firmly into place.
Note:
The entire length of the connector on the card must touch and be flush against the controller
board.
Warning—Potential Damage:
Improper installation of the card may cause damage to the card and the
controller board.
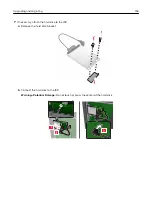
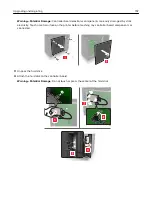
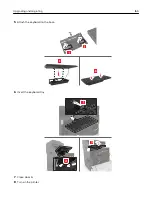
5
Reattach the access cover.
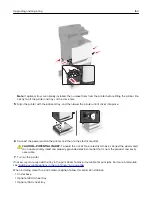
6
Connect the power cord to the electrical outlet, and then turn on the printer.
CAUTION—POTENTIAL INJURY:
To avoid the risk of fire or electrical shock, connect the power cord
to an appropriately rated and properly grounded electrical outlet that is near the product and easily
accessible.
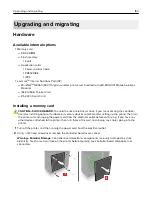
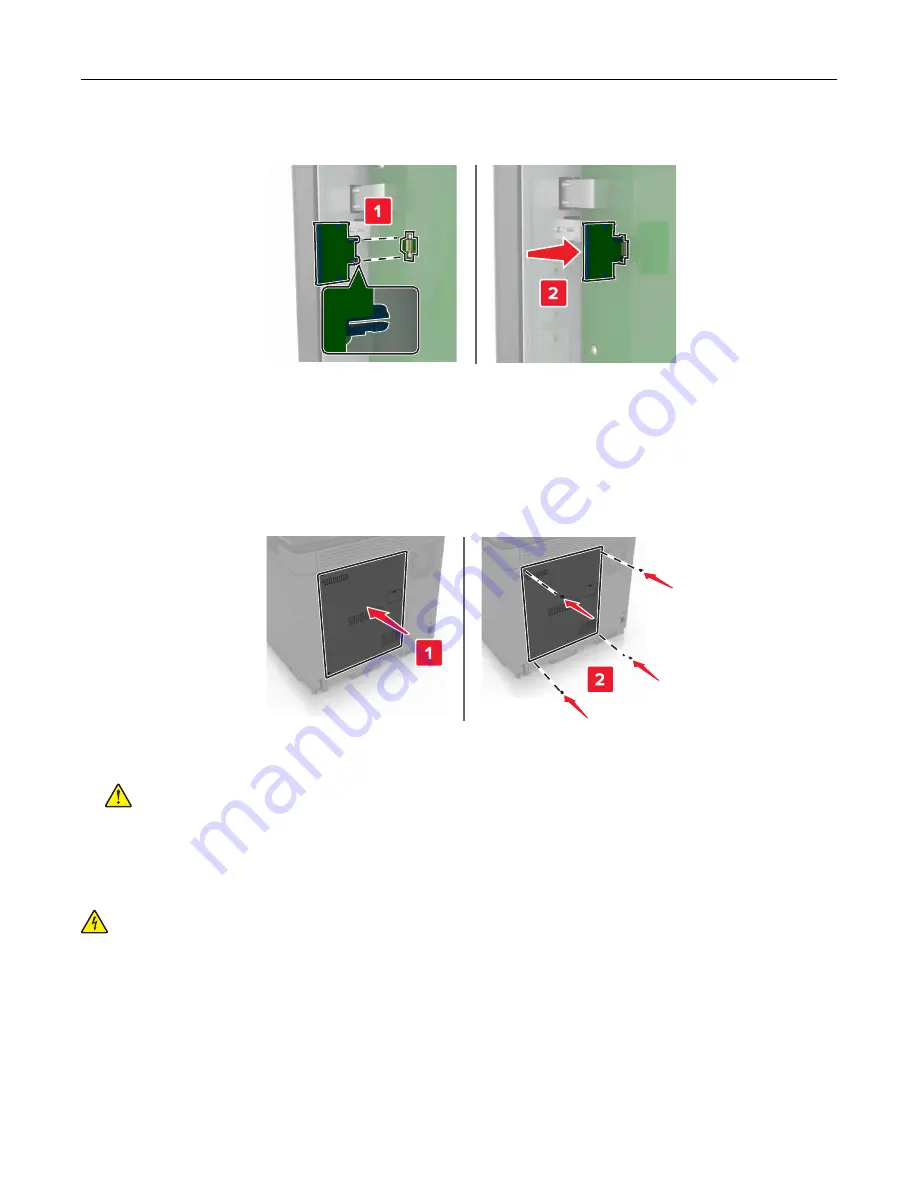
Installing a printer hard disk
CAUTION—SHOCK HAZARD:
To avoid the risk of electrical shock, if you are accessing the controller
board or installing optional hardware or memory devices sometime after setting up the printer, then turn
the printer off, and unplug the power cord from the electrical outlet before continuing. If you have any
other devices attached to the printer, then turn them off as well, and unplug any cables going into the
printer.
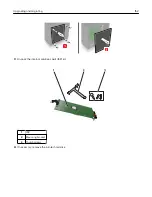
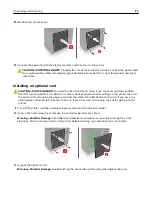
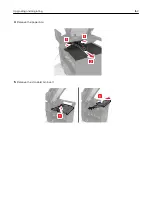
1
Turn off the printer, and then unplug the power cord from the electrical outlet.
2
Using a flat
‑
head screwdriver, remove the controller board access cover.
Upgrading and migrating
156
Summary of Contents for XC6100 Series
Page 1: ...XC6100 Series User s Guide January 2016 www lexmark com Machine type s 7563 Model s 196 197 ...
Page 66: ...2 Open door A 3 Remove the waste toner bottle Maintaining the printer 66 ...
Page 69: ...2 Open door A 3 Remove the waste toner bottle Maintaining the printer 69 ...
Page 73: ...3 Remove the pick roller 4 Unpack the new pick roller Maintaining the printer 73 ...
Page 92: ...2 Open door G 3 Pull out the staple cartridge holder Maintaining the printer 92 ...
Page 111: ...2 Open door G 3 Pull out the staple cartridge holder Clearing jams 111 ...
Page 162: ...4 Remove the paper bail 5 Remove the standard bin insert Upgrading and migrating 162 ...


