


2
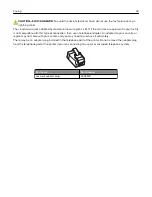
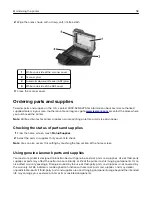
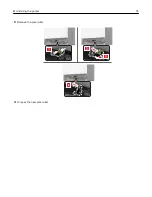
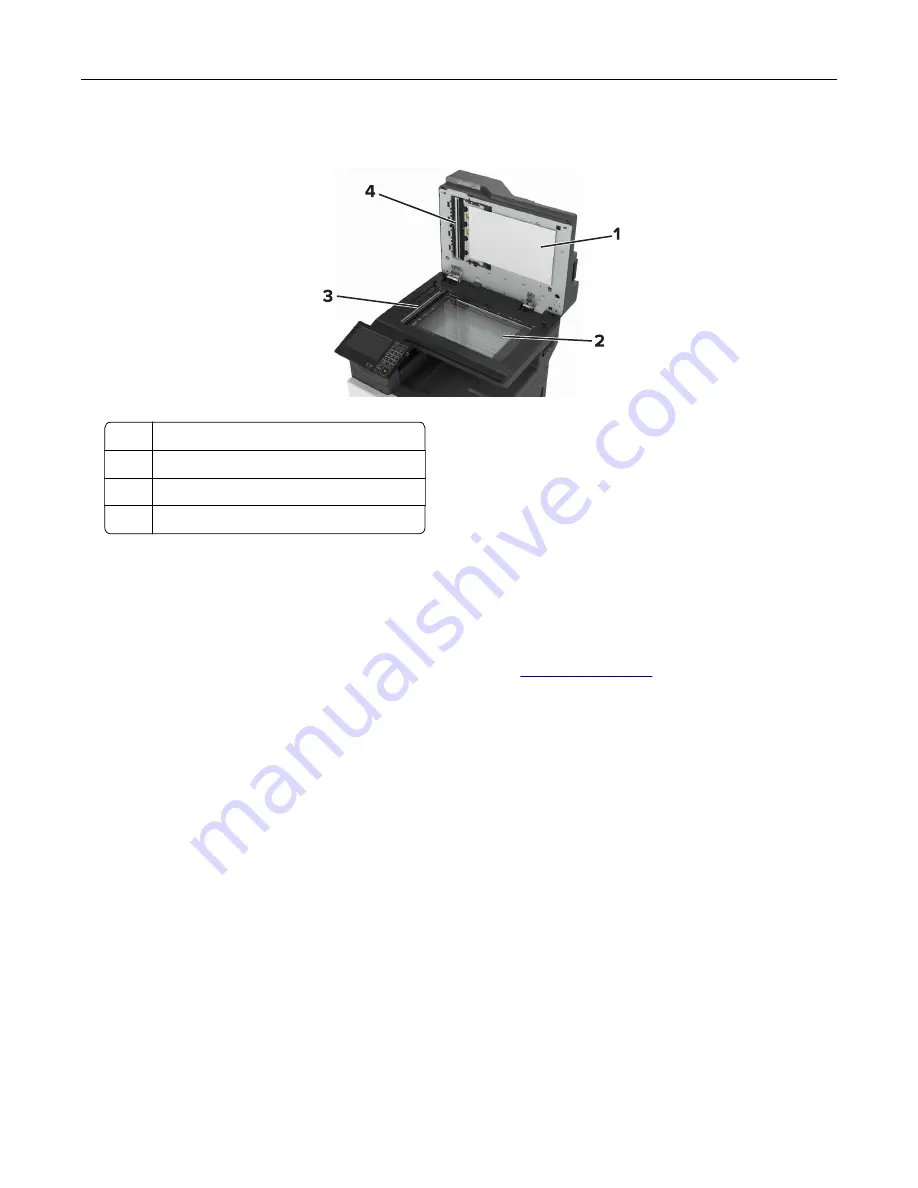
Wipe the areas shown with a damp, soft, lint-free cloth.
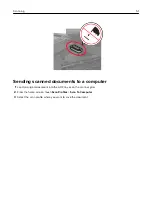
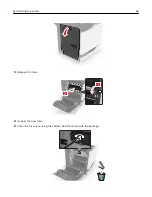
1
White underside of the scanner cover
2
Scanner glass
3
Automatic document feeder (ADF) glass
4
White underside of the ADF cover
3
Close the scanner cover.
Ordering parts and supplies
To order parts and supplies in the U.S., contact 1-800-539-6275 for information about Lexmark authorized
supplies dealers in your area. In other countries or regions, go to
or contact the place where
you purchased the printer.
Note:
All life estimates for printer supplies assume printing on letter
‑
or A4
‑
size plain paper.
Checking the status of parts and supplies
1
From the home screen, touch
Status/Supplies
.
2
Select the parts or supplies that you want to check.
Note:
You can also access this setting by touching the top section of the home screen.
Using genuine Lexmark parts and supplies
Your Lexmark printer is designed to function best with genuine Lexmark parts and supplies. Use of third-party
supplies or parts may affect the performance, reliability, or life of the printer and its imaging components. It can
also affect warranty coverage. Damage caused by the use of third-party parts and supplies is not covered by
the warranty. All life indicators are designed to function with Lexmark parts and supplies, and may deliver
unpredictable results if third-party parts and supplies are used. Imaging component usage beyond the intended
life may damage your Lexmark printer or its associated components.
Maintaining the printer
58
Summary of Contents for XC6100 Series
Page 1: ...XC6100 Series User s Guide January 2016 www lexmark com Machine type s 7563 Model s 196 197 ...
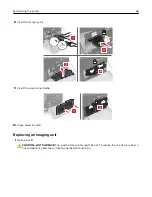
Page 66: ...2 Open door A 3 Remove the waste toner bottle Maintaining the printer 66 ...
Page 69: ...2 Open door A 3 Remove the waste toner bottle Maintaining the printer 69 ...
Page 73: ...3 Remove the pick roller 4 Unpack the new pick roller Maintaining the printer 73 ...
Page 92: ...2 Open door G 3 Pull out the staple cartridge holder Maintaining the printer 92 ...
Page 111: ...2 Open door G 3 Pull out the staple cartridge holder Clearing jams 111 ...
Page 162: ...4 Remove the paper bail 5 Remove the standard bin insert Upgrading and migrating 162 ...


