background image

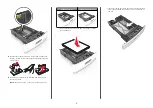
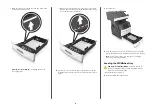
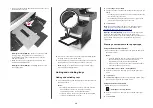
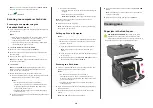
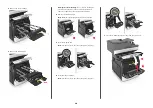
Paper jam in the rear door

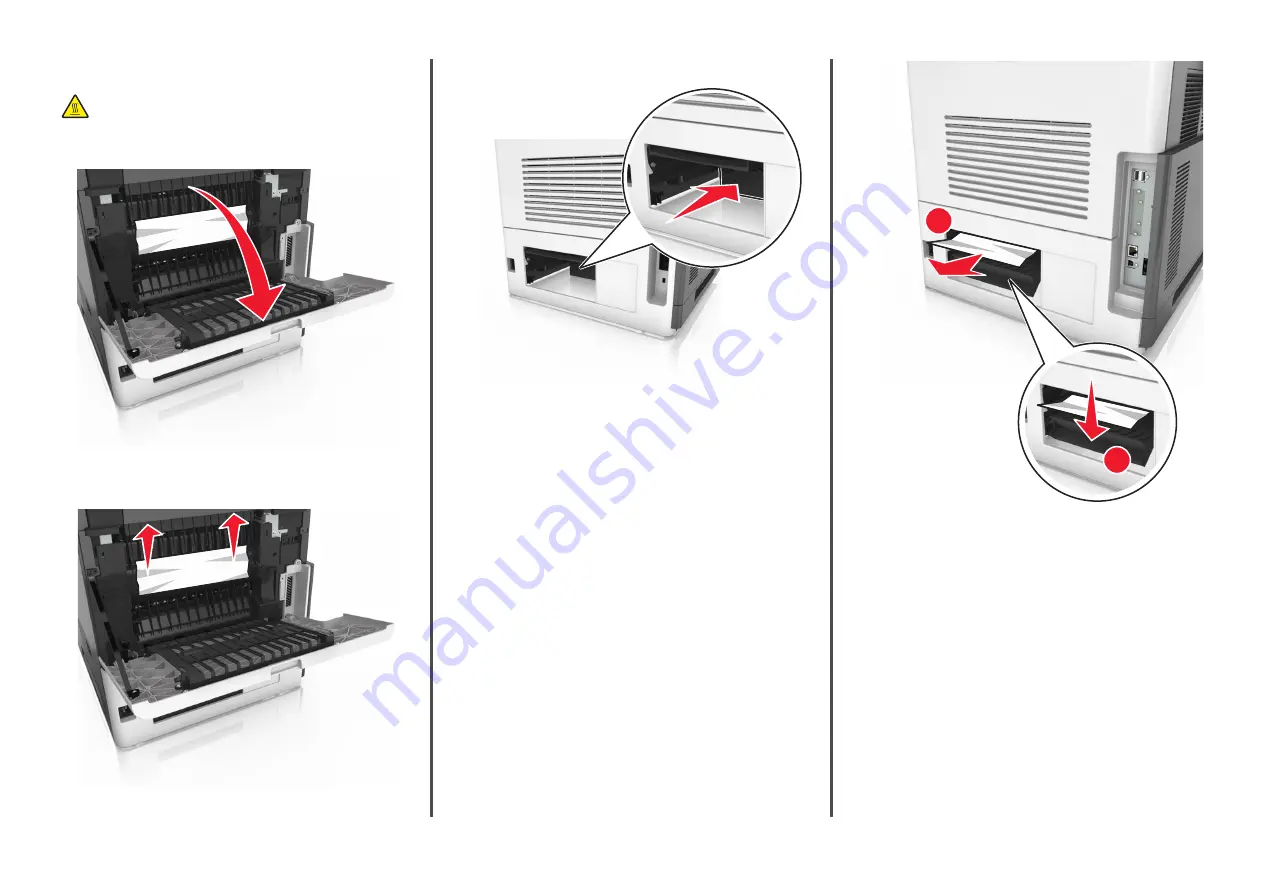
CAUTION—HOT SURFACE: 

The inside of the printer

might be hot. To reduce the risk of injury from a hot
component, allow the surface to cool before touching it.

1

Open the rear door.

2

Remove the jammed paper.

Note: 

Make sure that all paper fragments are removed.

3

Close the rear door.

4

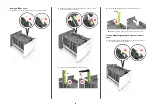
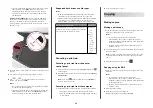
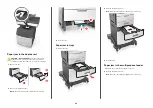
Push the back of the standard tray.

5

Remove the jammed paper.

Note: 

Make sure that all paper fragments are removed.

2

1

6

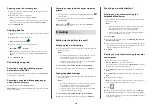
Insert the standard tray.

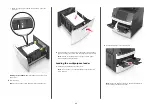
Paper jam in the standard bin

Remove the jammed paper.

Note: 

Make sure that all paper fragments are removed.


21

Summary of Contents for XM5263

Page 1: ...ded solutions 6 1 12 11 10 7 8 2 3 4 5 9 13 14 Touch To 1 Change Language Launch the Change Language pop up window that lets you change the primary language of the printer 2 Copy Access the Copy menus...

Page 2: ...rinter Using the touch screen buttons Note Your home screen icons and buttons may vary depending on your home screen customization settings administrative setup and active embedded solutions 7 6 3 4 1...

Page 3: ...ormation see E mailing on page 16 Scan to Computer Scan a document and then save it to a prede ned folder on a host computer For more information see Setting up Scan to Computer on page 19 Scan to FTP...

Page 4: ...disk 1 Open a Web browser and then type the printer IP address in the address eld Note View the printer IP address on the printer home screen The printer IP address appears as four sets of numbers se...

Page 5: ...e Notes If a JVM Out of Memory error occurs then repeat the export process until the con guration le is saved If a timeout occurs and a blank screen appears then refresh the Web browser and then click...

Page 6: ...e paper size indicators at the bottom of the tray to help position the guides 3 Unlock the length guide and then squeeze and slide the guide to the correct position for the size of the paper being loa...

Page 7: ...the printable side facedown for one sided printing Note Make sure the paper or envelope is loaded properly One sided printing Two sided duplex printing ABC ABC Do not slide the paper into the tray Lo...

Page 8: ...paper guides to lightly touch the sides of the stack and then lock the length guide 7 Insert the tray 8 From the printer control panel set the paper size and paper type in the Paper menu to match the...

Page 9: ...5 until it clicks into place 1 2 c Remove the A5 length guide from its holder 1 2 d Insert the A5 length guide into its designated slot Note Press the A5 length guide until it clicks into place Loadin...

Page 10: ...slide the length guide to the correct position for the paper size you are loading LGL OFC FOLIO LTR A4 A5 3 Flex the sheets back and forth to loosen them and then fan them Do not fold or crease the pa...

Page 11: ...set the paper size and paper type in the Paper menu to match the paper loaded in the tray Note Set the correct paper size and type to avoid paper jams and print quality problems Loading the multipurpo...

Page 12: ...d then fan them Straighten the edges on a level surface Note Avoid touching the printable side of the transparencies Be careful not to scratch them Flex the stack of envelopes back and forth to loosen...

Page 13: ...nk trays make sure the paper size and type for the tray match that of the other tray To unlink trays make sure the paper size or type for the tray does not match that of the other tray 4 Click Submit...

Page 14: ...e to Forms and Favorites select the form from the list enter the number of copies adjust other settings 2 Apply the changes Printing from a computer Note For labels card stock and envelopes set the pa...

Page 15: ...pcx tiff or tif png s Canceling a print job Canceling a print job from the printer control panel 1 From the printer control panel touch Cancel Job or press on the keypad 2 Touch the print job you want...

Page 16: ...Settings E mail Settings 3 Enter the appropriate information and then click Submit Con guring e mail settings 1 Open a Web browser and then type the printer IP address in the address eld Notes View th...

Page 17: ...fax job Sending a fax using a shortcut number Fax shortcuts are like the speed dial numbers on a telephone or a fax machine A shortcut number 1 999 can contain a single recipient or multiple recipient...

Page 18: ...person After the destinations shared network folders have been established on the network the setup process for the application involves installing and con guring the application on the appropriate pr...

Page 19: ...ad From the home screen navigate to Held Jobs Pro les select your shortcut on the list Note The scanner scans and sends the document to the directory you speci ed 8 View the le from the computer Note...

Page 20: ...posure to light may cause print quality problems 4 Remove the jammed paper Note Make sure that all paper fragments are removed 1 2 5 Insert the imaging unit Note Use the arrows on the side of the prin...

Page 21: ...it 1 Open the rear door 2 Remove the jammed paper Note Make sure that all paper fragments are removed 3 Close the rear door 4 Push the back of the standard tray 5 Remove the jammed paper Note Make sur...

Page 22: ...3 2 2 Remove the jammed paper Note Make sure that all paper fragments are removed 1 2 3 Insert the tray Paper jam in trays 1 Pull out the tray 2 Remove the jammed paper Note Make sure that all paper...

Page 23: ...in the automatic document feeder 1 Remove all original documents from the ADF tray 2 Open the ADF cover 3 Remove the jammed paper Note Make sure that all paper fragments are removed 4 Close the ADF co...

Page 24: ...1 2 7 Close the scanner cover 24...

Reviews:

Related manuals for XM5263