


Understanding the printer software
6
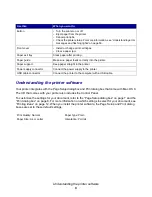
Understanding the printer software
Your printer integrates with the Page Setup dialog box and Print dialog box that come with Mac OS 9.
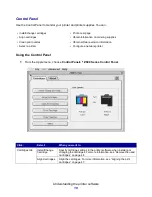
The CD that comes with your printer also includes the Control Panel.
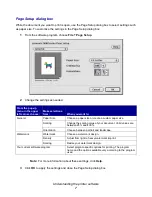
To customize the settings for your document, refer to the “Page Setup dialog box” on page 7 and the
“Print dialog box” on page 8. For more information on which settings to select for your document, see
“Printing ideas” on page 12. When you install the printer software, the Page Setup and Print dialog
boxes are set to these default settings:
Use this:
When you want to:
Button
• Turn the printer on or off.
• Eject paper from the printer.
• Cancel print jobs.
• Check the printer status. For more information, see “Understanding error
messages and flashing lights” on page 56.
Front cover
• Install or change print cartridges.
• Clear a paper jam.
Paper exit tray
Stack paper after printing.
Paper guide
Make sure paper feeds correctly into the printer.
Paper support
Keep paper straight in the printer.
Power supply connector
Connect the power supply to the printer.
USB cable connector
Connect the printer to the computer with a USB cable.
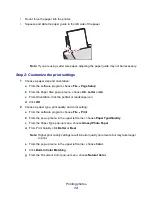
Print Quality: Normal
Paper Type: Plain
Paper Size: A4 or Letter
Orientation: Portrait
Summary of Contents for Z600
Page 67: ...67 Japanese VCCI notice ...


