Instruction / Safety Information
15
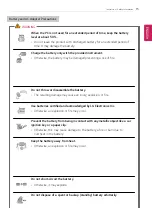
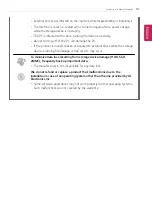
Battery and AC Adapter Precautions
WARNING
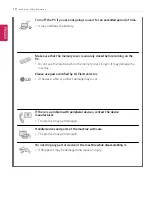
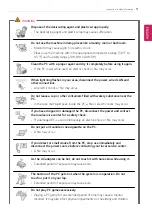
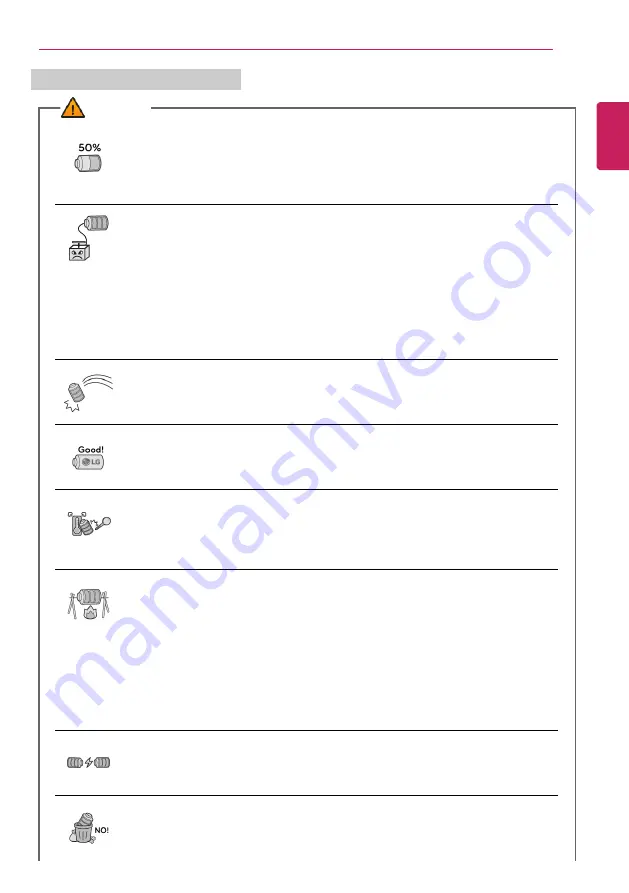
When the PC is not used for an extended period of time, keep the battery
level at about 50 %.
•
Do not leave the product with discharged battery for an extended period of
time. It may damage the battery.
Charge the battery only with the provided instrument.
•
Otherwise, the battery may be damaged presenting a risk of fire.
Do not throw or disassemble the battery.
•
The resulting damage may cause an injury, explosion, or fire.
Use batteries certified and acknowledged by LG Electronics Inc.
•
Otherwise, an explosion or fire may occur.
Prevent the battery from being in contact with any metallic object like a car
ignition key or a paper clip.
•
Otherwise, this may cause damage to the battery, a fire or burn due to
overheat in the battery.
Keep the battery away from heat.
•
Otherwise, an explosion or fire may occur.
Do not short-circuit the battery.
•
Otherwise, it may explode.
Do not dispose of a spent or backup (standby) battery arbitrarily.
ENGLISH
Summary of Contents for 17Z95N Series
Page 22: ...22 Instruction Safety Information Regulatory Notices ENGLISH ...
Page 23: ...Instruction Safety Information 23 ENGLISH ...
Page 24: ...24 Instruction Safety Information ENGLISH ...
Page 25: ...Instruction Safety Information 25 ENGLISH ...
Page 26: ...26 Instruction Safety Information ENGLISH ...
Page 27: ...Instruction Safety Information 27 ENGLISH ...
Page 28: ...28 Instruction Safety Information ENGLISH ...
Page 29: ...Instruction Safety Information 29 ENGLISH ...
Page 30: ...30 Instruction Safety Information ENGLISH ...
Page 31: ...Instruction Safety Information 31 ENGLISH ...
Page 32: ...32 Instruction Safety Information ENGLISH ...
Page 33: ...Instruction Safety Information 33 ENGLISH ...
Page 34: ...34 Instruction Safety Information ENGLISH ...
Page 35: ...Instruction Safety Information 35 ENGLISH ...
Page 36: ...36 Instruction Safety Information ENGLISH ...
Page 37: ...Instruction Safety Information 37 ENGLISH ...
Page 38: ...38 Instruction Safety Information ENGLISH ...
Page 39: ...Instruction Safety Information 39 ENGLISH ...
Page 40: ...40 Instruction Safety Information ENGLISH ...
Page 41: ...Instruction Safety Information 41 ENGLISH ...
Page 42: ...42 Instruction Safety Information ENGLISH ...
Page 43: ...Instruction Safety Information 43 ENGLISH ...
Page 44: ...44 Instruction Safety Information ENGLISH ...
Page 45: ...Instruction Safety Information 45 ENGLISH ...
Page 46: ...46 Instruction Safety Information ENGLISH ...
Page 47: ...Instruction Safety Information 47 ENGLISH ...
Page 48: ...48 Instruction Safety Information ENGLISH ...
Page 49: ...Instruction Safety Information 49 ENGLISH ...
Page 50: ...50 Instruction Safety Information ENGLISH ...
Page 51: ...Instruction Safety Information 51 ENGLISH ...
Page 52: ...52 Instruction Safety Information ENGLISH ...
Page 53: ...Instruction Safety Information 53 ENGLISH ...
Page 54: ...54 Instruction Safety Information ENGLISH ...
Page 55: ...Instruction Safety Information 55 ENGLISH ...
Page 68: ...68 Using Windows 10 3 The selected app is added to the Start menu or taskbar ENGLISH ...
Page 71: ...Using Windows 10 71 3 Click the New Desktop tile ENGLISH ...
Page 73: ...Using Windows 10 73 6 The screen is toggled to the selected app or desktop ENGLISH ...
Page 80: ...80 Using Windows 10 ENGLISH ...
Page 103: ...Using the PC 103 3 Go to Keyboard Backlight and select your desired options ENGLISH ...
Page 133: ...Using the PC 133 2 When the Settings screen appears select Devices ENGLISH ...
Page 137: ...Using the PC 137 2 Connect the wired LAN cable to the LAN port ENGLISH ...
Page 139: ...Using the PC 139 4 Select Network Internet Status Change adapter options ENGLISH ...
Page 140: ...140 Using the PC 5 Right click Ethernet and select the Properties menu ENGLISH ...
Page 145: ...Using the PC 145 3 Select the Access Point you want to connect to and press Connect ENGLISH ...
Page 159: ...Using Software 159 1 Select the All List Update needed menu item ENGLISH ...
Page 164: ...164 Using Software 1 Press the icon on the taskbar ENGLISH ...
Page 176: ...176 Restoring the System 1 Select Keep my files ENGLISH ...
Page 179: ...Restoring the System 179 1 Select Remove everything ENGLISH ...
Page 206: ...206 Setup and Upgrade 3 Boots using the selected device ENGLISH ...
Page 208: ...208 Setup and Upgrade 2 Select System Display ENGLISH ...
Page 215: ...FAQ 215 2 Select System Display ENGLISH ...
Page 220: ...220 FAQ 1 Select Keep my files ENGLISH ...
Page 223: ...FAQ 223 1 Select Remove everything ENGLISH ...
Page 231: ...FAQ 231 3 Select the Access Point you want to connect to and press Connect ENGLISH ...


