


12
Watching TV
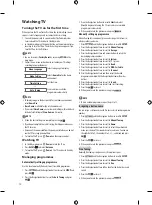
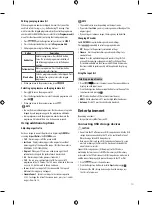
Turning the TV on for the first time
When you turn the TV on for the first time, the Initial setting screen
appears. Select a language and customize the basic settings.
1 Connect the power cord to a power outlet. The Power indicator
turns red and the TV switches to Standby mode.
2 In Standby mode, press the power button on the remote control or
local key to turn the TV on. The Initial setting screen appears if you
turn the TV on for the first time.
y
You can also access
Factory Reset
by accessing
OPTION
in the
main menu.
3 Follow the on-screen instructions to customize your TV settings
according to your preferences.
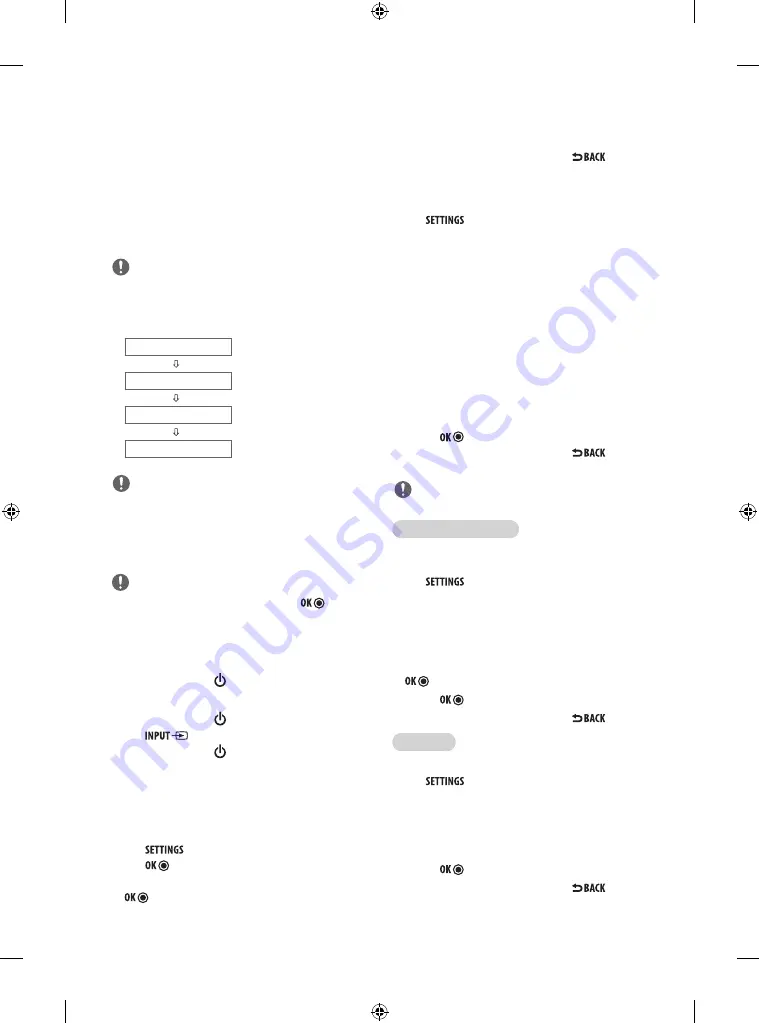
Menu Language
Selects a language to display.
Mode Setting
Selects
Home Use
for the home
environment.
Time Setting
Sets the time.
Auto Tuning
Scans and saves available
programmes automatically.
y
To display images in the best quality for your home environment,
select
Home Use
.
y
Store Demo
is suitable for the retail environment.
y
If you select
Store Demo
, any customized settings will switch back
to the default settings of
Store Demo
in 5 minutes.
4 When the basic settings are complete, press the .
y
If you do not complete the Initial setting, it will appear whenever
the TV turns on.
y
Disconnect the power cord from the power outlet when you do not
use the TV for a long period of time.
5 To turn the TV off, press
(
Power
) on the remote control.
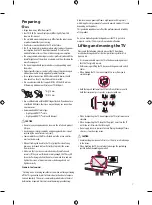
Watching TV
1 In Standby mode, press
(
Power
) to turn the TV on.
2 Press
and select
Antenna
.
3 To turn the TV off, press
(
Power
). The TV switches to Standby
mode.
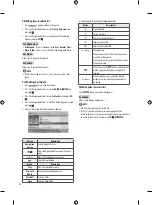
Managing programmes
Automatically setting up programme
Use this to automatically find and store all available programmes.
1 Press
and the Navigation buttons to scroll to
SETUP
and
press .
2 Press the Navigation buttons to scroll to
Auto Tuning
and press
.
3 Press the Navigation buttons to scroll to
Start
and select
Start
to begin auto tuning. The TV scans and saves available
programmes automatically.
4 When you return to the previous menu, press
.
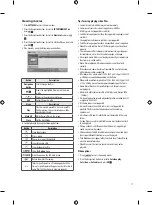
Manually setting up programme
Manual Tuning lets you manually tune and arrange the stations in
whatever order you desire.
1 Press
and the Navigation buttons to scroll to
SETUP
.
2 Press the Navigation buttons to scroll to
Manual Tuning
.
3 Press the Navigation buttons to scroll to
Storage
.
4 Press the Navigation buttons or Number buttons to select the
desired programme number.
5 Press the Navigation buttons to scroll to
System
.
6 Press the Navigation buttons to scroll to TV Systems.
7 Press the Navigation buttons to scroll to
Band
.
8 Press the Navigation buttons to scroll to
V/UHF
or
Cable
.
9 Press the Navigation buttons to scroll to
Channel
.
10 Press the Navigation buttons and then select the desired
programme number with the Navigation buttons or Number
buttons.
11 Press the Navigation buttons to scroll to
Search
.
12 Press the Navigation buttons to scroll and start Searching.
13 Press the to store it.
14 When you return to the previous menu, press
.
NOTE
y
To store another programme, repeat steps 3 to 13.
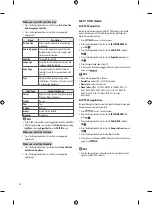
Assigning a station name
You can assign a station name with five characters to each programme
number.
1 Press
and the Navigation buttons to scroll to
SETUP
.
2 Press the Navigation buttons to scroll to
Manual Tuning
.
3 Press the Navigation buttons to scroll to
Name
.
4 Press the Navigation buttons to scroll to select the position and
make your choice of the second character, and so on. You can use
the alphabet A to Z, the number 0 to 9, +/ -, and blank and press
.
5 Press the to store it.
6 When you return to the previous menu, press
.
Fine Tuning
Normally fine tuning is only necessary if reception is poor.
1 Press
and the Navigation buttons to scroll to
SETUP
.
2 Press the Navigation buttons to scroll to
Manual Tuning
.
3 Press the Navigation buttons to scroll to
Fine
.
4 Press the Navigation buttons to fine tune for the best picture and
sound.
5 Press the to store it.
6 When you return to the previous menu, press
.
NOTE
NOTE
NOTE


