


3
ENG
ENGLISH
SAFETY INSTRUCTIONS
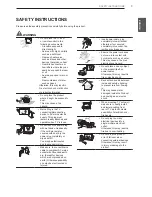
WARNING
y
y
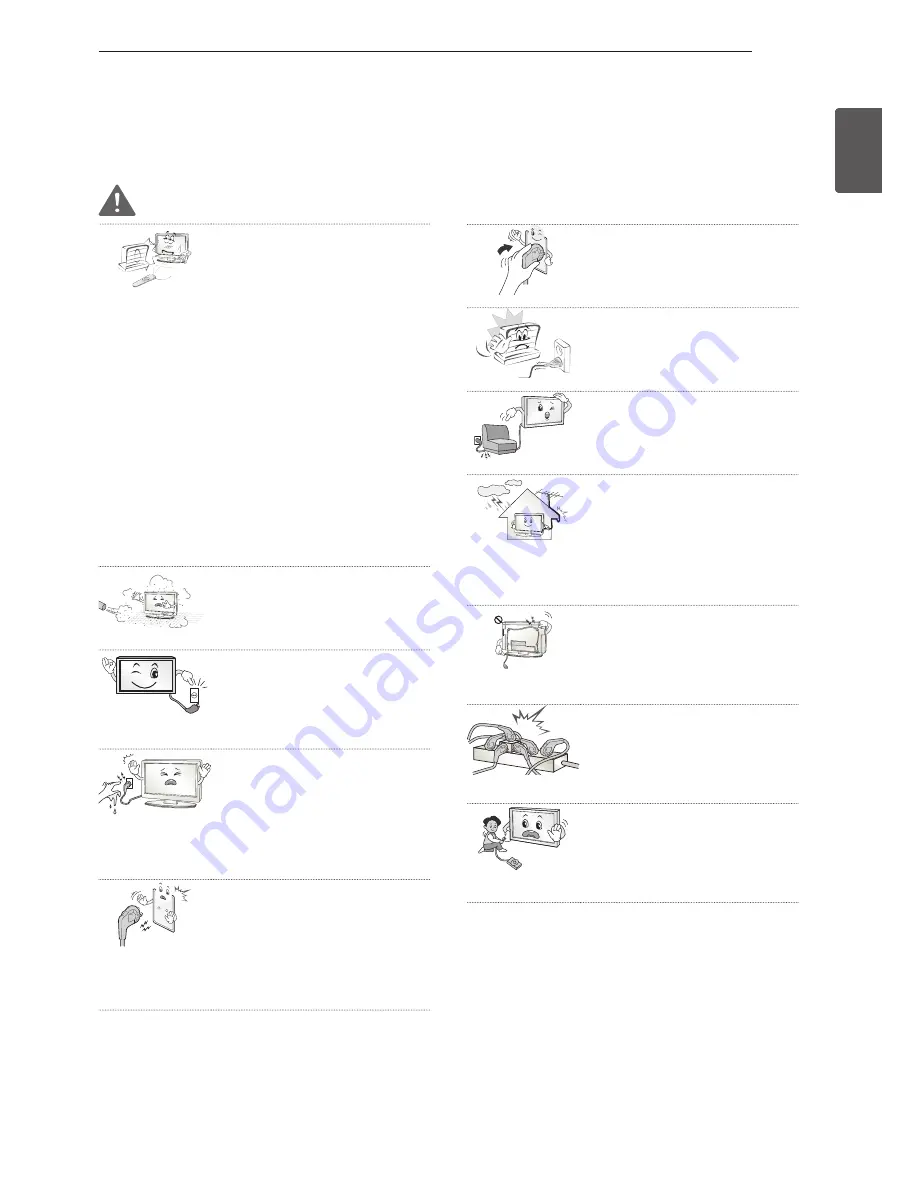
Do not place the TV and/
or remote control in the
following environments:
y
- A location exposed to
direct sunlight
y
- An area with high humidity
such as a bathroom
y
- Near any heat source
such as stoves and other
devices that produce heat
y
- Near kitchen counters or
humidifiers where they can
easily be exposed to steam
or oil
y
- An area exposed to rain or
wind
y
- Near containers of water
such as vases
Otherwise, this may result in
fire, electric shock, malfunction
or product deformation.
y
y
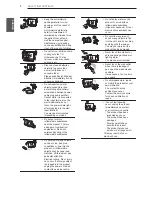
Do not place the product
where it might be exposed to
dust.
This may cause a fire
hazard.
y
y
Mains Plug is the TV
connecting/disconnecting
device to AC mains electric
supply. This plug must
remain readily attached and
operable when TV is in use.
y
y
Do not touch the power plug
with wet hands. Additionally,
if the cord pin is wet or
covered with dust, dry the
power plug completely or
wipe dust off.
You may be electrocuted
due to excess moisture.
y
y
Make sure to connect Mains
cable to compliant AC mains
socket with Grounded earth
pin. (Except for devices
which are not grounded on
earth.) Otherwise possibility
you may be electrocuted or
injured.
y
y
Insert power cable plug
completely into wall socket
otherwise if not secured
completely into socket, fire
ignition may break out.
y
y
Ensure the power cord does
not come into contact with
hot objects such as a heater.
This may cause a fire or an
electric shock hazard.
y
y
Do not place a heavy object,
or the product itself, on
power cables.
Otherwise, this may result in
fire or electric shock.
y
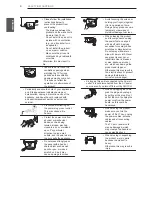
y
Bend antenna cable between
inside and outside building
to prevent rain from flowing
in.
This may cause water
damaged inside the Product
and could give an electric
shock.
y
y
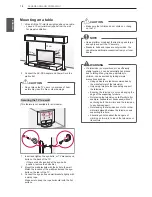
When mounting TV onto wall
make sure to neatly install
and isolate cabling from
rear of TV as to not create
possibility of electric shock /
fire hazard.
y
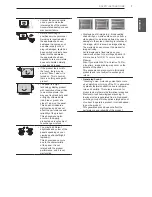
y
Do not plug too many
electrical devices into a
single multiple electrical
outlet.
Otherwise, this may result in
fire due to over-heating.
y
y
Do not drop the product
or let it fall over when
connecting external devices.
Otherwise, this may result
in injury or damage to the
product.
SAFETY INSTRUCTIONS
Please read these safety precautions carefully before using the product.


