18
Multi Type Air Conditioner
Additional features
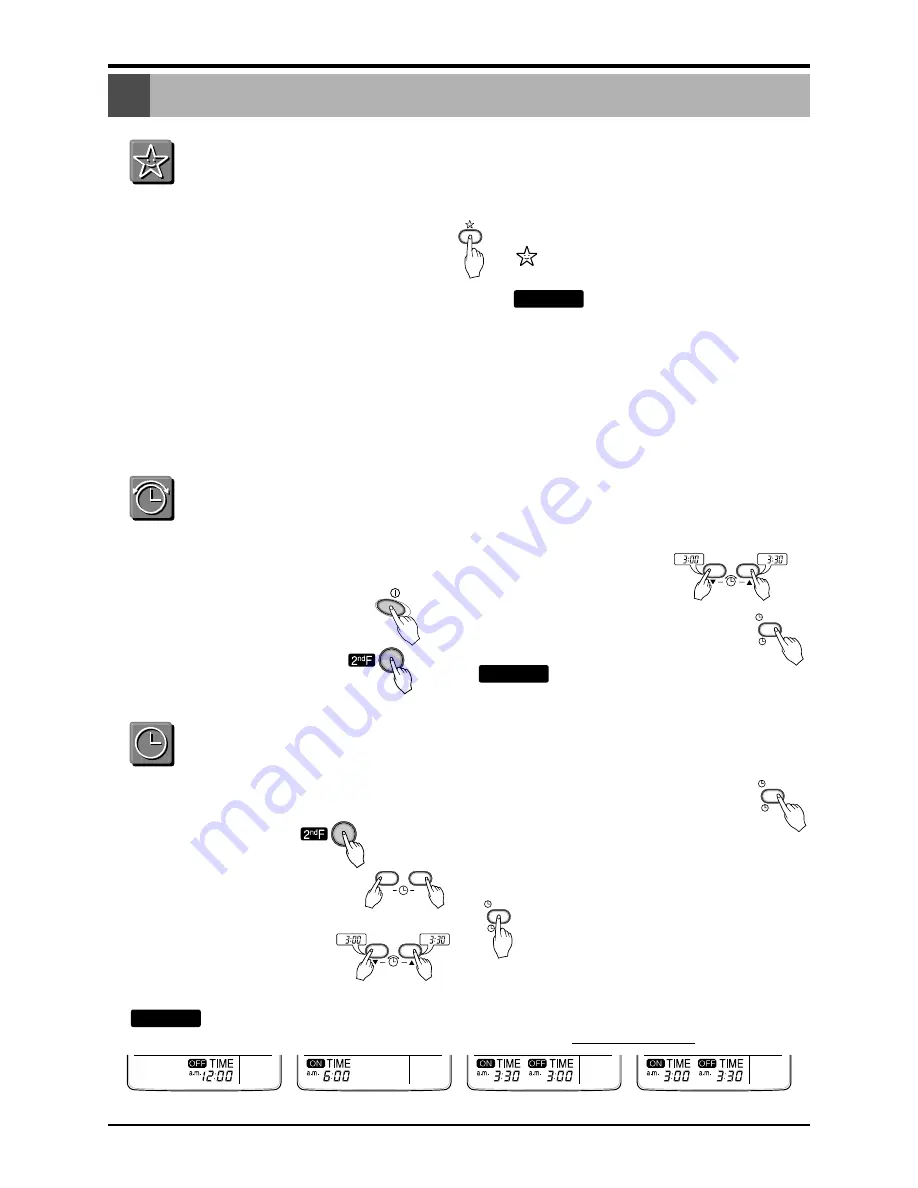
Sleep Mode
Setting the Time
Delay Start/Pre-Set Stop
Delay OFF Timer
Delay ON Timer
Delay OFF and ON Timer
Delay ON and OFF Timer
1. Press the Sleep Mode Auto button to set the time
you want the unit to turn off automatically.
1. The Timer is programmed in one-hour increments
by pressing the Sleep Mode Auto button 1 to 7
times.
The sleep mode is available for 1 to 7 times.
To alter the time period in steps of 1 hour, press
the Sleep Mode Button while aiming at air
conditioner.
3. Make sure the Sleep Mode Auto LED lights up.
To cancel the Sleep Mode, press the sleep
Mode Auto button several times until the star
( ) disappears from the operation display.
The Sleep Mode will be operated
at low fan speed (cooling) or medium fan
speed (heat pump only) for quiet sleeping.
IN COOLING MODE: The temperature will
automatically rise by 1°C over the next 30
minutes and by 2°C in 1 hour for comfortable
sleeping.
NOTICE
1. Time can be set only when you have pressed the
Reset button. If you have just replaced the
batteries, the Reset button should be pressed to
reset the time.
Press the Start/Stop button.
2. Press 2
nd
F button
and check if 2
nd
F icon is on.
3. Press the Time Setting buttons until the desired
time is set.
4. Press the Timer SET button.
Check the indicator for A.M. and
P.M.
NOTICE
1. Make sure the time is set correctly on the
Remote Controller display.
2. Press 2
nd
F button.
3. Press the ON/OFF Timer
buttons to turn Timer on or off.
4. Press the Time Setting
buttons until the desired
time is set.
5. Press the selected on/off setting by
pressing the Timer SET button while
aiming the Remote Controller at the signal
receptor.
To cancel the setting the timer.
Press the Timer Cancel button while
aiming Remote Controller at the signal
receptor.
(The timer lamp on the air conditioner and
the display will go out.)
Select one of the following four types of operation.
NOTICE
with the unit running
ON
OFF
CANCEL
SET
Additional features
CANCEL
SET
CANCEL
SET
Summary of Contents for A4UH306FA0
Page 29: ......


