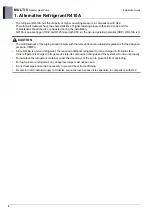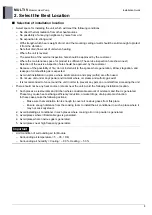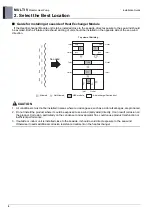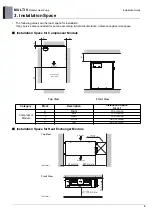
MULTI V
Modular Heat Pump
4. Module Installation
8
Installation Guide
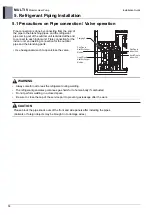
4.2 Installation of Heat Exchanger Module
CAUTION
• During the installation, care should be taken not to damage electric wires.
• In case of using a drain pump, install the unit horizontally using a level gauge.
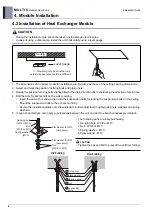
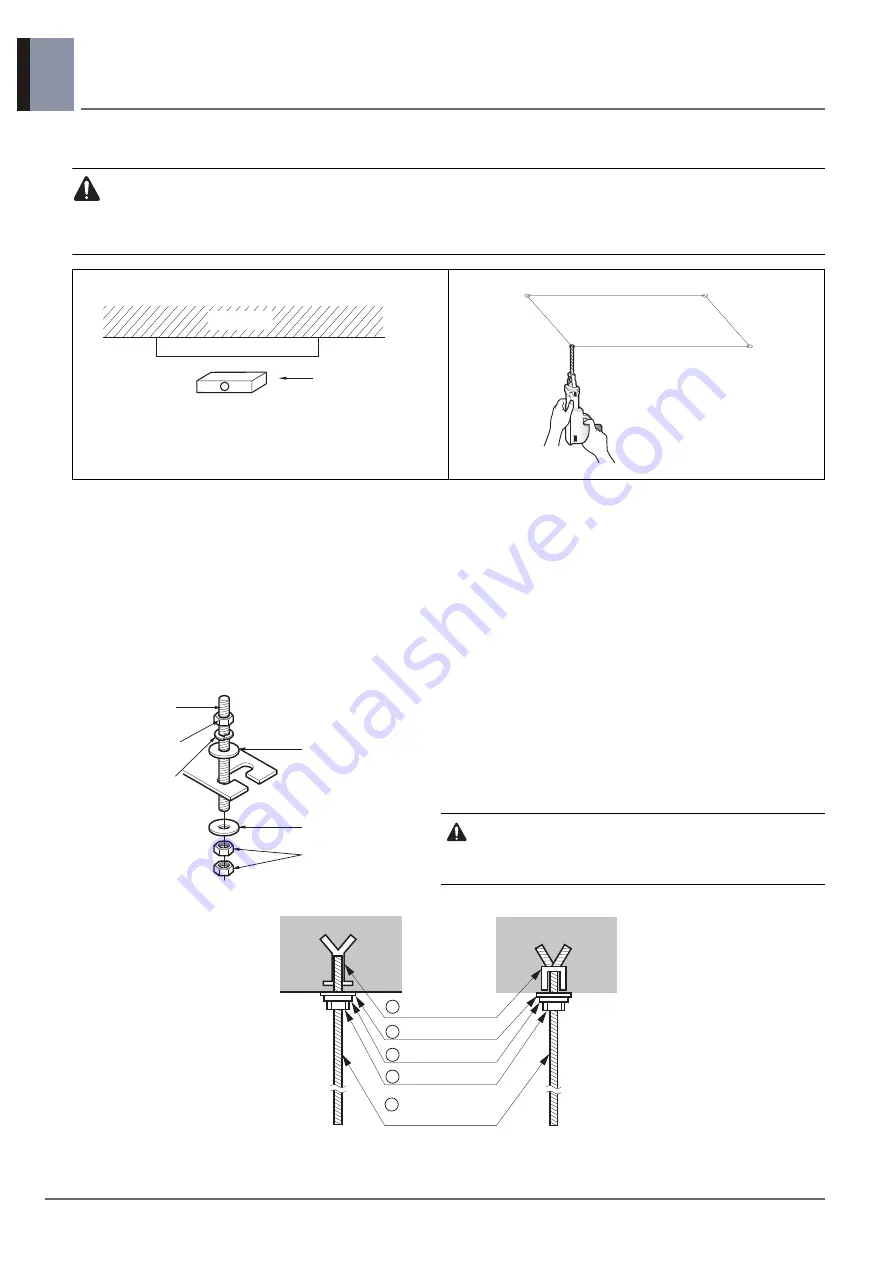
1. The dimensions of the paper model for installation are the same as those of the ceiling opening dimensions.
2. Select and mark the position for fixing bolts and piping hole.
3. Decide the position for fixing bolts slightly tilted to the drain direction after considering the direction of drain hose.
4. Drill the hole for anchor bolt on the wall or ceiling.
• Insert the set anchor and washer onto the suspension bolts for locking the suspension bolts on the ceiling.
• Mount the suspension bolts to the set anchor firmly.
• Secure the installation plates onto the suspension bolts (adjust level roughly) using nuts, washers and spring
washers.
5. In case of ducted type unit, apply a joint-canvas between the unit and duct to absorb unnecessary vibration.
• The following parts are local purchasing.
1.Hanging bolt - W 3/8 or M10
2.Nut - W 3/8 or M10
3.Spring washer - M10
4.Plate washer - M10
CAUTION
• Tighten the nut and bolt to prevent the unit from falling.
Level gauge
Ceiling
※
According to type of indoor unit,
external appearance could be different.
Flat washer for M10
(accessory)
Flat washer for M10
(accessory)
Hanging bolt
(W3/8 or M10)
Nut
(W3/8 or M10)
Nut
(W3/8 or M10)
Spring washer
(M10)
a Set anchor
Old building
New building
b Plate washer
c Spring washer
d Nut
e Suspension
bolts
Summary of Contents for ARUN050GME0
Page 1: ...Modular Heat Pump R410A 50Hz 5CVD0 01A P No MFL67474053 ...
Page 2: ...MULTI V S Modular Heat Pump General information Product Data Installation Guide ...
Page 11: ...MULTI V Modular Heat Pump 3 Dimensions 6 Product Data GG B8 Chassis ARUN050GME0 ...
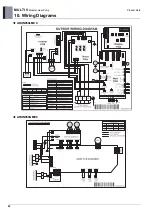
Page 27: ...22 MULTI V Modular Heat Pump Product Data 10 Wiring Diagrams ARUN050LMC0 ARUN050GME0 ...

