Connecting
17
C
onnecting
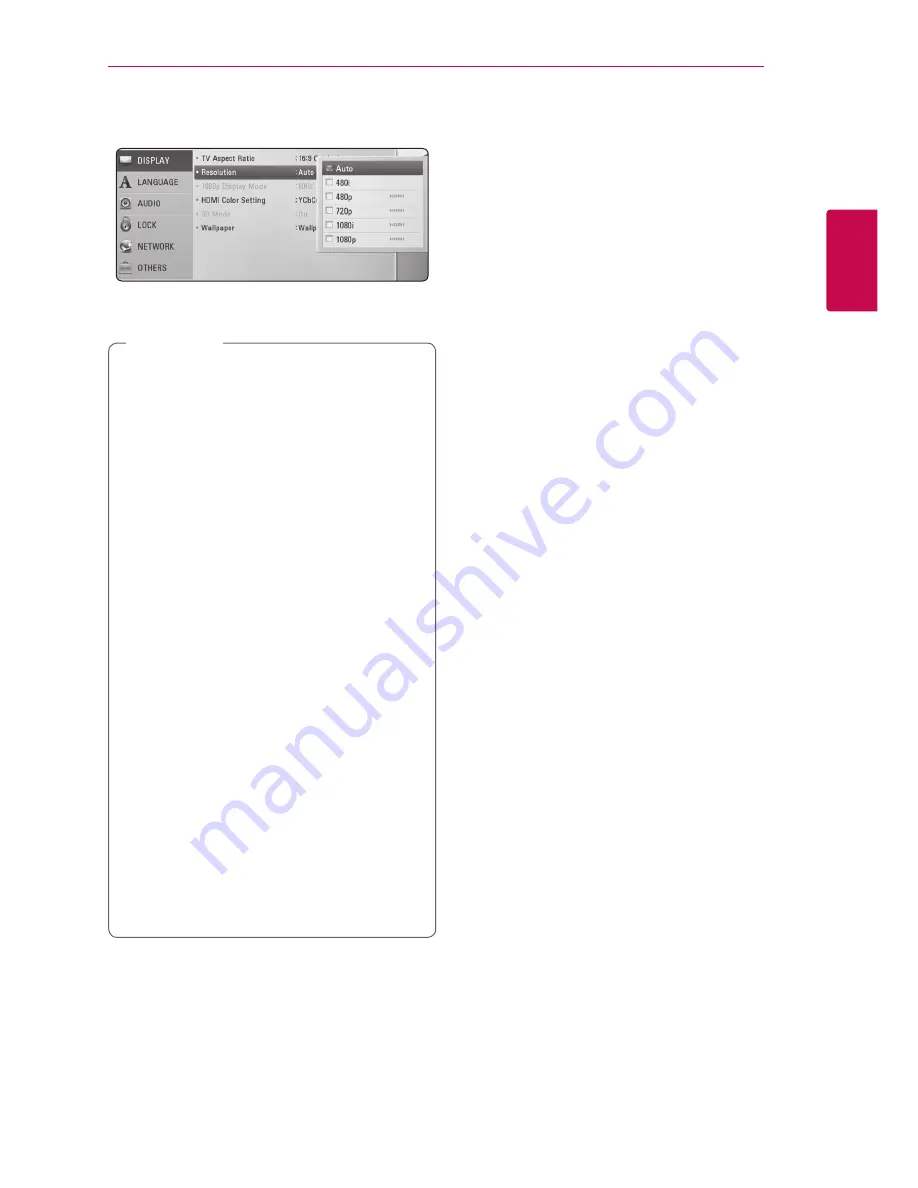
2
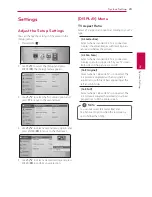
4.
Use
W/S
to select the [Resolution] option
then press ENTER (
b
) to move to the third level.
5. Use
W/S
to select the desired resolution then
press ENTER (
b
) to confirm your selection.
y
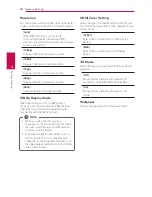
If your TV does not accept the resolution
you have set on the player, you can set
resolution to 480p as follows:
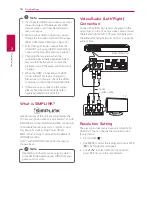
1. Press
B
to open the disc tray.
2 Press
Z
(STOP) for more than 5 seconds.
y
When you set the resolution to 480i with
HDMI connection, actual resolution is
outputted to 480p.
y
If you select a resolution manually and then
connect the HDMI jack to TV and your TV
does not accept it, the resolution setting is
set to [Auto].
y
If you select a resolution that your TV
does not accept, the warning message
will appear. After resolution change,
if you cannot see the screen, please
wait 20 seconds and the resolution will
automatically revert back to the previous
resolution.
y
The 1080p video output frame rate may
be automatically set to either 24 Hz or
60 Hz depending both on the capability
and preference of the connected TV and
based on the native video frame rate of the
content on the BD-ROM disc.
y
The resolution of the VIDEO OUT jack is
always outputted at 480i resolution.
,
Note
Connecting to an
Amplifier
Make one of the following connections, depending
on the capabilities of your existing equipment.
y
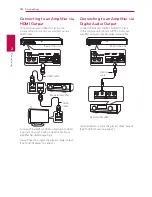
HDMI Audio connection (page 18)
y
Digital Audio connection (page 18)
y
2CH Analog Audio connection (page 19)
Since many factors affect the type of audio output,
see “Audio Output Specifications” for details (page
51).
About Digital Multi-channel
sound
A digital multi-channel connection provides the
best sound quality. For this, you need a multi-
channel Audio/Video Receiver that supports one
or more of the audio formats supported by your
player. Check the logos on the front of the Audio/
Video receiver and the manual. (PCM Stereo, PCM
Multi-Ch, Dolby Digital, Dolby Digital Plus, Dolby
TrueHD, DTS and/or DTS-HD)


