
Digital Photo Frame
ENGLISH
6
1.
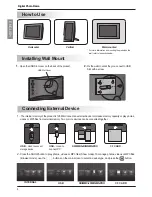
Check device types on the left menu in Browser mode. Use the
,
buttons on the back of the product to go
to the type you want (A device is disabled when not connected).
2.
Press the
or
button to go to the Photo menu. Press the button again to go to the Movie menu. To go to
the MP3 menu, press the
button again in the Movie menu.
3.
Press the
or
button to select a thumbnail or folder.
4.
Use the
,
,
,
buttons to select a thumbnail
you want, and press the
button to enable it.
To disable it, press the
button again.
5.
Then, press the SHOW (Show/Play) button to start Show mode.
Digital Photo Frame
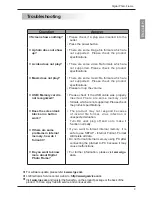
Browser mode
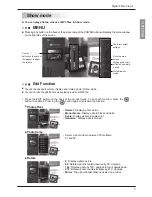
You can manage photos, videos or MP3 files in Browser mode.
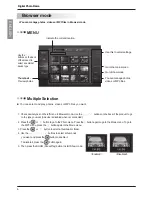
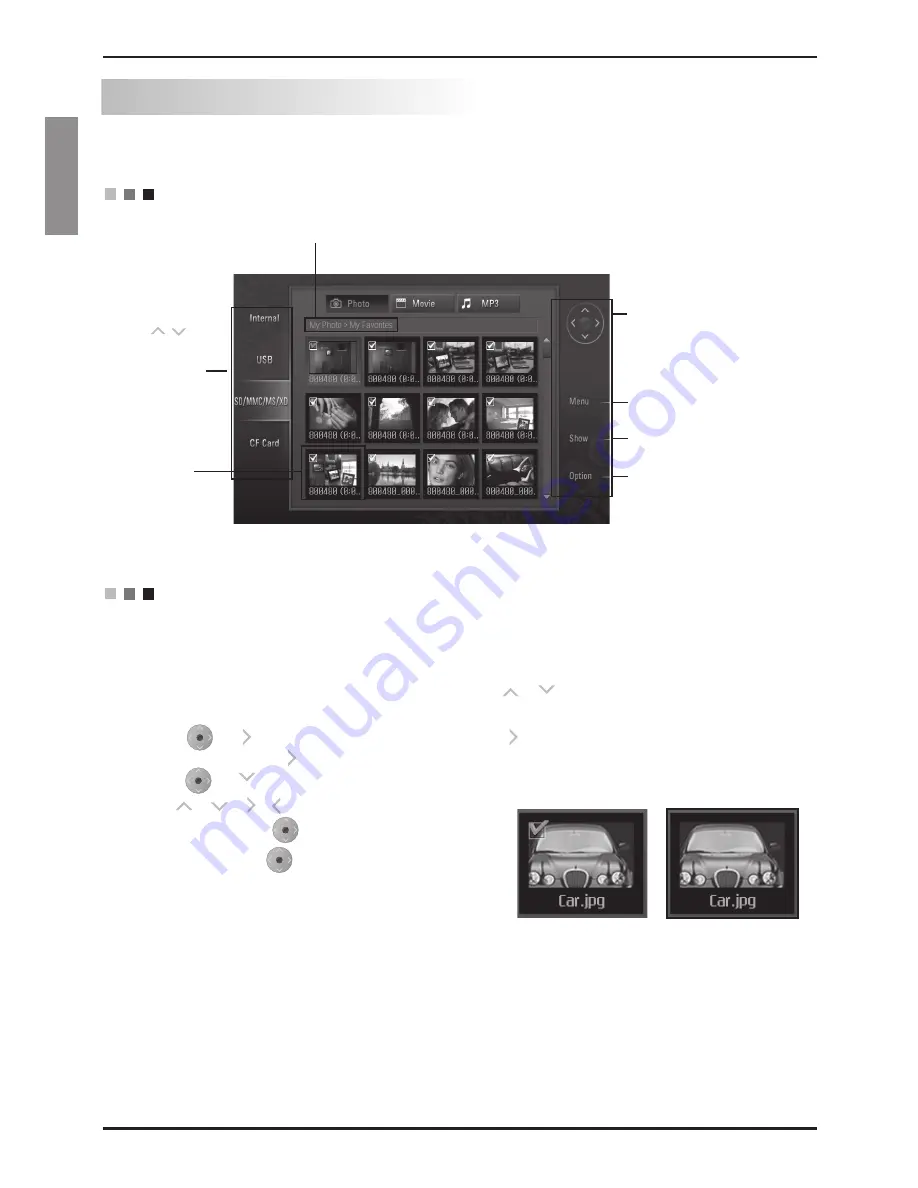
Multiple Selection
You can select and play photos, videos or MP3 files you want.
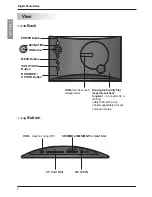
MENU
Use this to select settings.
Go to the main screen.
Go to Show mode.
You can manage photos,
videos or MP3 files.
Thumbnail
–
Preview photos.
Indicate the current location.
Use the ,
buttons on the back
of the product to
select an external
device type.
<Enabled>
<Disabled>


