


16
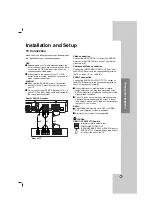
Notes on general features:
Zoom may not work on some DVDs.
The A-B repeat function is available only in the
current title.
Additional features
1.5 times speed playback
You can play at 1.5 times speed.
The 1.5 speed allows you to watch the pictures and
listen to the sound quicker than playing at a normal
speed on the disc.
1. During playback, press PLAY(
B
) to play at 1.5
times speed. “
B
X1.5” appears on the screen.
2. Press PLAY(
B
) again to exit.
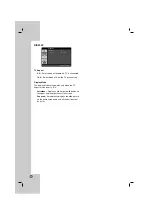
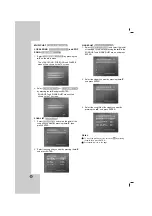
Time Search
To start playing at any chosen time on the disc:
1. Press DISPLAY during playback.
2. Press
v
/
V
to select the time clock icon and
“--:--:--” appears.
3. Input the required start time in hours, minutes, and
seconds from left to right. If you enter the wrong
numbers, press CLEAR to remove the numbers
you entered. Then input the correct numbers.
4. Press ENTER to confirm. Playback starts from the
selected time.
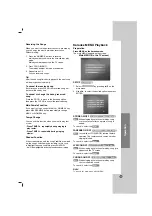
Marker Search
To enter a Marker
You can start playback from up to nine memorized
points. To enter a marker, press MARKER at the
desired point on the disc. The Marker icon appears on
the TV screen briefly. Repeat to enter up to nine
markers.
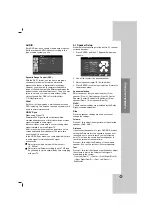
To Recall or Clear a Marked Scene
1. During disc playback, press SEARCH. The marker
search menu appears on the screen.
2. Within 10 seconds, press
b
/
B
to select a marker
number that you want to recall or clear.
3. Press ENTER and playback starts from the
marked scene. Or press CLEAR and the marker
number is erased from the list.
4. You can play any marker by inputting its number
on the marker search menu.
Screen Saver
The screen saver appears when you leave the unit in
Stop mode for about five minutes.
Last Scene Memory
This receiver memorizes the last scene from the last
disc that is viewed. The last scene remains in the
memory even if you remove the disc from the receiver
or switch off the receiver. If you load a disc that has
the scene memorized, the scene is automatically
recalled.
Note:
This receiver does not memorize the scene of a disc if you
switch off the receiver before commencing to play the disc.
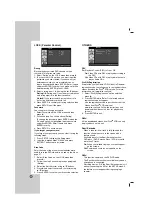
System Select
You must select the an appropriate system mode for
your TV system. If NO DISC appears in the display
window, press and hold
X
on the front panel or
PAUSE/STEP (
X
) remote control for more than 5
seconds to be able to select a system (PAL, NTSC).
When the selected system is not compatible with
the system of your TV, normal colour picture may
not be displayed.
NTSC:
Select when DVD/CD Receiver is connected
with NTSC-TV.
PAL:
Select when DVD/CD Receiver is connected
with PAL-TV.
Controlling the TV
Your remote control is capable of operating your
DVD/CD Receiver as well as limited functions of LG
TV.
Follow the instructions below to operate your LG TV.
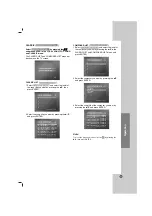
Setting Remote Control Codes for LG TV
1. Hold
POWER (TV)
and press
PR (-/+)
button
repeatedly until the TV on or off.
2. The
POWER (TV), PR (-/+), VOL (-/+),
and
INPUT
buttons on remote control are used to operate the
LG TV.
Note:
If the remote control does not operate your particular TV, try
the other code or use the remote control originally supplied
with the LG TV. (LG and Gold Star)
Due to the variety of codes used by manufacturers, OUR
COMPANY cannot guarantee that the remote control will
operate every LG TV model.
DVD
DivX
VCD
DVD
DivX
VCD
DVD
WMA
MP3
ACD
VCD
DVD


