20
BIOS Flash
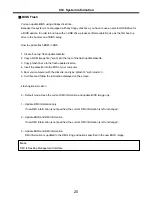
You can update BIOS using a floppy disk drive.
Because this system is not equipped with any floppy disk drive, you have to use an external USB drive for
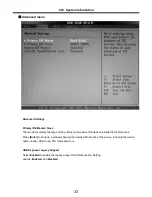
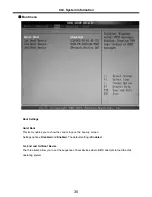
a BIOS update. In order to boot up with an USB drive, please set Removable Device as the first boot up
drive in the boot menu of BIOS setup.
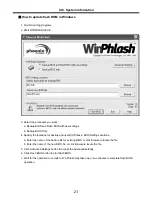
· How to update flash ROM in DOS
1. Create ‘boot up’ flash update diskette.
2. Copy a ROM image file (*.wph) into the root of the flash update diskette.
3. Copy phlash16.exe to the flash update diskette.
4. Insert the diskette into the FDD of your computer.
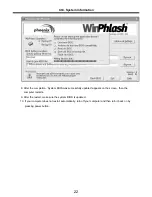
5. Boot your computer with the diskette, and type ‘phlash16*.wph /mode=n’.
6. Cold boot and follow the instruction displayed on the screen.
· Flash options /mode=n
0 – Default mode. Keep the current DMI information and update BIOS image only.
1 – Update DMI information only.
If new DMI information is not specified, the current DMI information is left unchanged.
2 – Update BIOS and DMI information.
If new DMI information is not specified, the current DMI information is left unchanged.
3 – Update BIOS and DMI information.
DMI information is updated to the DMI string and options specified in the new BIOS image.
Note
DMI is Desktop Management Interface
Ch3. System information
Summary of Contents for K1
Page 1: ...0 Service Manual K1 LG Electronics ...
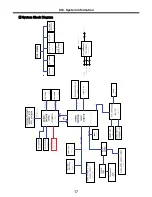
Page 18: ...17 System Block Diagram Ch3 System information ...
Page 58: ...57 3 Remove HDD using a tag Ch5 Removing and replacing a part ...
Page 59: ...58 Ch5 Removing and replacing a part ...
Page 61: ...60 3 Remove the Memory Ch5 Removing and replacing a part ...
Page 67: ...66 Ch5 Removing and replacing a part ...
Page 69: ...68 3 Disconnect the Connector 4 Remove the Retainer Ch5 Removing and replacing a part ...
Page 73: ...72 2 Disconnect the LVDS Inverter Cable Ch5 Removing and replacing a part ...
Page 74: ...73 3 Remove the Display Module Ch5 Removing and replacing a part ...
Page 77: ...76 4 Remove the Keydeck 5 Disconnect the Touchpad Connector Ch5 Removing and replacing a part ...
Page 78: ...77 6 Disconnect the Power Cable then remove the Keydeck Ch5 Removing and replacing a part ...
Page 81: ...80 4 Disconnect the MDC Cable Ch5 Removing and replacing a part ...
Page 83: ...82 7 Remove the USB Board Ch5 Removing and replacing a part ...
Page 90: ...K1 Buffalo EXPLODED VIEW 2 NHDDB NCVRH NSCRF NSCRF NSCRF NSCRF NBRKB ...

