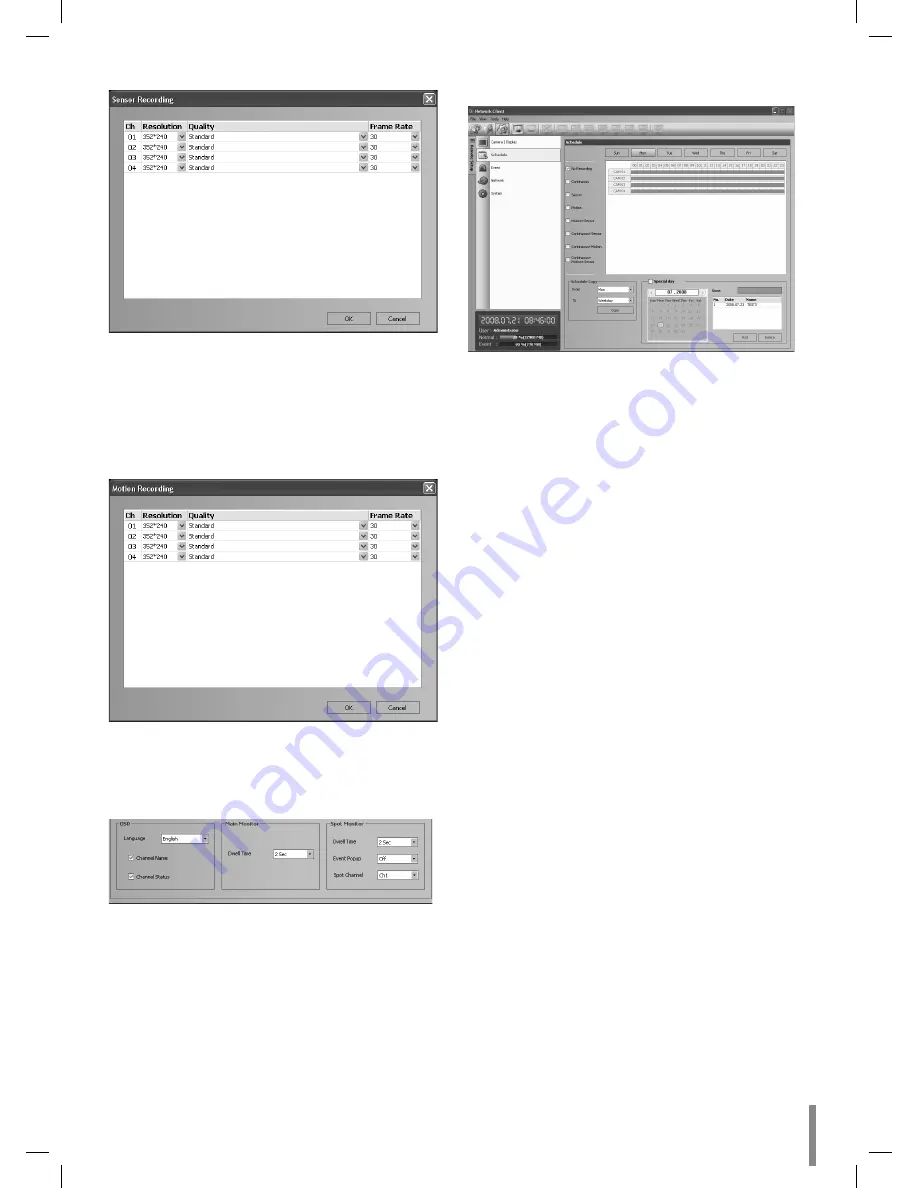
Client program
51
2. Set each option using the mouse (see page 25).
3. Click the [OK] button to confirm the settings.
Motion Recording Settings
1. Click the [Motion Recording] button.
The motion recording setting window appears.
2. Set each option using the mouse (see page 25).
3. Click the [OK] button to confirm the settings.
Display Settings
1. Set the OSD options.
2. Set the main monitor option.
3. Set the spot monitor options.
Schedule setup
1. Select a day of the week.
2. Mark up the desired recording option.
No record: Do not schedule recording.
Continuous: Recording starts automatically at the
preset time.
Sensor: Recording starts automatically when sensor
occurs within a designated time.
Motion: Recording starts automatically when
motion is detected within a designated time.
Sensor: Recording starts automatically
when sensor and motion detection occur within a
designated time.
ConSensor: Recording starts automatically
from the preset time. When the sensor alarm occurs
within a designated time, change the continuous
recording mode to sensor event recording mode
and recording starts automatically.
ConMotion: Recording starts automatically
from the preset time. When the motion is detected
within a designated time, change the continuous
recording mode to motion event recording mode
and recording starts automatically.
ConSensor: Recording starts auto-
matically from the preset time. When the sensor
alarm signal has input or motion has been detected,
change the continuous recording mode to motion
event recording mode and recording starts auto-
matically.
3. Select the channel to set the schedule.
4. Click the start time cell block and drag & drop to select
a time period cell block.
or
Click the start time cell block of a channel and drag &
drop across the channels to select the time period block
for multi-channel setting at the same time.
The color of the cell blocks will change.
•
•
•
•
•
•
•
•


