


15
CD Playback
Basic Playback
11
Press
1
1
STANDBY/ON to turn on the unit.
2
2
Press the CD button on the front panel to enter
the CD mode.
If no disc is entered in the disc tray, the “NO DISC”
is displayed.
3
3
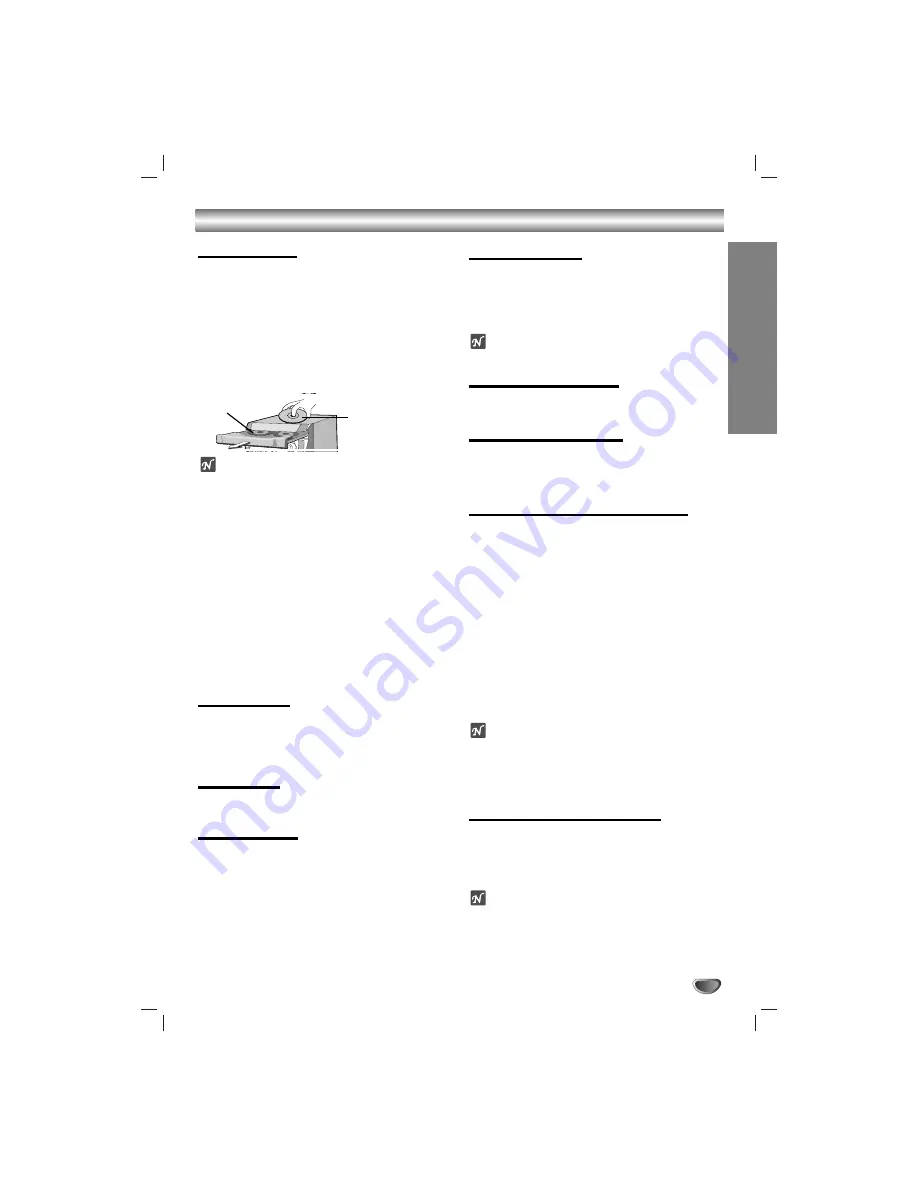
Press CD OPEN/CLOSE (
Z
Z
OPEN/CLOSE) and
place the disc into the disc tray.
The disc on the left (DISC 1) is played first.
ote
To load an 8cm(3 inch) disc, put it onto the inner circle
of the tray.
4
4
Press CD OPEN/CLOSE (
Z
Z
OPEN/CLOSE) to
close the disc compartment.
Audio CD: “READING” appears in the display
window, and then the total number of
tracks and the playing time are dis-
played.
MP3 CD: “READING” appears in the display
window, and then the total number of files
is displayed.
5
5
Press PLAY (
B
B
) on the front panel or CD PLAY/
PAUSE (
B
B
/
X
) on the remote control.
In addition, you can also play an Audio CD or MP3
CD using the NUMBER buttons.
To Pause Play
Press CD PAUSE (SET/CD
[]
) on the front panel or CD
PLAY/ PAUSE (
B
B
/
[]
) on the remote control during play-
back.
Press this button again it to resume play.
To Stop Play
Press STOP/CLEAR(
x
x
) on the front panel or CD
STOP(
x
x
) on the remote control during playback.
To Skip a Track
• Turn the MULTI JOG on the front panel to select
you want track.
• Press
M
M >
>
button on the remote control to go
to the next track.
• When the
.
.m
m
button on the remote control is
pressed once midway through a track, the player
returns to the start of that track. And then if you
want go to the preceding track, press the button
once more.
To Search a Track
Press the
m
m
/
M
M
buttons on the front panel, and
then press once more at the point you want.
(or hold the
.
.m
m
/
M
M >
>
buttons on the remote
control during playback, then release at the point
you want.)
ote
This function is not available to play a MP3/WMA file.
To Go to the next discs
Press DISC SKIP on the front panel or D.SKIP on the
remote control during playing or stopping.
To Select a disc directly
Press DISC 1, DISC 2 or DISC 3 during playing or
stopping.
When you press
DISC 1-3
before playing a disc, the unit
will automatically start playing the selected disc.
To Replace discs during Playback
You can open the disc tray during playing a disc to
check what discs are to be played next and replace
discs without interrupting playback of the current disc.
11
Press the CD OPEN/CLOSE (
Z
Z
OPEN/CLOSE).
The disc tray is opened. Two disc compartments
appear. Even if the unit is playing a disc, it doesn’t
stop playing.
2
2
Replace discs in the compartments with new
ones.
The unit plays the disc in the left compartment
after the current disc, and then the one in the right
compartment.
3
3
Press CD OPEN/CLOSE (
Z
Z
OPEN/CLOSE).
The CD door is closed.
otes
•
Do not place more than one compact disc on one disc
tray at the same time.
•
Do not push the disc tray to close CD door, as you
may damage the unit.
To check MP3 file information
Press the INFO button during MP3 file playback.
- The information (Title, Artist or Album) of the MP3 file
will be shown in the display window.
- If there is no the information of the MP3 file, “NO ID3
TAG” indicator will be shown in the display window.
otes
•
This unit can play a CD-R or CD-RW that contains
audio titles or MP3 files.
•
The MP3 file name and ID3 TAG should be named
using English.
With the label side up
DISC 1
OPERA
TION
Summary of Contents for LM-U360
Page 20: ...P NO MFL35767806 ...