5
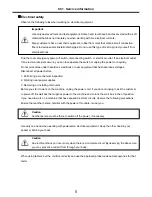
Electrical safety
Observe the following rules when working on electrical equipment.
Important
Use only approved tools and test equipment. Some hand tools have handles covered with a soft
material that does not insulate you when working with live electrical currents.
Many customers have, near their equipment, rubber floor mats that contain small conductive
fibers to decrease electrostatic discharges. Do not use this type of mat to protect yourself from
electrical shock.
· Find the room emergency power-off switch, disconnecting switch, or electrical outlet. If an electrical outlet.
If an electrical accident occurs, you can then operate the switch or unplug the power cord quickly.
· Do not work alone under hazardous conditions or near equipment that has hazardous voltages.
· Disconnect all power before
1. Performing a mechanical inspection
2. Working near power supplies
3. Removing or installing main units
· Before you start to work on the machine, unplug the power cord. If you cannot unplug it, ask the customer
to power-off the wall box that supplies power to the machine and to lock the wall box in the off position.
· If you need to work on a machine that has exposed electrical circuits, observe the following precautions :
Ensure that another person, familiar with the power-off controls, is near you.
Caution
Another person must be there to switch off the power, if necessary.
· Use only one hand when working with powered-on electrical equipment. Keep the other hand in your
pocket or behind your back
Caution
An electrical shock can occur only when there is a complete circuit. By observing the above rule,
you may prevent a current from through your body.
· When using testers, set the controls correctly and use the approved probe leads and accessories for that
tester
Ch1. Service information
Summary of Contents for LM40
Page 1: ...0 Service Manual LM40 50 LG Electronics ...
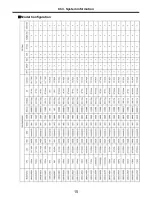
Page 16: ...15 Model Configuration Ch3 System information ...
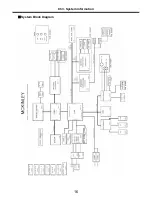
Page 17: ...16 System Block Diagram Ch3 System information ...
Page 56: ...55 3 Disconnect the keyboard connector Ch5 Removing and replacing a part ...
Page 59: ...58 Ch5 Removing and replacing a part ...
Page 79: ...78 8 Hold M B with your both hand and pull it up to remove Ch5 Removing and replacing a part ...
Page 88: ...87 6 Remove LCD from the LCD rear panel Ch5 Removing and replacing a part ...
Page 107: ...MKD01 MKM33 MKM31 ODD MKM32 MKD04 MKM39 MKD03 106 ...
Page 109: ...108 MKC08 MKM08 MKM32 MKM30 MKM09 MKM10 MKM11 MKM32 MKM06 15 0 MKM07 14 1 MKM30 ...
Page 112: ...111 MKC06 MKM05 MKM30 MKM28 MKM33 MKM33 MKM33 MKM34 MKM33 MKM19 MKM30 MKC01 MKC11 MKC13 ...

