


Before Use
4
Safety Precautions
Handling the unit
When shipping the unit
The original shipping carton and packing materials
come in handy. For maximum protection, re-pack the
unit as it was originally packed at the factory.
To keep the surface clean
Do not use volatile liquids, such as insecticide spray,
near the unit. Do not leave rubber or plastic products in
contact with the unit for a long period of time. They will
leave marks on the surface.
Cleaning the unit
To clean the cabinet
Use a soft, dry cloth. If the surfaces are extremely dirty,
use a soft cloth lightly moistened with a mild detergent
solution. Do not use strong solvents, such as alcohol,
benzine, or thinner, as these might damage the surface
of the unit.
Notes on Discs
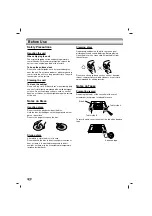
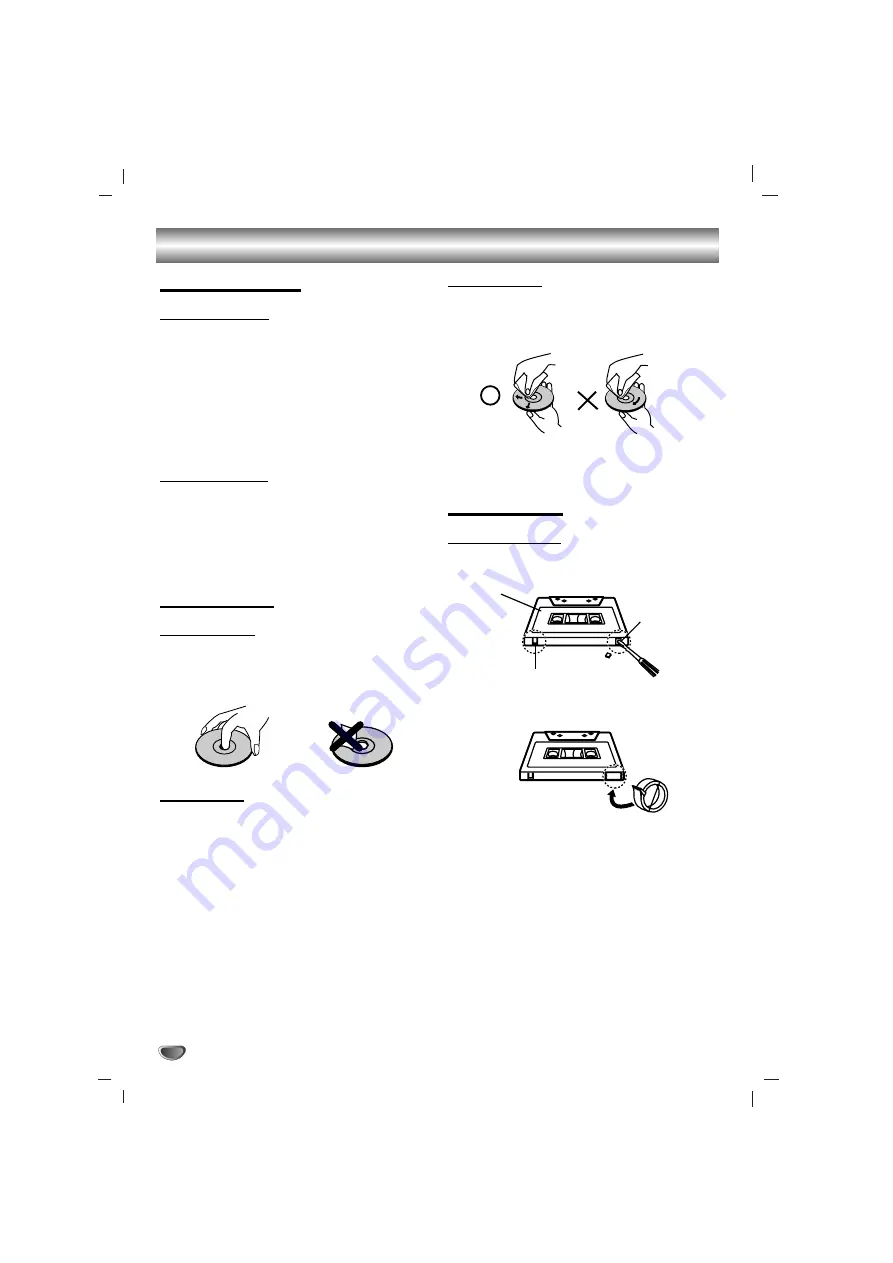
Handling discs
Do not touch the playback side of the disc.
Hold the disc by the edges so that fingerprints will not
get on the surface.
Do not stick paper or tape on the disc.
Storing discs
After playing, store the disc in its case.
Do not expose the disc to direct sunlight or sources of
heat, or leave it in a parked car exposed to direct
sunlight, as there may be a considerable temperature
increase inside the car.
Cleaning discs
Fingerprints and dust on the disc can cause poor
picture quality and sound distortion. Before playing,
clean the disc with a clean cloth. Wipe the disc from
the center out.
Do not use strong solvents such as alcohol, benzine,
thinner, commercially available cleaners, or anti-static
spray intended for analog records.
Notes on Tapes
Preventing record
Removing the tab(s) of the cassette (with a small
screwdriver) will prevent accidental erasure.
To record again, cover the hole of the tab with adhesive
tape.
Side A
Tab for side B
Tab for side A
Adhesive tape.
Summary of Contents for LPC-130A
Page 12: ...P NO 3834RC0025K ...


