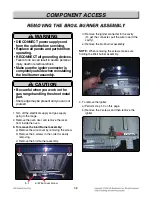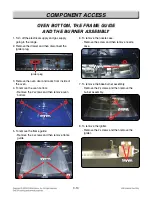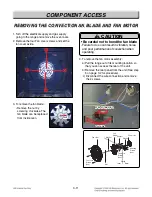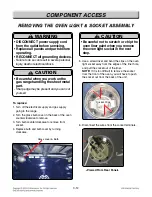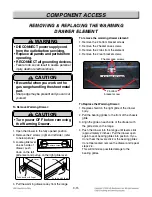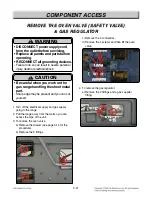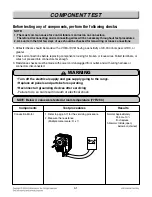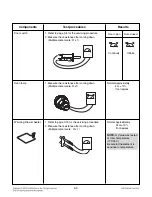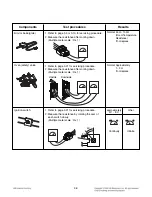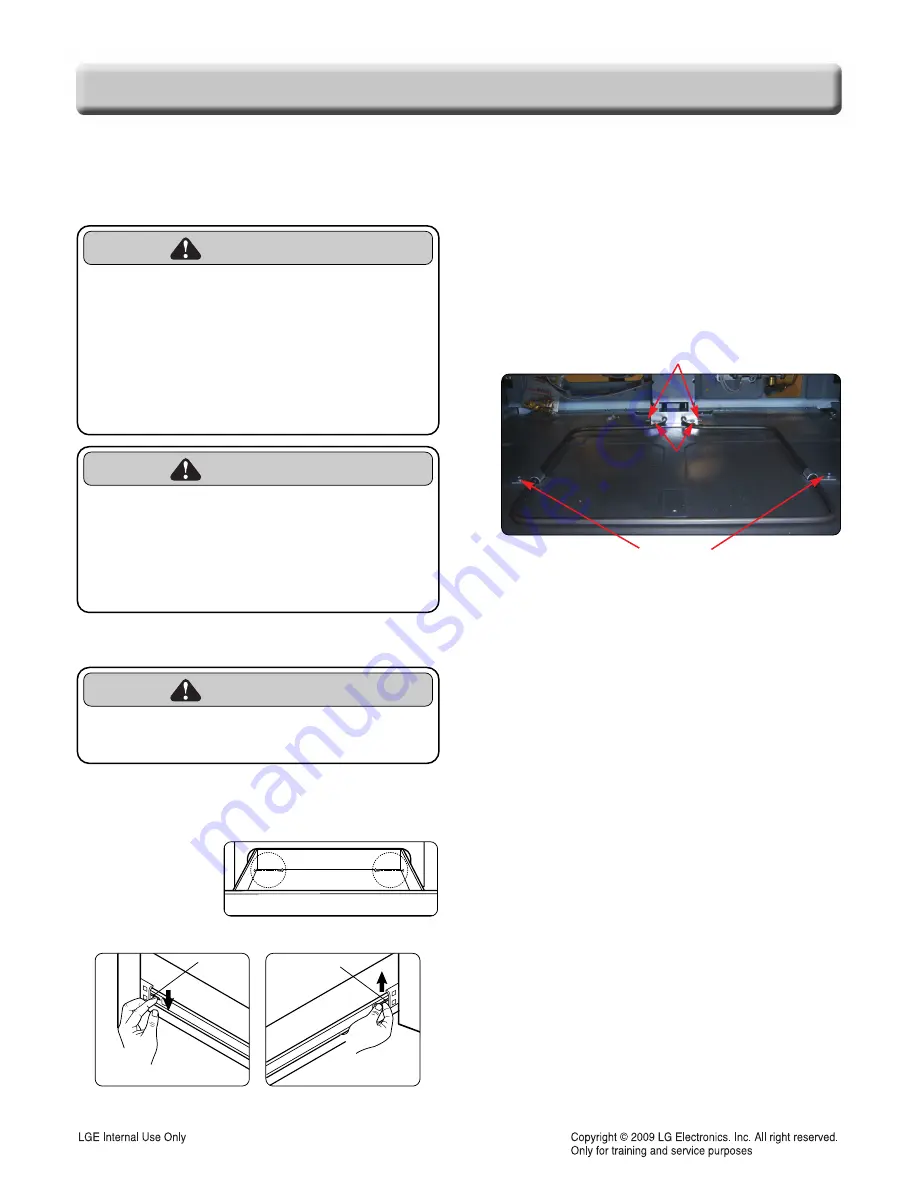
To remove the warming drawer element:
1. Remove the 2 bottom bracket screws
2. Remove the 2 heater case screws.
3. Remove the 2 tabs from the element.
4. Remove the 2 rear bracket screws.
3-15
COMPONENT ACCESS
REMO
REMO
VIING & REPLA
VIING & REPLA
CING THE W
CING THE W
ARMIING
ARMIING
DRA
DRA
WER ELEMENT
WER ELEMENT
To Remove Warming Drawer:
1. Open the drawer to the fully opened position.
2. Remove the 2 screws (right and left side). (refer
to below picture)
3. Locate glide lever
on each side of
drawer, push
down on the left
glide lever and pull up on the right glide lever.
4. Pull the warming drawer away from the range.
Remove screw
Lever
Push down with finger
Lever
Push up with finger
CAUTION
• Turn power OFF before removing
the Warming Drawer.
WARNING
• DISCONNECT power supply cord
from the outlet before servicing.
• Replace all panels and parts before
operating.
• RECONNECT all grounding devices.
- Failure to do so can result in severe personal
injury, death or electrical shock.
CAUTION
• Be careful when you work on the
gas range handling the sheet metal
part.
- Sharp edge may be present and you can cut
yourself.
To Replace the Warming Drawer:
1. Replace shield on the right glide of the drawer
body.
2. Pull the bearing glides to the front of the chassis
glide.
3. Align the glide on each side of the drawer with
the glide slots on the range.
4. Push the drawer into the range until levers click
(approximately 2 inches). Pull the drawer open
again to seat bearing glides into position. If you
do not hear the levers click or the bearing glides
do not feel seated, remove the drawer and repeat
steps 2-4.
This will minimize possible damage to the
bearing glides.
2 heater case screws
2 bottom
bracket screw
2 rear bracket screws
2 rear bracket screws
2 rear bracket screws
2 rear bracket screws
2 rear bracket screws
2 rear bracket screws
2 rear bracket screws
2 rear bracket screws
2 rear bracket screws
2 rear bracket screws
2 rear bracket screws
2 rear bracket screws
2 rear bracket screws
2 rear bracket screws
2 rear bracket screws
2 rear bracket screws
2 rear bracket screws
2 rear bracket screws
Summary of Contents for LSRG309ST
Page 77: ......

