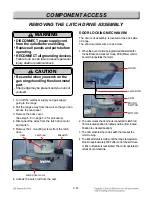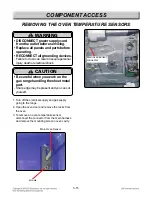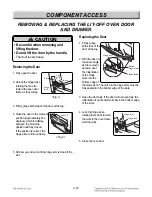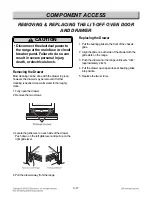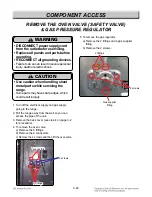
3. CONVERT YOUR REGULATOR
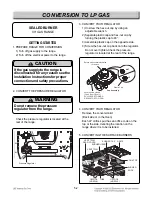
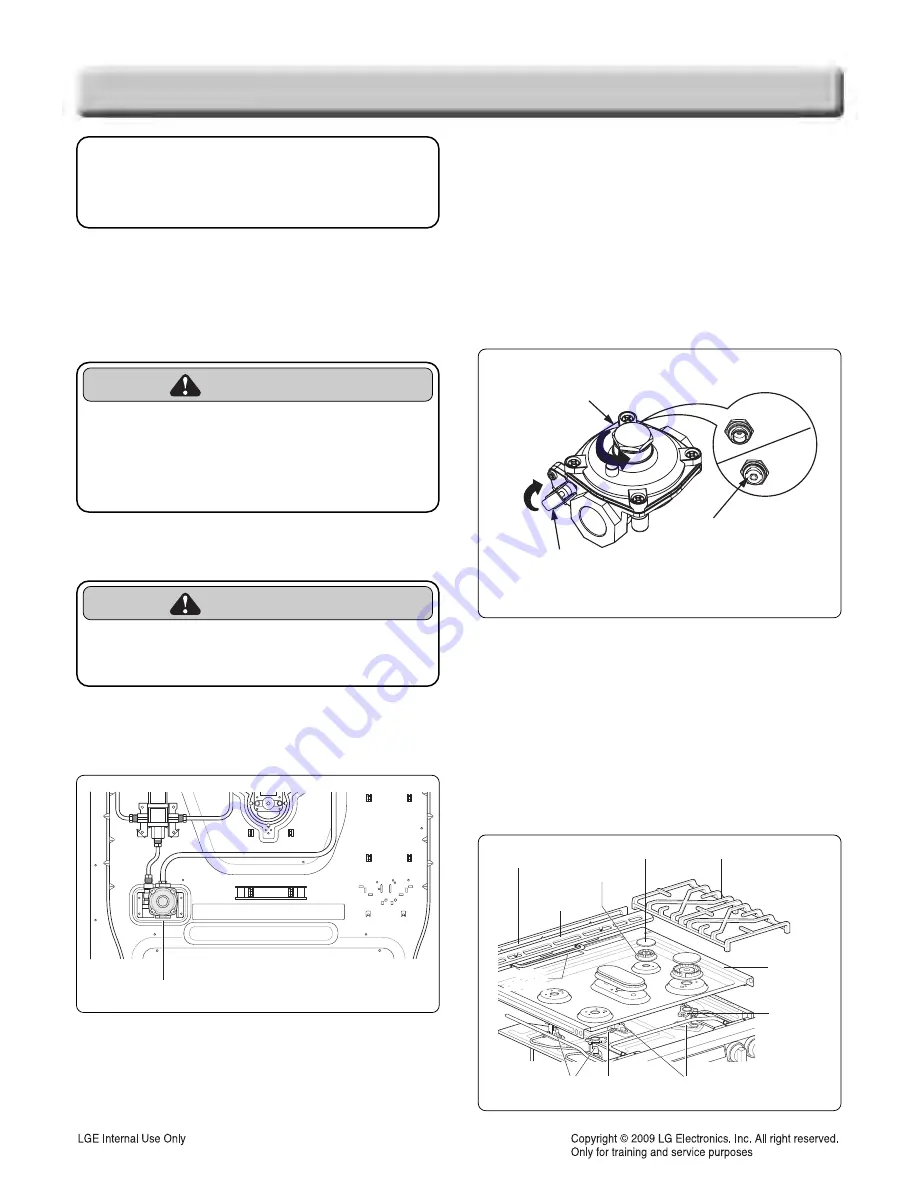
1) Unscrew the hex-nut cap by using an
adjustable wrench.
2) Separate plastic cap and hex-nut cap by
turning the plastic cap to 90°.
3) Assemble plastic cap on the opposite side.
4) Screw the hex-nut cap back onto the regulator.
Do not over tighten.Check the pressure
regulator is located at the rear of the range.
4. CONVERT YOUR REGULATOR
Remove the conversion kit
(Back side or in the Oven)
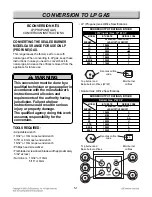
Each LP orifice spud has an orifice code on the
top or the side, denoting the location on the
range where it is to be installed.
5. CONVERTING THE SURFACE BURNERS
5-2
CONVERSION TO LP GAS
SEALED BURNER
30” GAS RANGE
GETTING STARTED
1. PREPARE RANGE FOR CONVERSION
1) Turn off gas supply to the range.
2) Turn off the electrical power to the range.
2. CONVERT THE PRESSURE REGULATOR
Check the pressure regulator is located at the
rear of the range.
CAUTION
If the gas supply to the range is
disconnected for any reason see the
installation instructions for proper
connection and safety precautions.
WARNING
Do not remove the pressure
regulator from the range.
Pressure Regulator
Rotate cap counterclockwise
to remove.
Plastic Cap
Cap Assembly
Lever shown closed
(Oven Shut Off only)
PULL LEVER TOWARD
REGULATOR TO OPEN.
NAT
LP
GRATE
BURNER CAP
BURNER HEAD
VENT TRIM
VENT
COVER
VENT TRIM
REAR COVER
COOK TOP
BURNER
BODY
ORIFICE
(NOZZLE)
ORIFICE
(NOZZLE)
TUBE

