


15
INSTALLATION
ENGLISH
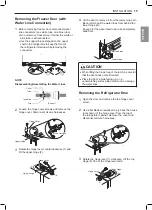
Removing the Freezer Door (with
Water Line Connection)
1
Before removing freezer door, disconnect water
line connectors (one white tube, one blue tube).
•
Do not remove freezer door if either the white or
blue tube is still connected.
•
Use the support block shipped on the upper
shelf in the refrigerator to keep the front of
the refrigerator tilted up while removing the
connectors.
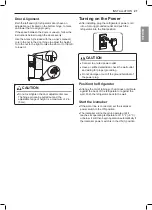
NOTE
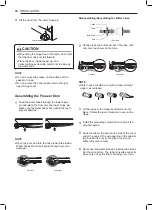
Disassembling/Assembling the Water Lines
Collet
Tube
Insert line
Clip
(Correct)
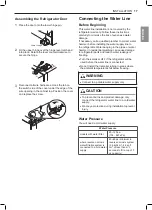
2
Loosen the hinge cover screws and remove the
hinge cover. Disconnect all wire harnesses.
Hinge Cover
Upper Hinge
Wire Harness
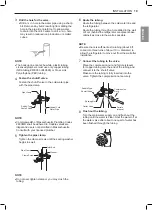
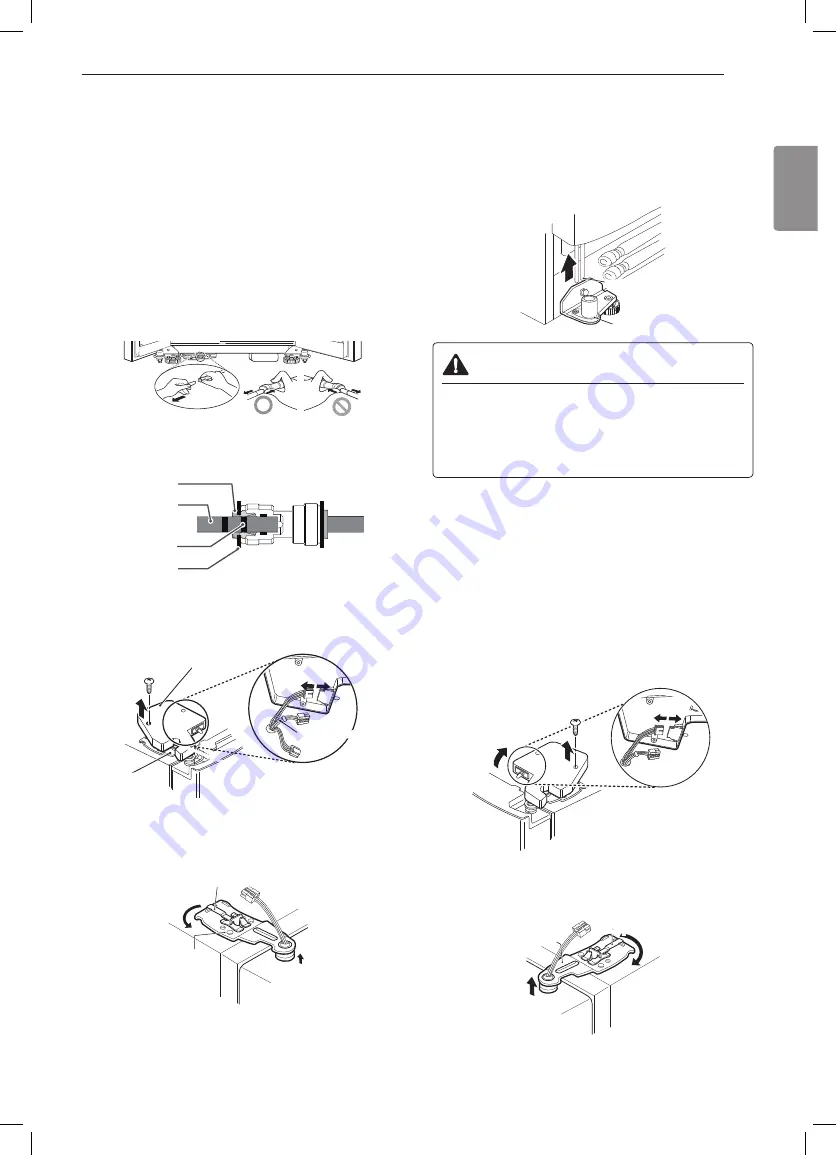
3
Rotate the hinge lever counterclockwise (1) and
lift the upper hinge (2).
(1)
(2)
Hinge Lever
Upper Hinge
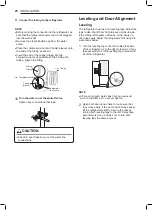
4
Lift the door to remove it from the lower hinge pin.
Be careful to pull the water lines from behind the
lower hinge pin.
Enough for the water feed tube to be completely
pulled out.
water feed tube
Lower Hinge
CAUTION
•
When lifting the hinge free of the latch, be careful
that the door does not fall forward.
•
Place the door, inside facing up, on a
nonscratching surface.Be careful not to damage
the water lines.
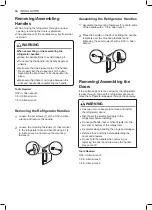
Removing the Refrigerator Door
1
Open the door and remove the top hinge cover
screw.
2
Use a flat blade screwdriver to pry back the hooks
(not shown) of the hinge cover from the top of
the refrigerator cabinet. Remove the cover and
disconnect all wire harnesses.
3
Rotate the hinge lever (1) clockwise. Lift the top
hinge (2) free of the hinge lever latch.
(1)
(2)
Upper Hinge
Hinge Lever


