24
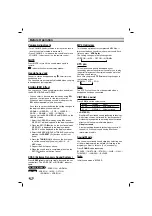
Operation with TAPE
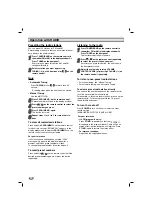
Basic Playback
11
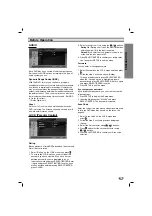
Press TAPE1-2 (or TAPE) to select tape function.
(“
NO TAPE
” appears in the display window.)
2
2
Open cassette TAPE1-2 by pushing to the
Z
PUSH EJECT position.
3
3
Insert one or two cassettes with the tape side to
the bottom and then close the TAPE 1 (and/or 2)
door.
4
4
Press
G
(or
F
: OPTIONAL).
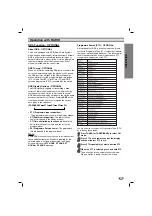
AUTO STOP DECK (TAPE 1/2)
After auto stop deck plays front side of cassette, the unit
stops automatically.
AUTO REVERSE DECK (TAPE 2)
You can select direction of the cassette you want by
pressing PLAY MODE.
To Stop Play
Press (
x
STOP) on the front panel or TAPE STOP(
x
)
on the remote control during playback.
To Play Rewind or Fast Forward
After press
FF
/
GG
on the front panel or on the
remote control during playback, press
G
(or
F
) at
the tape position you want.
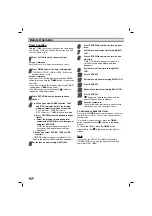
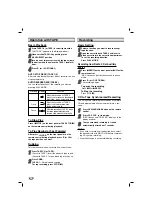
Dubbing
This function shows how to record from tape to tape.
11
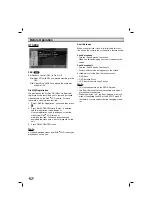
Press TAPE1-2 (or TAPE).
• Cassette TAPE 1- Insert the playback tape to dub.
• Cassette TAPE 2- Insert a blank tape to copy on.
2
2
Press DUBB.
DUBBING - Normal speed copying
To stop recording, press STOP (
x
).
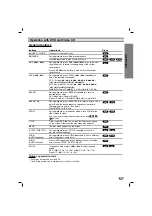
Pressing
-
Once
Twice
Display
Function
After the cassette of TAPE 2
plays front or reverse (backward
play) side, stops automatically.
After the cassette of TAPE 2
plays front and reverse side,
stops automatically.
After the cassette of TAPE 2 plays
six times repeatedly front and
reverse side, stops automatically.
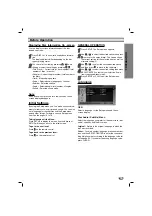
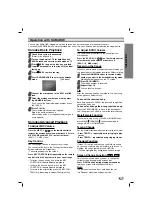
Recording
Basic Setting
11
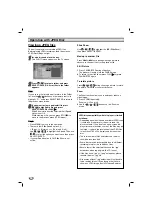
Select a function you want to record except
tape function.
2
2
Open the cassette deck TAPE 2 and insert a
blank cassette into the cassette compartment.
To set the recording direction
Press PLAY MODE.
Recording from Radio, CD or Auxiliary
source
11
Press
z
REC/
[]
on the front panel or
z/[]
on the
remote control.
“REC” flashes and holds the cassette in pause
mode.
2
2
Press
G
(or
F
: OPTIONAL).
The recording begins.
To pause the recording
Press
z/[]
or
z
REC/
[]
.
To Stop the recording
Press STOP(
x
).
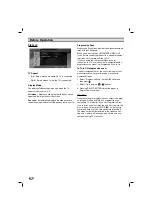
CD to Tape Synchronized Recording
The CD synchro recording function dubs a complete
CD and programmed titles automatically into a cas-
sette.
11
Press DVD/KARAOKE button on the remote
control.
2
2
Press CD SYNC. in stop mode.
“REC” flashes and “CD SYNC.” displays in the
display window.
3
3
The synchronized recording is started
automatically after about 7 seconds.
Notes
Notes
• If you wish to record from the desired track, select
the desired track with MULTI JOG before commenc-
ing CD synchro recording.
• A function change is not possible during recording.

