
18
OWNER’S INSTRUCTION
ENGLISH
OWNER’S INSTRUCTION
19
ENGLISH
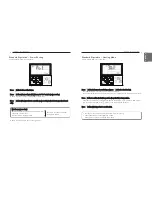
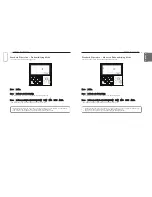
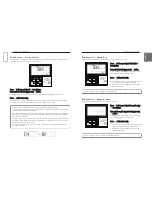
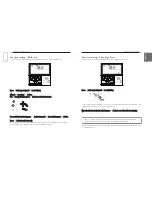
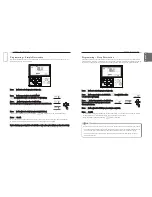
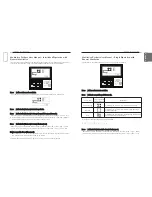
Press
C
button repeatedly until Humidifier
I
icon displays.
Turn on/off Humidifier by pressing
K
button.
The
I
icon will be displayed in case of setting
option and disappear in reverse case.
Press
L
button after setup.
If no button is selected for about 25 seconds after
setup, it exits the setup mode automatically.
If Set button is not selected before you exit, the
changes will not apply.
• Some products may not include humidifying function.
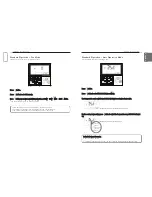
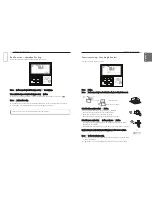
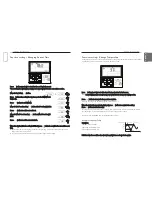
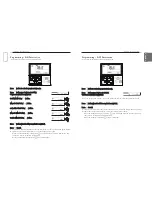
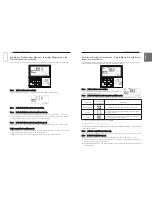
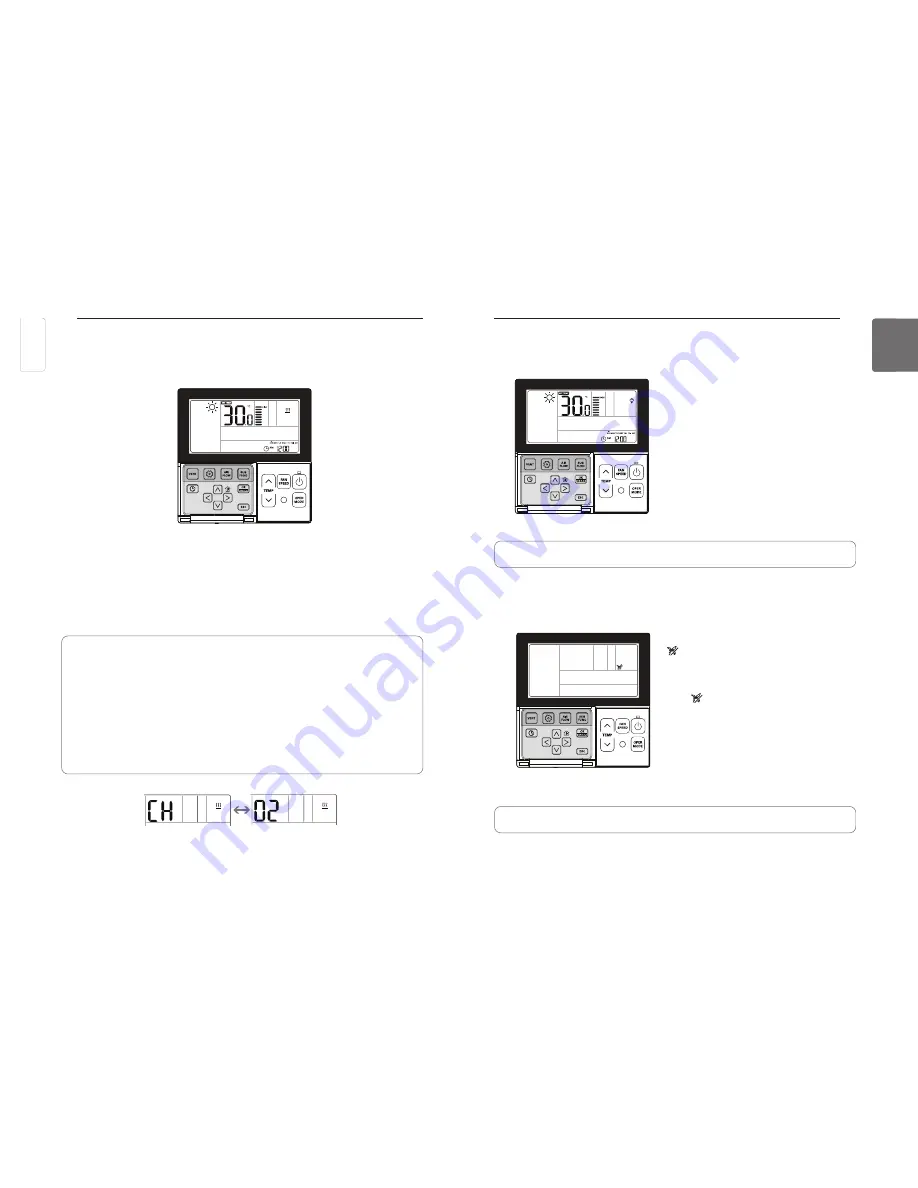
Press
C
button repeatedly until mosquito away
icon displays.
Turn on/off mosquito away function by pressing
K
button.
The icon will be displayed in case of setting
option and disappear in reverse case.
Press
L
button after setup.
If no button is selected for about 25 seconds after
setup, it exits the setup mode automatically.
If Set button is not selected before you exit, the
changes will not apply.
• Some products may not include mosquito away function.
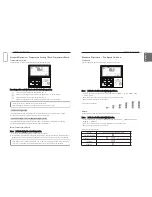
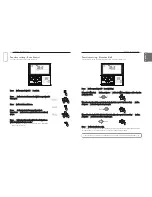
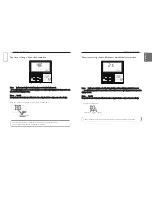
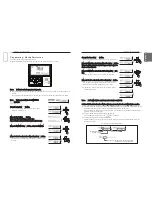
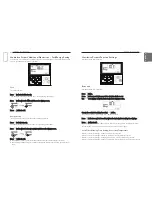
Press
C
button repeatedly until
0
icon displays.
Turn on/off electric heater by pressing
K
button.
The
0
icon will be displayed in case of setting option and disappear in reverse case.
Press
L
button after setup.
If no button is selected for about 25 seconds after setup, it exits the setup mode automatically.
If Set button is not selected before you exit, the changes will not apply.
• Heater function is additional function and it only operates in selected models.
• The indoor unit product with Auxiliary Heater function set automatically displays (0) icon during
the AUXILIARY HEATING OPERATION.
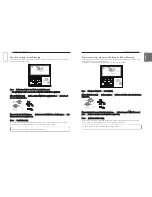
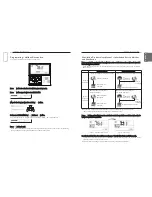
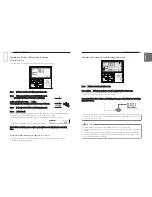
When using non-heat recovery out door unit , emergency heater can be turned on for simultane-
ous heating and cooling. Indoor unit with the emergency heater must be turned OFF for simulta-
neous cooling and heating
Emergency heater can be turned on while in error code in case of emergency. Electric heater icon
is displayed on LCD display window with error code when emergency heater is on while in error
Exception case: Error code 1,3,9,10
If the previous mode of the Indoor unit is COOL, DRY or FAN ONLY mode, heater must be
turned on manually.
Sub Function – Electric Heater
It is a function to amplify the heating capacity by running an electric heater in the heating mode.
This function can be set only in the heating mode.
Sub Function – Mosquito Away
Only products with mosquito away function can use this.
Sub Function – Humidifier
It is a function to run the built-in humidifier when the air in the room is dry.
ENGLISH
ENGLISH


