28
OWNER’S INSTRUCTION
ENGLISH
OWNER’S INSTRUCTION
29
ENGLISH
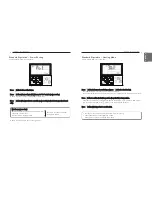
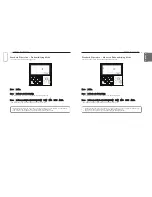
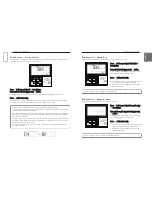
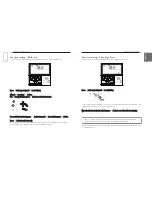
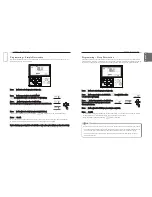
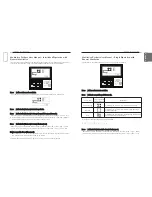
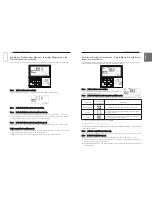
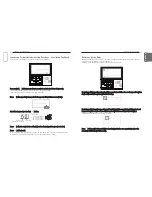
Press
B
button repeatedly to select the change temperature function in the menu.
G
icon will display and the changed temperature will blink in the temperature display section.
Press
F G
button to change the temperature set value.
Range of change temperature: programmable within 1~7
When the desired temperature is displayed, press
K
button to complete the setting.
Press
L
button to exit after setup.
If no button is selected for about 1 minute after setup, it exits the setup mode automatically.
If Set button is not selected before you exit, the changes will not apply.
This function is available only for cooling/heating system.
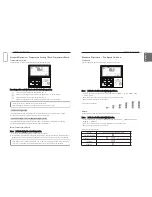
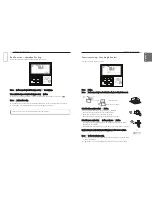
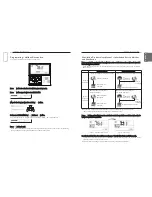
22°C
25°C
temperature(°C)
19°C
time
start cooling
start cooling
start heating
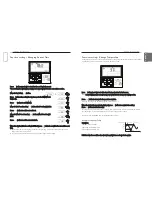
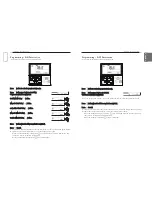
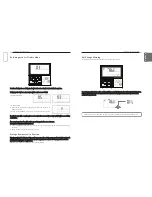
Function setting – Change Temperature
Change temperature is a function to automatically change the temperature between cooling/heat-
ing according to the temperature in the Auto operation mode.
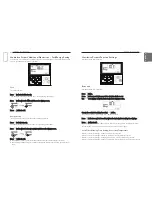
Example of Change Temp
Conditions
1) Mode: Auto operation
2) Desired temperature: 22°C
3) Change temperature: 3°C
If it falls under the conditions described above, it will run as shown in the graph.
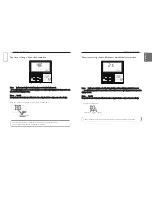
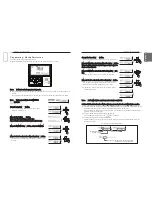
Function setting – Changing Current Time
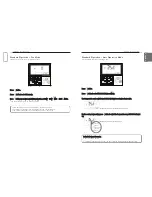
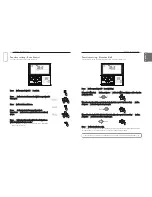
When the day/hour/minute setting is finished, press
K
button to complete the current time set-
ting.
If pressing other buttons during the current time setting, it will cancel all the changes made
and exit the time setting mode.
If
K
button is not selected before you exit, the changes will not apply.
Move to ‘Day’ using
H I
button.
Press
G
button after setting the day to move to the ‘AM/PM’ set-
ting mode.
Press
F G
button to set ‘AM/PM’.
Move to ‘Hour’ section using
H I
button. ‘Hour’ section will blink.
Press
F G
button to set the current hour.
Move to ‘Minute’ section using
H I
button. ‘Minute’ section will
blink.
Press
F G
button to set the current minute.
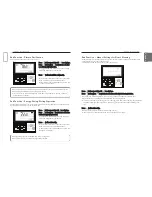
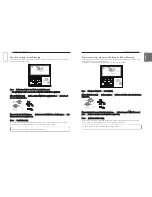
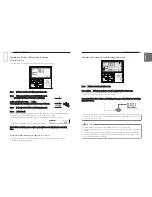
Press
B
button repeatedly to select the time setting in the menu.
‘Time Setting’ icon will display and day of the week will blink in the current time section.
ENGLISH


