Installation Manual
13
ENGLISH
Installation instruction
Installation and setting
This page describes the installation and setting methods to set up
the controller.
To use the controller, an environment must be established in which
the controller and the device (Air conditioner/ ventilation, etc.) can
communicate with each other and the devices must be registered
through the controller.
You need to install in the following order.
12
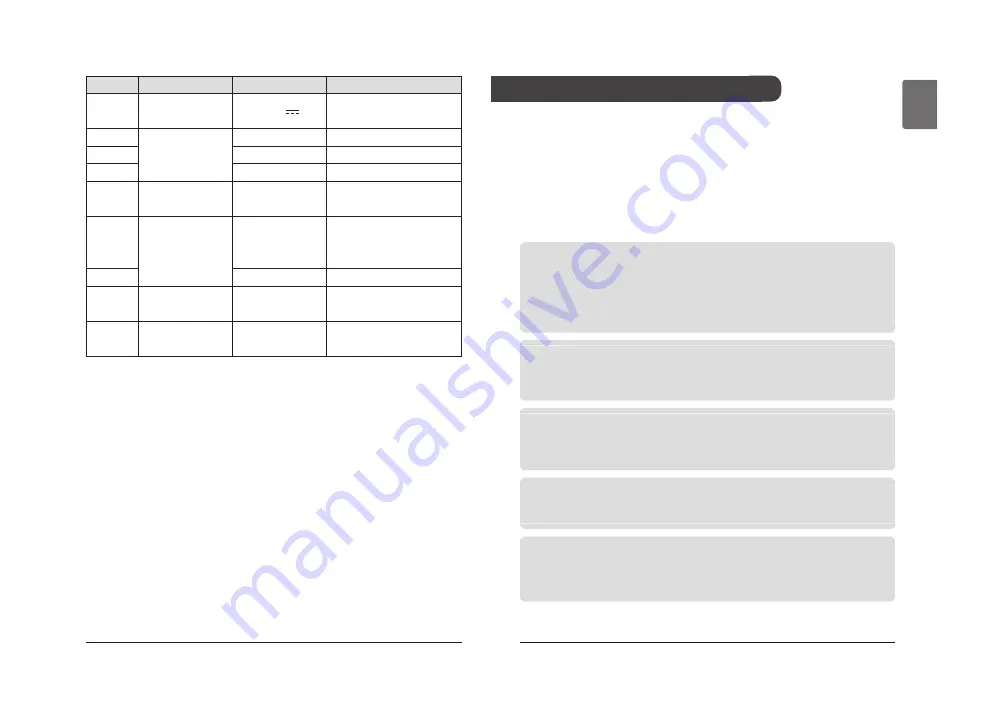
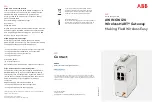
Cloud Gateway
Number
Classification
Specifications
Other types
①
Power
12 V
Use of the output power of
the outdoor unit.
②
Communication
RS485
Maximum 1 Km
③
Ethernet
10/100 Mbps
Wi-Fi
2.4 GHz
④
LED
2ea
Left (Product mode, red) /
Right (Power, green)
⑤
Switch
Change product
mode
Registration (LED dim-
ming)
↔
Use (LED lighting)
⑥
Reset the power
-
Temperature
Spec.
0 ℃ ~ 40 ℃
Use Temperature
Storage Tempera-
ture
-20 ℃ ~ 60 ℃
Storage Temperature
NOTE :
USB port (C-Type) is a function not used in the corresponding
product.
STEP 1. Installation environment inspection and equipment
address setting
Before installing the controller, check the network configuration
with the device interlocked to the power supply to the controller,
and assign the connected device a nonoverlapping address.
STEP 2. Product installation
Install the controller and connect the power and communication
lines.
STEP 3. Search indoor unit device
Search for the indoor unit device you want to use and save it to the
product.
STEP 4. Install ThinQ app and register an account
See attached form ‘Connecting LG ThinQ and LG Electronics’.
STEP 5. Connect and use ThinQ app
Interlocking with the ThinQ app to control/monitor the searched in-
door unit.


