42
■
Infineon Platform Security Backup
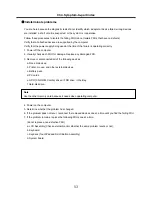
With this page you can backup and restore Security Platform credentials, Security Platform settings and
Personal Secure Drives.
If Enhanced Authentication is enabled, you can also create backups of your authentication device.
Availability of page: This page is only available on an initialized Security Platform, if one of
the following conditions is fulfilled:
•The current user has administrative rights.
•The current user is an initialized Security Platform User, and the policy Allow User Enrollment
is enabled.
Buttons:
•Buttons for administrative tasks are disabled for users without administrative rights.
•Buttons are disabled, if corresponding functions are not available in a certain Security Platform
state.
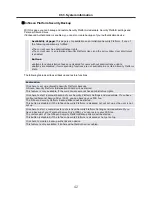
The following table describes all backup and restore functions.
Explanation
Click here to set up automatic Security Platform backups.
Infineon Security Platform Initialization Wizard will be started.
This feature is only available, if the current user account has administrative rights.
Click here to start a manual backup of your Security Platform Settings and credentials. If you have
configured Personal Secure Drive (PSD), you can backup your PSD too.
The Infineon Security Platform Backup Wizard will be started.
This button is disabled, if the Infineon Security Platform is disabled, not yet set up or the user is not
set up.
Click here to start a manual restore of archived Security Platform Settings and credentials. If you
have a backup of your Personal Secure Drive (PSD), you can restore your PSD too.
The restore part of the Infineon Security Platform Backup Wizard will be started.
This button is disabled, if the Infineon Security Platform is disabled or not yet set up.
Click here to create a backup authentication device.
This feature is only available, if Enhanced Authentication is enabled.
Ch3. System information
Summary of Contents for R580 Series U.ARC3BA9
Page 17: ...17 System Block Diagram Chapter 3 System information ...
Page 27: ...27 Ch3 System information g Burn process completed as below and tab OK ...
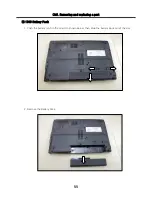
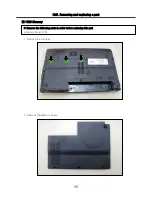
Page 60: ...60 Ch5 Removing and replacing a part 5 Remove the HDD Shield ...
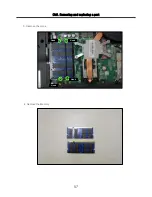
Page 63: ...63 Ch5 Removing and replacing a part 3 Remove the WLAN Module ...
Page 66: ...66 3 Remove the ODD Ch5 Removing and replacing a part 4 Remove the ODD Bezel Bezel ...
Page 69: ...69 69 Ch5 Removing and replacing a part 5 Remove the Keyboard 6 Remove the Retainer ...
Page 71: ...71 71 Ch5 Removing and replacing a part 3 Remove the Display Module ...
Page 74: ...74 Ch5 Removing and replacing a part 3 Remove the Keyboard deck ...
Page 79: ...79 Ch5 Removing and replacing a part 3 Remove the Mainboard Case ...
Page 86: ...86 Ch5 Removing and replacing a part 3 Remove the Hinge Cap ...
Page 98: ...NLCD07 NLCD05 NLCD09 NLCD03 NLCD01 NLCD04 NLCD08 NLCD02 NWEBC01 ...
Page 100: ...NMINI02 NMINI01 NKDECK01 NKDECK02 NRTN01 NKEYBD01 ...
Page 102: ...NMRY01 NMRY01 NMINI04 NTHMO01 NRBS01 NMINI03 NCPU01 NMLB01 ...
Page 105: ...NCVR02 NCVR03 NCVR01 NHDD02 NHDD01 NBATT01 NODD02 NODD01 NBOTM01 NBOTM03 NHDD03 NBOTM02 ...


