


íè
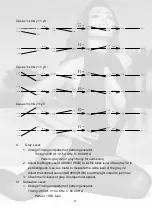
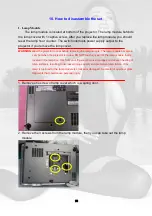
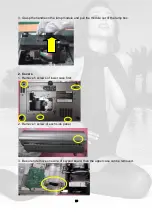
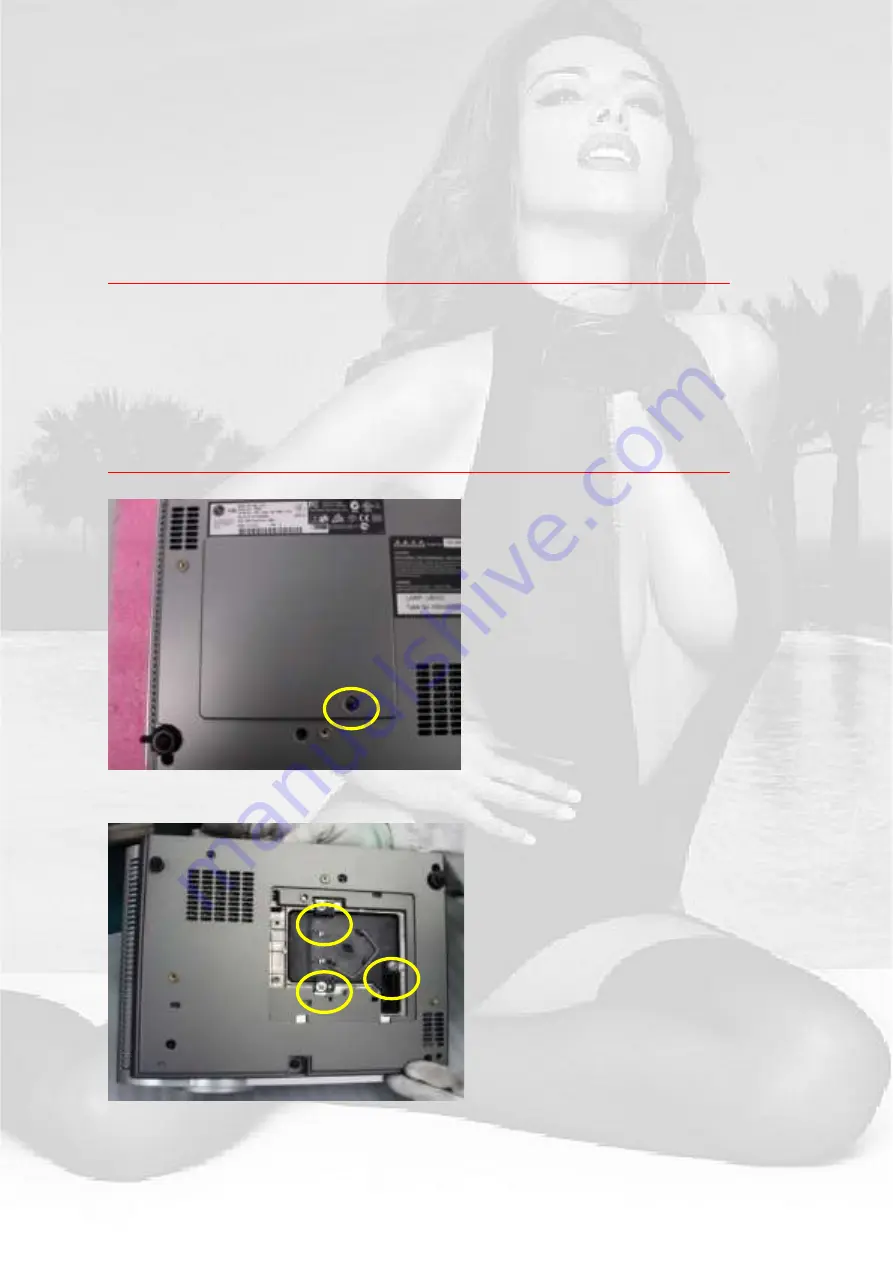
10. How to disassemble the set
1. Lamp Module
The lamp module is located at bottom of the projector. The lamp module behinds
the lamp cover with 1 captive screw. After you replace the lamp module, you should
reset the lamp hour counter. The switch interrupts power supply output to the
projector if you remove the lamp cover.
WARNING
Allow the projector to cool before removing the lamp module. The lamp module becomes
very hot when the projector is in use. DO NOT touch any part of the lamp module that is
located in the lamp box. Oils from your fingers will cause smudges and uneven heating of
lamp surfaces, resulting in decreased image quality and premature lamp failure. If the
lamp is ruptured or the lamp module is cracked or damaged, be careful of quartz or glass
fragments that could cause personal injury.
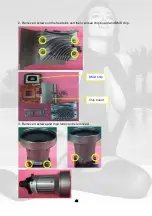
1. Remove one screw of lamp cover which is a spring door.
2. Remove the 3 screws from the lamp module, then you can take out the lamp
module.
Summary of Contents for RD-JT51
Page 13: ...13 2 JT50 52 ...
Page 14: ...14 7 Packaging Description 1 JT51 ...
Page 15: ...15 2 JT50 52 ...
Page 16: ...16 8 Appearance Description ...
Page 53: ...ëí 5 PFC BOARD 6 DC DC BOARD ...
Page 54: ...ëì JT50 52 1 Final Assembly Trouble Shooting Guide ...
Page 55: ...ëë ...
Page 56: ...ëê 2 Engine Assembly Trouble Shooting Guide ...
Page 58: ...ëè 4 Power Supply Trouble Shooting Guide PFC BOARD DX850 DC DC BOARD ...
Page 59: ...5ç 5 DMD Block Trouble Shooting Guide ...
Page 60: ...êð ...
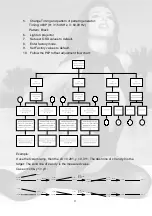
Page 74: ...éì Step 7 Download finished Step 8 Turn off the power switch ...
Page 81: ......


