12
EN
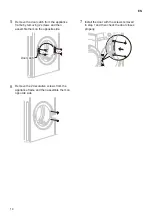
5
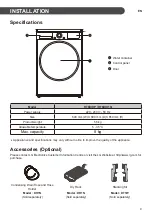
Use the four screws in the accessory box (16
mm) to assemble the washing machine rear
cover and stacking kit.
6
The procedure for the opposite side will be the
same.
WARNING
•
Incorrect installation can cause serious
accidents.
•
The weight of the appliance and the height of
installation make the stacking procedure too
risky for one person. This procedure should
be performed by two or more qualified service
personnel.
•
The appliance is not suitable for a built-in
installation. Please do not install as a built-in
appliance.
•
Do not operate if the appliance is not properly
stacked.
Condensed Water Drain-out
(Optional)
Normally, condensed water is pumped up to the
water container where water is collected until
manually emptied. Water can also be drained out
directly to a mains drain, especially when the dryer
is stacked on top of a washing machine. With a
connecting kit for the mains drain hose, simply
change the water path and re-route to the drainage
facility as below:
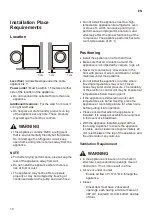
1
Separate the anti-backflow lid(
a
) and the
water container hose(
b
) from the connecting
kit.
2
Attach the anti-backflow lid(
a
) to the head of
the connecting kit and then connect the drain
hose(
c
) to the opposite side of the connecting
kit.
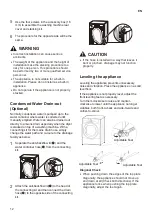
CAUTION
•
If the hose is installed in a way that leaves it
bent or pinched, drainage may not function
properly.
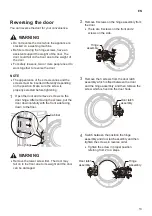
Leveling the appliance
Leveling the appliance prevents unnecessary
noise and vibration. Place the appliance on a solid,
level floor.
If the appliance is not properly level, adjust the
front leveling feet as necessary.
Turn them clockwise to raise and counter-
clockwise to lower until the appliance no longer
wobbles, both front-to-back and side-to-side and
corner-to-corner.
Adjustable Feet
Adjustable Feet
Adjustable Feet
Diagonal Check
•
When pushing down the edges of the top plate
diagonally, the appliance should not move up
and down at all (Check both directions). If the
appliance rocks when pushing the top plate
diagonally, adjust the feet again.


