Chapter 2: Pearl Clean Box
Connecting a HEPA Filter to the Pearl® Imager
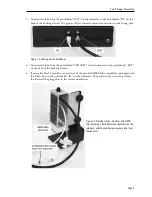
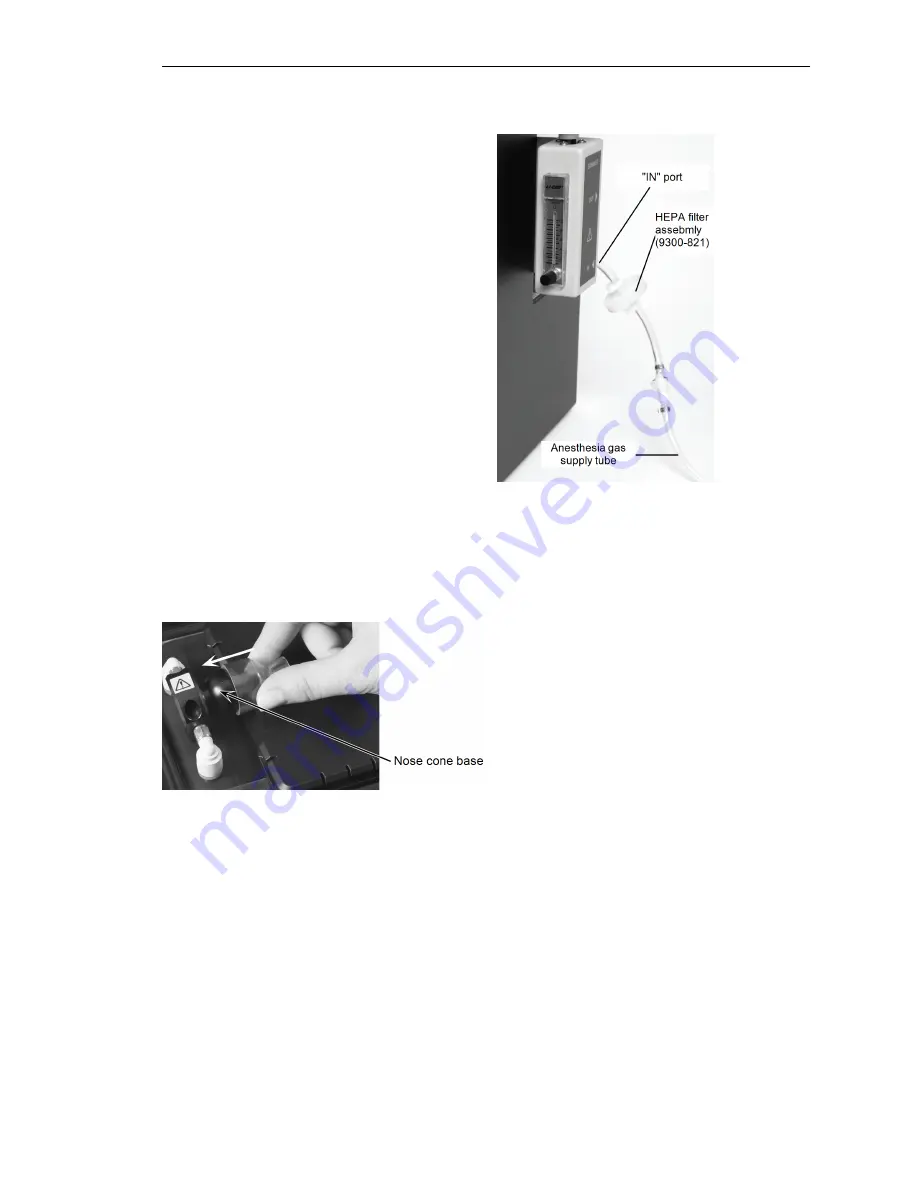
Figure 2-2. HEPA filter connections on the Pearl Imager.
Use the procedure below to connect a HEPA filter
between the anesthesia gas supply line and the
Pearl Imager.
1) If necessary, disconnect the existing anesthesia
supply tube from the port labeled “IN” on the
rotameter of the Pearl Imager.
2) Connect one of the provided HEPA filter
assemblies (packaged with the Pearl Clean
Box) to the port labeled “IN” on the Pearl rot-
ameter. The gender of the connector assures
the filter will be in the correct orientation
after it is plugged in.
3) Connect the opposite end of the HEPA filter
assembly to the provided anesthesia supply
tube provided with the Pearl Imager.
Nose Cone Installation and Replacement
Nose cones are provided in the spare parts kit for the Pearl Clean Box. To install a nose cone, press
the new cone on to the black nose cone base (Figure 2-3). To prevent leaks, make sure the new nose
cone is fully seated and then install a nose cone plug (Figure 1-8).
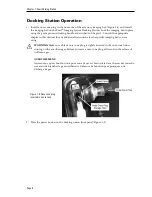
Figure 2-3. Nose cone installation.
The nose cone may need to be replaced occasionally for sanitary or other reasons. New nose cones
can be purchased from LI-COR. The nose cone can be removed by grasping the tip and pulling it
straight off (parallel to the imaging bed surface) until the nose cone slips off its base.
Page 10
Summary of Contents for 5700-DS
Page 1: ...Pearl Trilogy Accessories Manual...
Page 2: ......


