14
–
15
E
N
KEILER – 25 LRF
· Operating Manual 07 / 2020
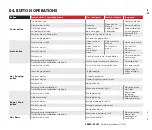
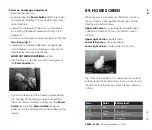
Power on and image adjustment
> Remove the lens cap.
> Long pressing the
Power button
(6) for 2 seconds
to power on. Waiting for 3 seconds to enter the
main interface.
> Adjust the sharpness of the icons on the display
by rotating the diopter adjustment ring on the
eyepiece.
> To focus on the object being observed, rotate the
lens focus ring
(9).
> Adjustment of display brightness, image mode
and sharpness, as well as turning on the smooth
digital zoom, are described in the
SHORTCUT MENU FUNCTIONS
section.
> Turn the device off after use with a long press of
the
Power button
(6).
> To put the device into the standby-mode during
use (turning off the display screen and putting
the main chip in standby), briefly press the
Power
button
(6). Press the
Power button
(6) again
briefly to exit the standby-mode and wake up the
device.
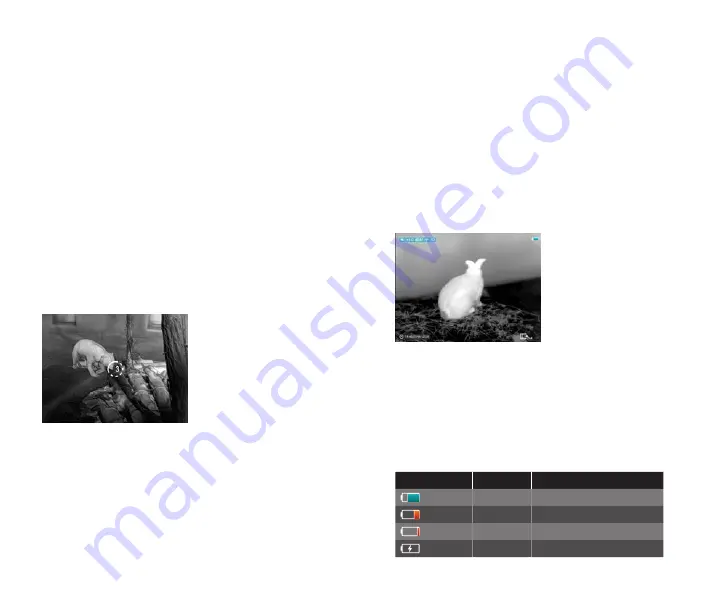
09. HOME SCREEN
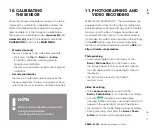
When the device booted up, the home screen is
shown. There is some general information on the
interface. Detail as follows:
Upper left corner –
Color palette, magnification,
calibration mode, Wi-Fi (on), Automatic screen
off (on);
Upper right corner –
Battery level;
Lower left corner –
Time and date;
Lower right corner –
Video output icon (on).
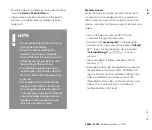
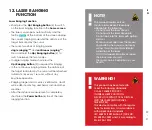
The color of the battery icon represents the current
battery level. When the battery icon is shown in red,
it indicates that the battery is low. Please charge it
in time.
Icon
Color
Battery level
Blue
30 % –100 %
Yellow
20 % – 30 %
Red
Less than 10 %
–
Charging


