26
–
27
E
N
KEILER – 25 LRF
· Operating Manual 07 / 2020
Automatic Display-off –
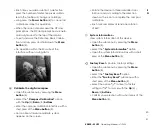
Selection of the Automatic Display-off
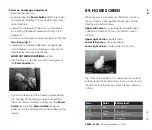
> Press and hold the
Menu
button
(5) to enter
the menu.
> Select the
“Automatic Display-off”
option.
> A short press of the
Menu
button
(5) switches
on / off.
> The icon is displayed in the upper-left status
bar when it is on.
Calibration Mode –
Selection of calibration mode. There are two
calibration modes:
automatic (A)
and
manual (M)
.
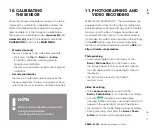
> Press and hold the
Menu
button
(5) to enter
the menu.
> Select the
“Calibration Mode”
option.
> A short press of the
Menu
button
(5) to select
A or M.
Automatic(A)
Calibration requirements in the automatic mode
are determined by the software algorithm, with
the calibration process being started auto-
matically.
Manual(M)
The user independently sets the calibration
requirements according to the image being
observed.
More –
Get more settings
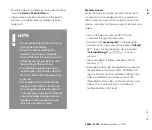
> Press and hold the
Menu
button
(5) to enter
the menu.
> Select the
“More”
option.
> A short press of the
Menu
button
(5) to enter
the sub menu for more settings.
Ranging Cursor Calibration
When the target position pointed by the ran-
gefinder is not consistent with the cross-cursor
position on the display, this function can be
used to correct the cross-cursor position.
> Open the sub menu by pressing the
Menu
button
(5).
> Select the
“Ranging Cursor Calibration”
option
> Enter the Ranging Cursor Calibration interface
with a short press of the
Menu
button
(5).
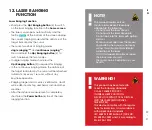
> A white cross cursor will appear on the display.
> A tooltip will appear at the bottom of the
display, which displays the moving direction
(
horizontal
and
vertical
directional
arrows) and the position of the cursor.
> The horizontal and vertical directional arrows
indicate to move the cursor with the coordina-
tes along the X and Y axes.
> A short press of the
Menu
button
(5) switches
the cursor direction from the horizontal to the
vertical and vice versa. The icon and text will
be changed from white to blue when this
direction is activated.

